>>> from env_helper import info; info()
页面更新时间: 2024-04-06 23:03:44
运行环境:
    Linux发行版本: Debian GNU/Linux 12 (bookworm)
    操作系统内核: Linux-6.1.0-18-amd64-x86_64-with-glibc2.36
    Python版本: 3.11.2
3.5. 使用 Pillow 处理图像:图像增强
3.5.1. Filters 过滤器
ImageFilter 模块有很多预定义的增强过滤器,通过 filter() 方法运用。
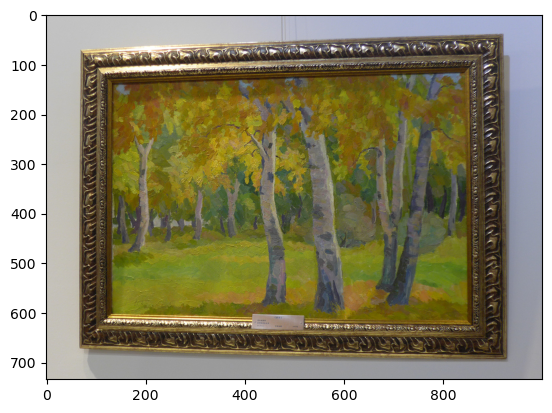
>>> from PIL import Image
>>> im=Image.open('L1020120.JPG')
将图像进行增强处理
>>> from PIL import ImageFilter
>>> out = im.filter(ImageFilter.DETAIL)
>>> from matplotlib import pyplot as plt
>>> plt.imshow(out)
>>> plt.show()
既然可以进行增强处理自然可以进行模糊处理
>>> im2 = im.filter(ImageFilter.BLUR)
>>> plt.imshow(im2)
>>> plt.show()

3.5.2. 像素点处理
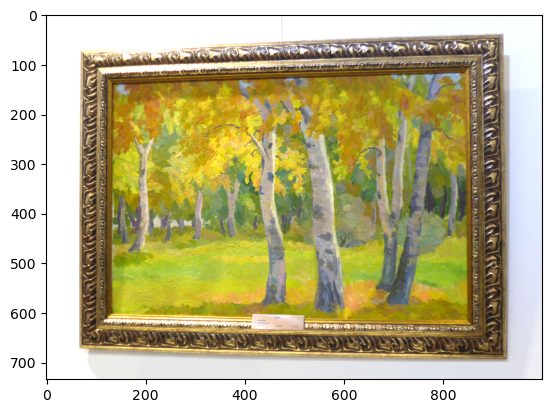
point() 方法可用于转换图像的像素值(如对比度),
在大多数情况下,可以将函数对象作为参数传递格此方法,它根据函数返回值对每个像素进行处理。
将每个像素点扩大 1.5 倍:
>>> out = im.point(lambda i: i * 1.5)
>>> plt.imshow(out)
>>> plt.show()
3.5.3. 深入处理
图像处理功能可以使用 ImageEnhance 模块中的类。从图像创建后,可以使用 ImageEnhance 快速调整图片的对比度、亮度、饱和度和清晰度。主要方法有:
ImageEnhance.Contrast(im)对比度ImageEnhance.Color(im)色彩饱和度ImageEnhance.Brightness(im)亮度ImageEnhance.Sharpness(im)清晰度
需要先创建一个对象。
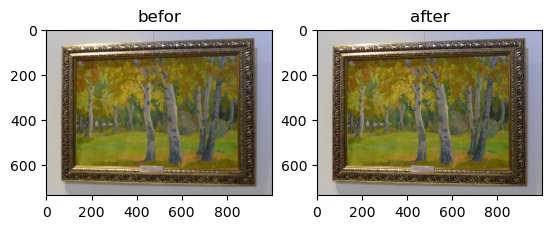
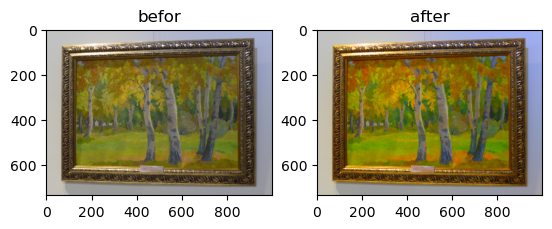
1.将对比度提高1.5倍
>>> from PIL import ImageEnhance
>>>
>>> img6=Image.open('L1020120.JPG')
>>> enh = ImageEnhance.Contrast(img6)
>>> img6_cont=enh.enhance(1.5)
>>> plt.subplot(121),plt.imshow(img6),plt.title("befor")
>>> plt.subplot(122),plt.imshow(img6_cont),plt.title("after")
>>> plt.show()
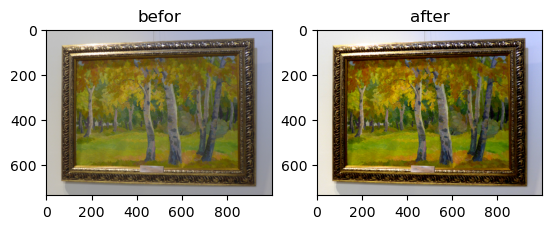
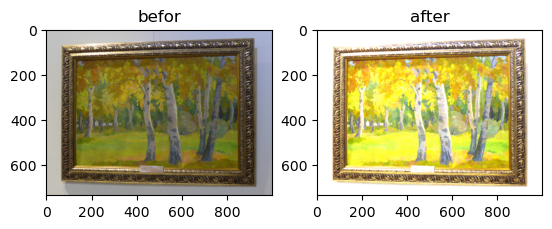
2.将色彩饱和度提高2倍
>>> img1=Image.open('L1020120.JPG')
>>> color=ImageEnhance.Color(img1)
>>> img1_cont=color.enhance(2)
>>> plt.subplot(121),plt.imshow(img1),plt.title("befor")
>>> plt.subplot(122),plt.imshow(img1_cont),plt.title("after")
>>> plt.show()
3.将亮度提高3倍
>>> img2=Image.open('L1020120.JPG')
>>> brg=ImageEnhance.Brightness(img2)
>>> img2_brg=brg.enhance(2)
>>> plt.subplot(121),plt.imshow(img2),plt.title("befor")
>>> plt.subplot(122),plt.imshow(img2_brg),plt.title("after")
>>> plt.show()
4.将清晰度提高4倍
>>> img4=Image.open('L1020120.JPG')
>>> shp=ImageEnhance.Sharpness(img4)
>>> img4_shp=shp.enhance(4)
>>> plt.subplot(121),plt.imshow(img4),plt.title("befor")
>>> plt.subplot(122),plt.imshow(img4_shp),plt.title("after")
>>> plt.show()