着色器玩具-发光#
显卡可以运行用类似C语言的OpenGL Shading Language(简称GLSL)编写的程序。这些程序可以很容易地并行化,并在显卡GPU的处理器上运行。
着色器需要一些设置才能编写。ShaderToy网站已经标准化了其中一些着色器,并使编写着色器变得更容易。该网站的网址为:
Arcade包括其他代码,使您可以更轻松地在Arcade程序中运行这些ShaderToy着色器。本教程帮助您入门。
PyCon 2022幻灯片#
本教程计划在2022年美国PyCon大会上展示。以下是该演示文稿的幻灯片:
第一步:打开一扇窗#
这是一个简单的程序,只需打开一个基本的Arcade窗口。我们将在下一步中添加着色器。
 1import arcade
 2
 3# Derive an application window from Arcade's parent Window class
 4class MyGame(arcade.Window):
 5
 6    def __init__(self):
 7        # Call the parent constructor
 8        super().__init__(width=1920, height=1080)
 9
10    def on_draw(self):
11        # Clear the screen
12        self.clear()
13
14if __name__ == "__main__":
15    MyGame()
16    arcade.run()
步骤2:加载着色器#
此程序将加载GLSL程序并显示它。我们将在下一步编写着色器。
 1import arcade
 2from arcade.experimental import Shadertoy
 3
 4
 5# Derive an application window from Arcade's parent Window class
 6class MyGame(arcade.Window):
 7
 8    def __init__(self):
 9        # Call the parent constructor
10        super().__init__(width=1920, height=1080)
11
12        # Load a file and create a shader from it
13        shader_file_path = "circle_1.glsl"
14        window_size = self.get_size()
15        self.shadertoy = Shadertoy.create_from_file(window_size, shader_file_path)
16
17    def on_draw(self):
18        # Run the GLSL code
19        self.shadertoy.render()
20
21if __name__ == "__main__":
22    MyGame()
23    arcade.run()
备注
将文件读入字符串的正确方法是使用 with 陈述。为清楚起见,我们的代码在演示文稿中没有这样做。以下是做这件事的正确方法:
file_name = "circle_1.glsl"
with open(file_name) as file:
    shader_source = file.read()
self.shadertoy = Shadertoy(size=self.get_size(),
                           main_source=shader_source)
步骤3:编写着色器#
接下来,让我们创建一个简单的First GLSL程序。我们的计划将:
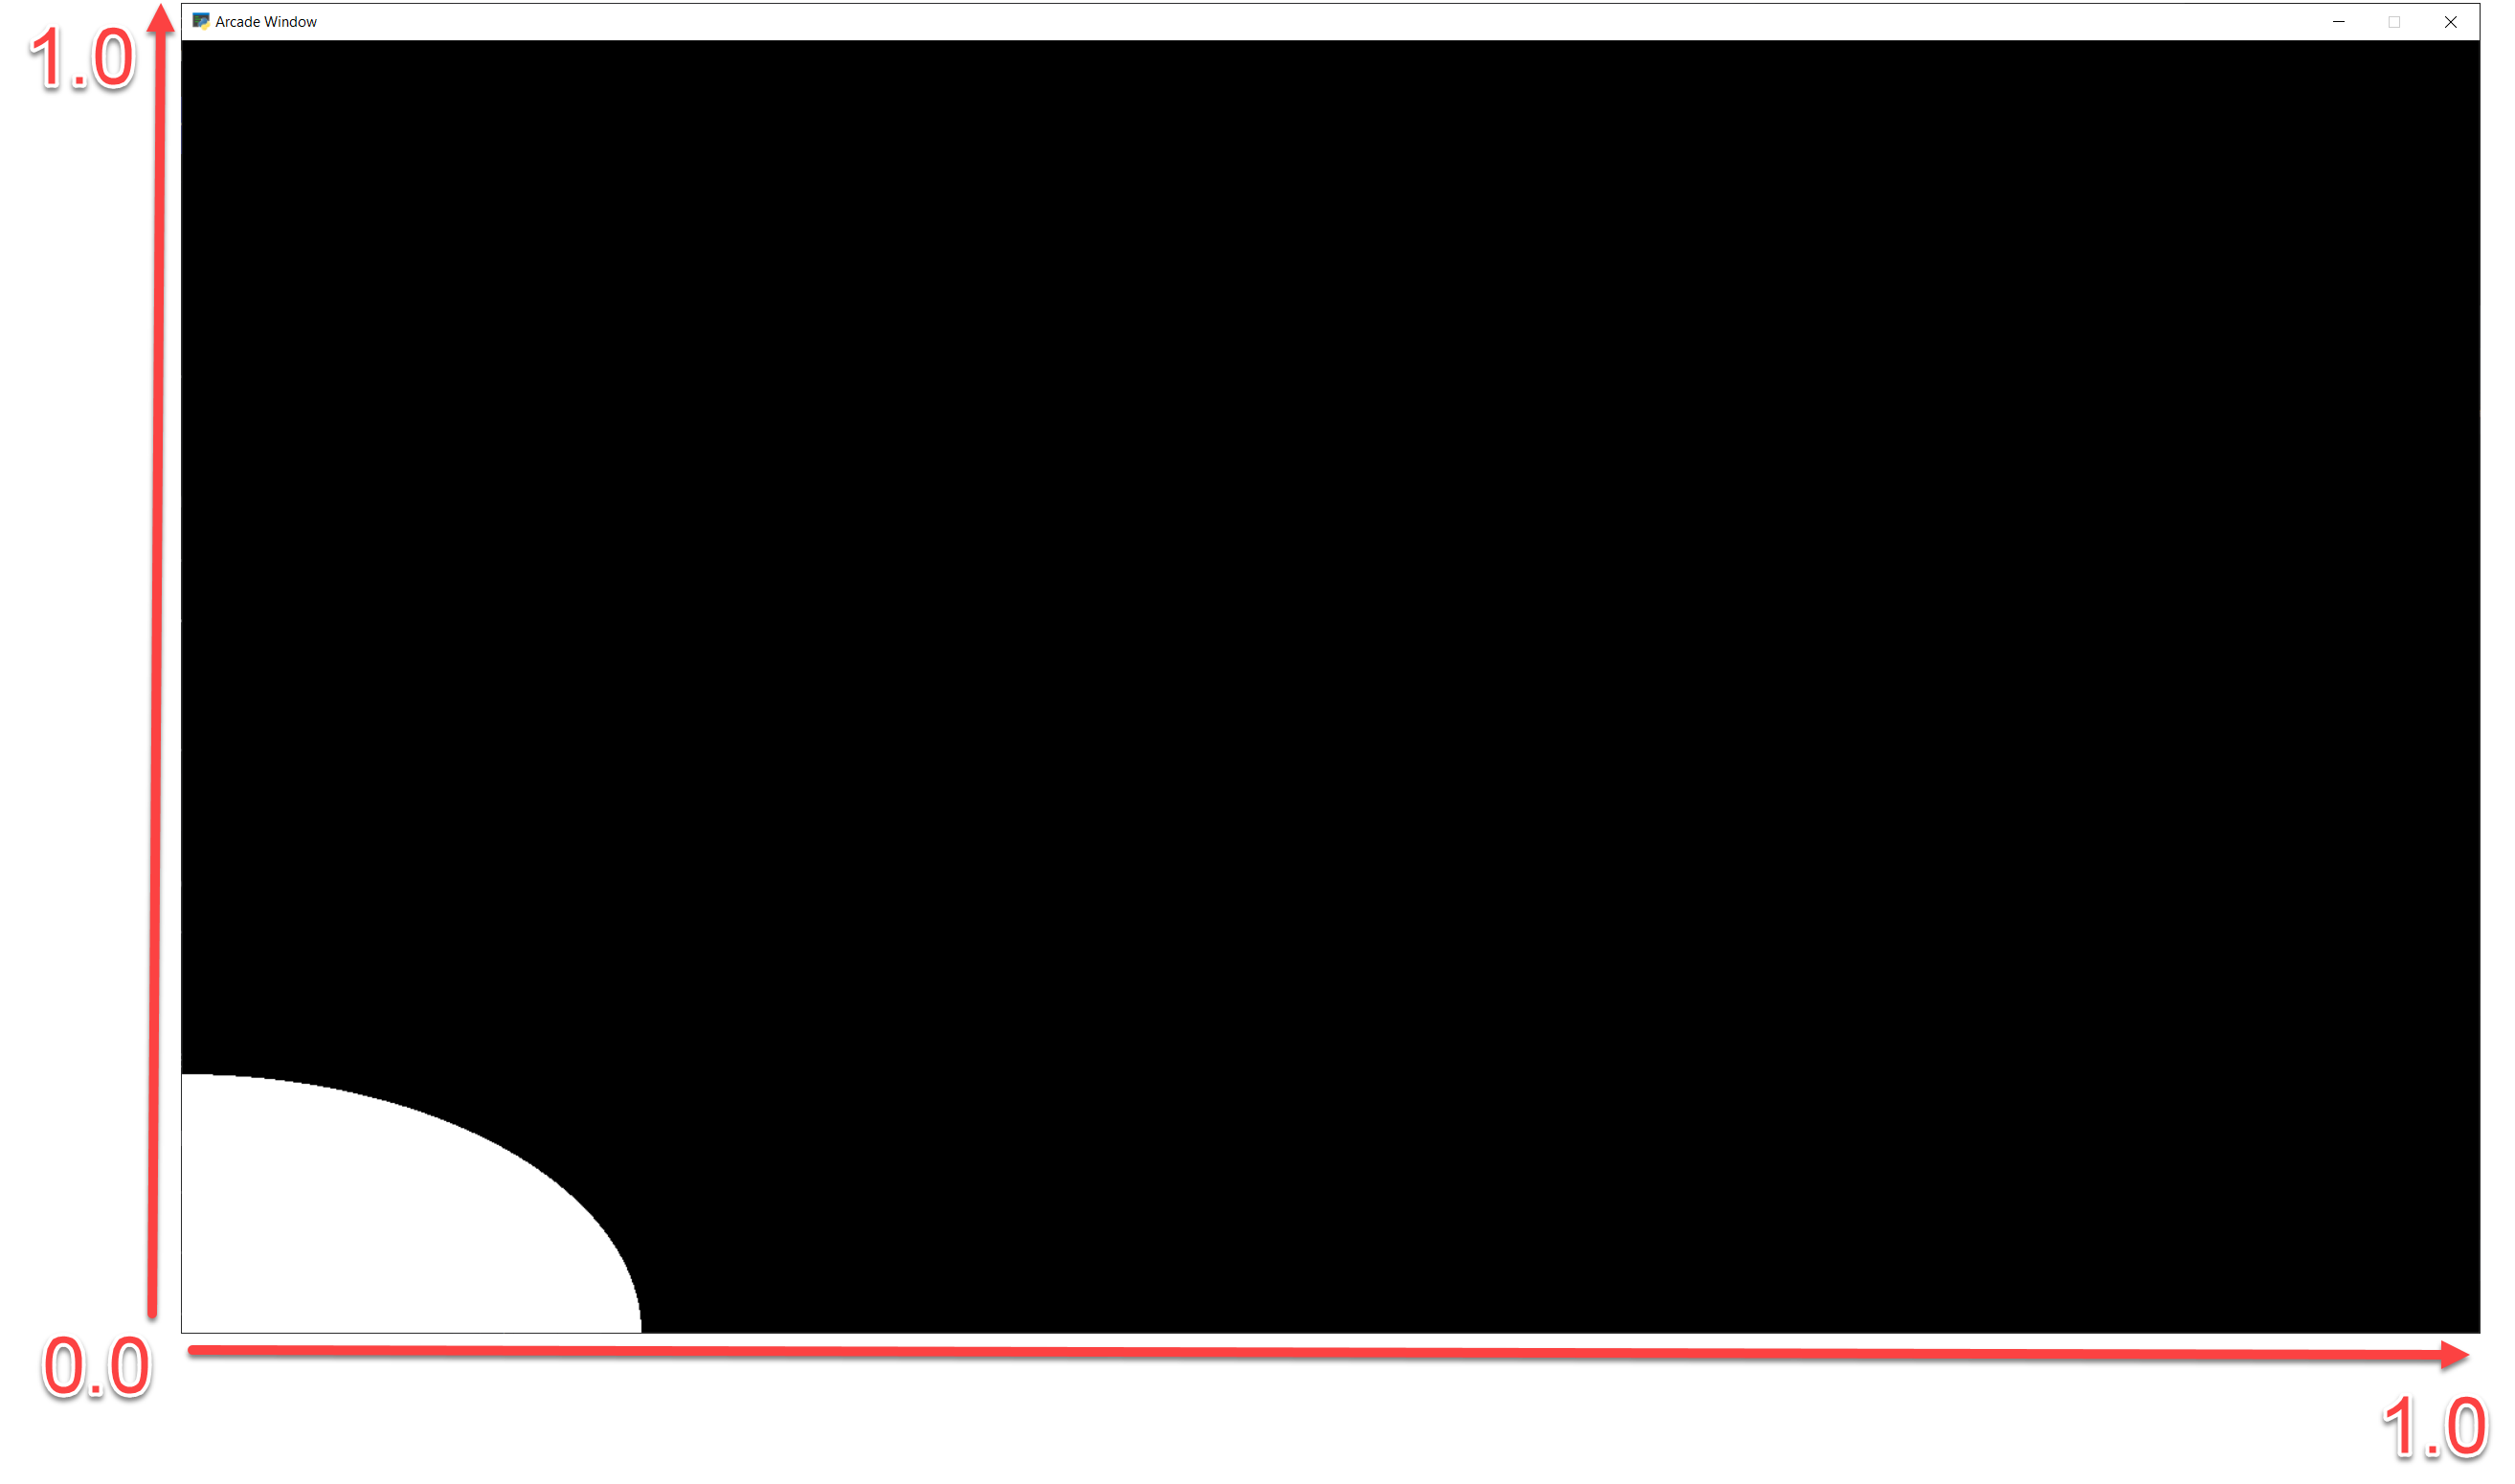
使坐标正常化。我们不是从0到1024,而是从0.0到1.0。这是标准的做法,允许我们独立于解决方案而工作。解析已经为我们存储在一个名为
iResolution。接下来,我们将使用白色作为默认颜色。颜色是四个浮点RGBA值,范围从0.0到1.0。首先,我们将只设置RGB,并使用1.0作为Alpha。
如果我们的坐标大于0.2(屏幕尺寸的20%),我们将使用黑色。
设置我们的输出颜色,使用变量名进行标准化
fracColor。
 1void mainImage(out vec4 fragColor, in vec2 fragCoord) {
 2
 3    // Normalized pixel coordinates (from 0 to 1)
 4    vec2 uv = fragCoord/iResolution.xy;
 5
 6    // How far is the current pixel from the origin (0, 0)
 7    float distance = length(uv);
 8
 9    // Are we are 20% of the screen away from the origin?
10    if (distance > 0.2) {
11        // Black
12        fragColor = vec4(0.0, 0.0, 0.0, 1.0);
13    } else {
14        // White
15        fragColor = vec4(1.0, 1.0, 1.0, 1.0);
16    }
17}
程序的输出如下所示:
您可以使用的其他默认变量:
uniform vec3 iResolution;
uniform float iTime;
uniform float iTimeDelta;
uniform float iFrame;
uniform float iChannelTime[4];
uniform vec4 iMouse;
uniform vec4 iDate;
uniform float iSampleRate;
uniform vec3 iChannelResolution[4];
uniform samplerXX iChanneli;
“统一”意味着运行GLSL程序的每个像素的数据都是相同的。
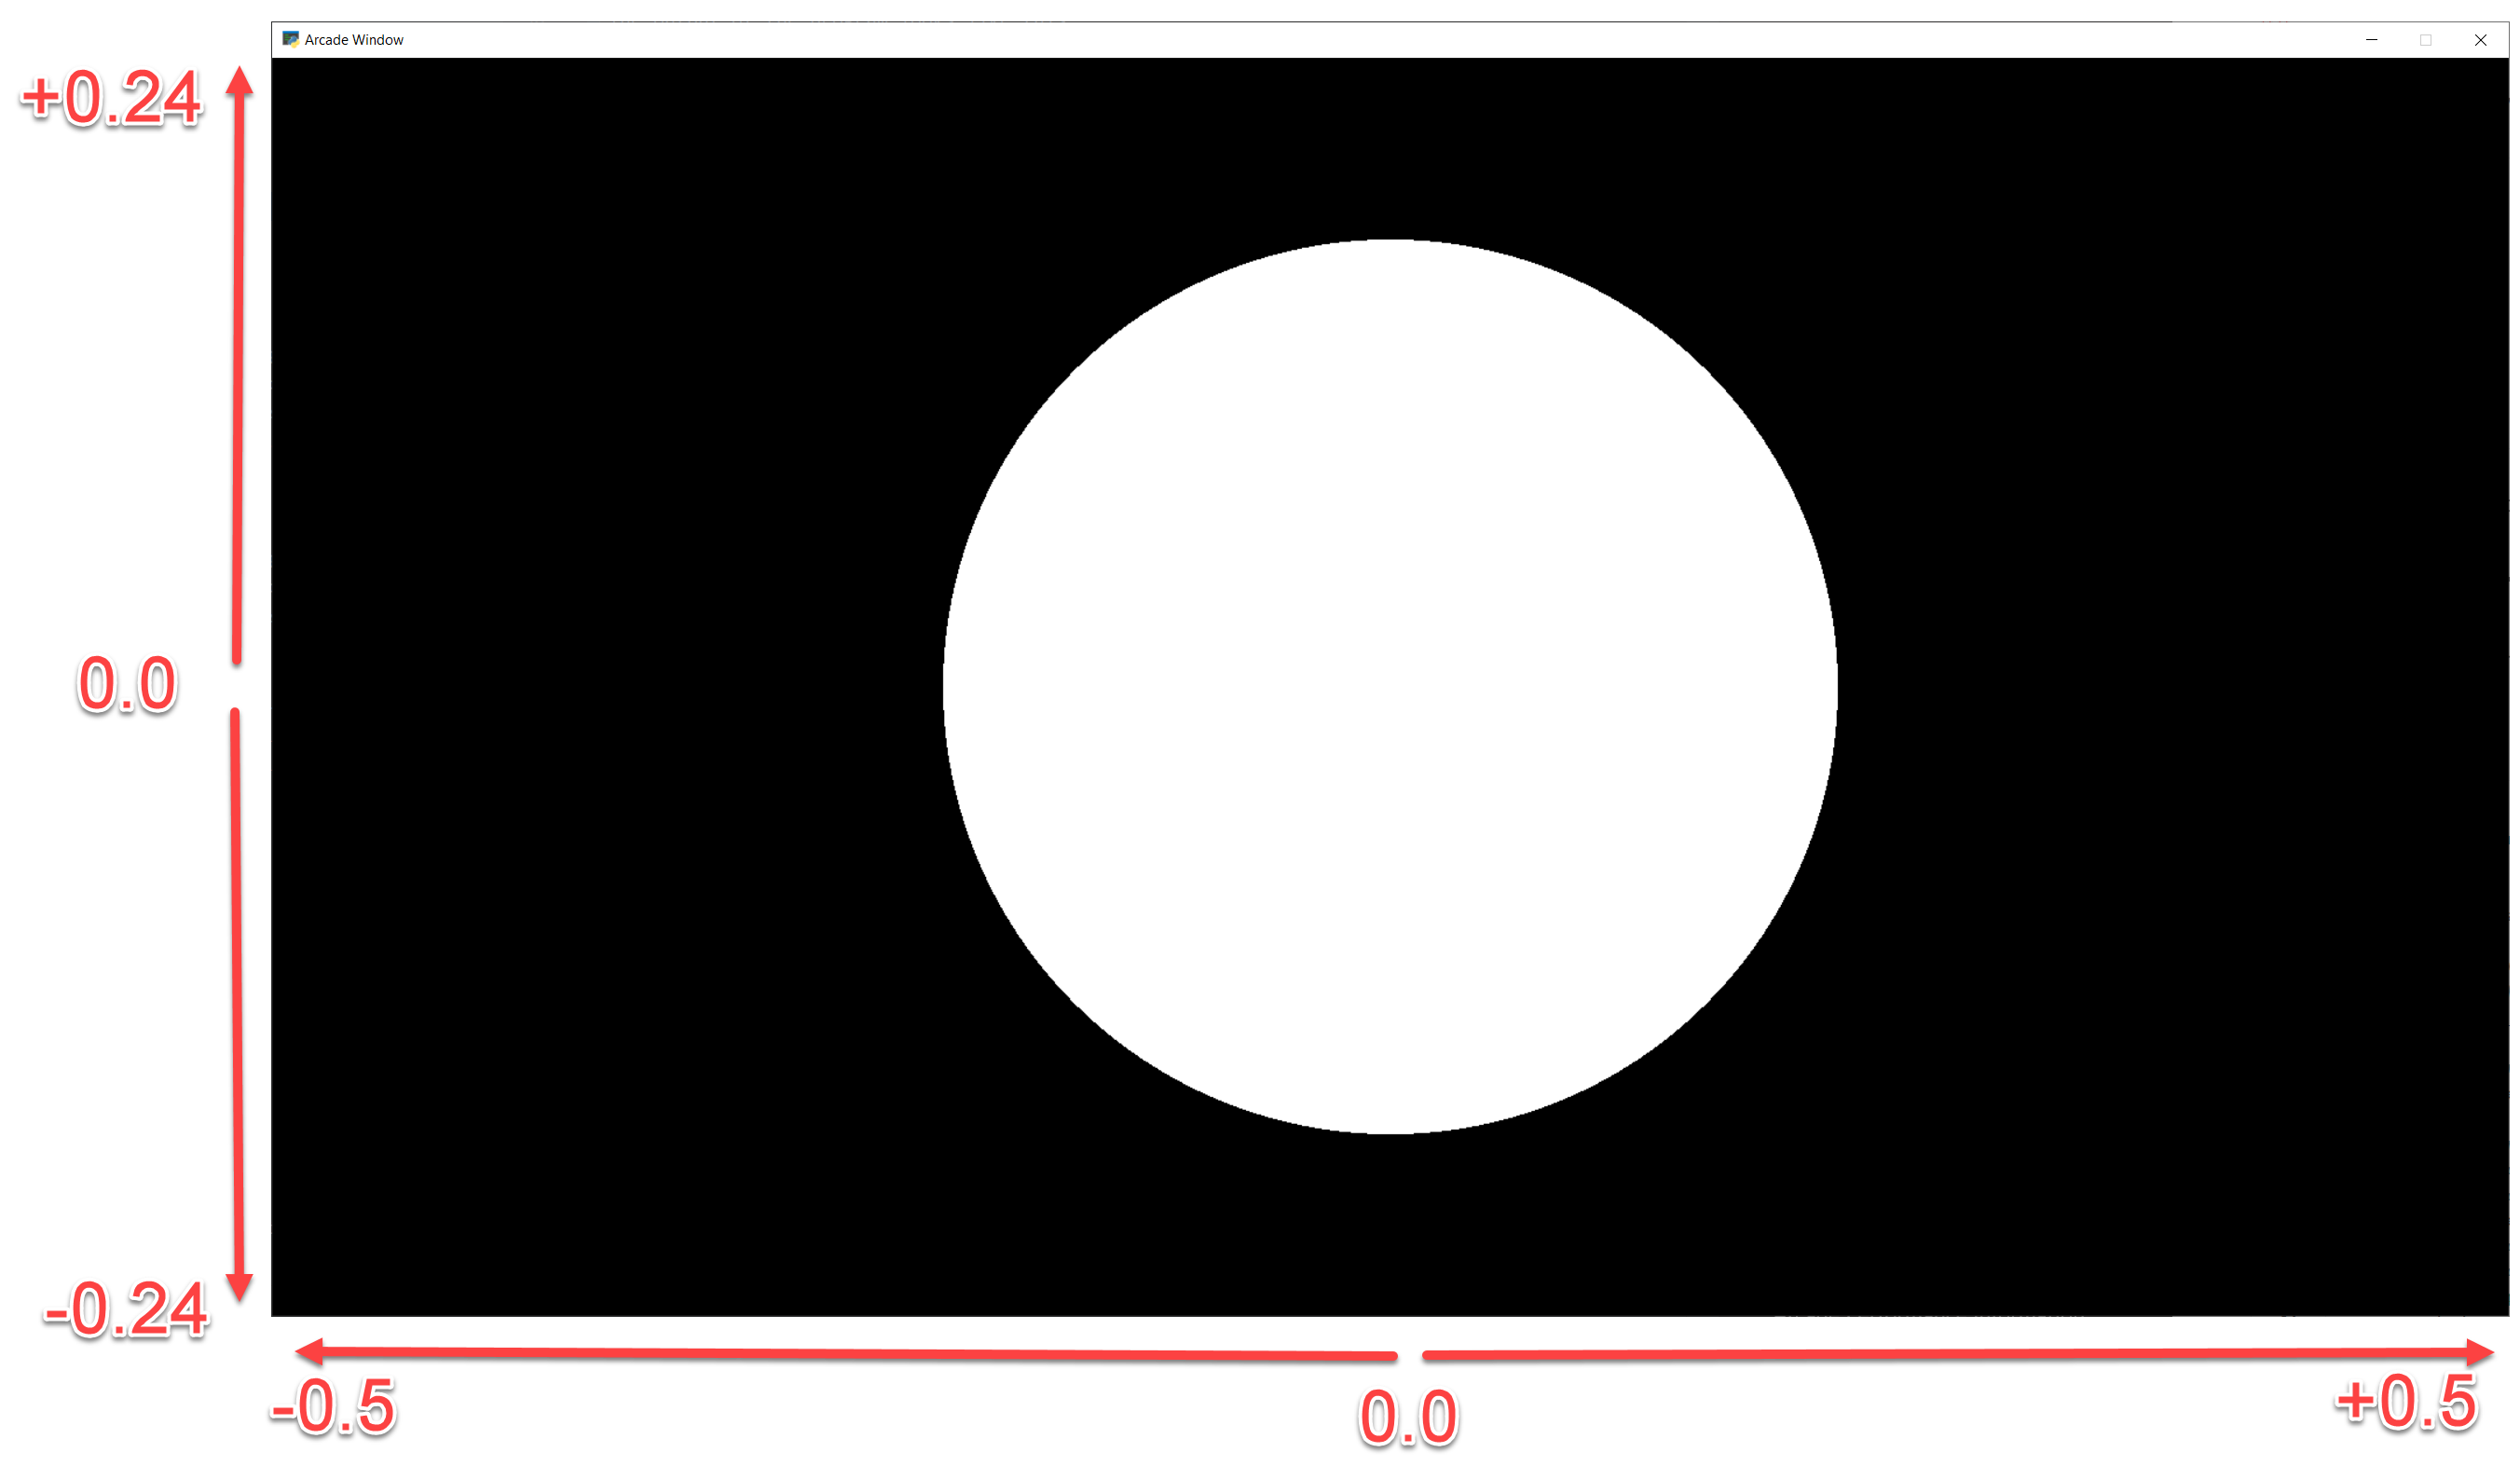
步骤4:将原点移至屏幕中心,调整纵横比#
接下来,我们想要将圆居中,并根据纵横比进行调整。这将在屏幕中央显示一个(0,0)和一个完美的圆圈。
 1void mainImage(out vec4 fragColor, in vec2 fragCoord) {
 2
 3    // Normalized pixel coordinates (from 0 to 1)
 4    vec2 uv = fragCoord/iResolution.xy;
 5
 6    // Position of fragment relative to center of screen
 7    vec2 rpos = uv - 0.5;
 8    // Adjust y by aspect ratio
 9    rpos.y /= iResolution.x/iResolution.y;
10
11    // How far is the current pixel from the origin (0, 0)
12    float distance = length(rpos);
13
14    // Default our color to white
15    vec3 color = vec3(1.0, 1.0, 1.0);
16
17    // Are we are 20% of the screen away from the origin?
18    if (distance > 0.2) {
19        // Black
20        fragColor = vec4(0.0, 0.0, 0.0, 1.0);
21    } else {
22        // White
23        fragColor = vec4(1.0, 1.0, 1.0, 1.0);
24    }
25}
步骤5:添加淡入淡出效果#
我们可以获取颜色,比如白色(1.0,1.0,1.0),并通过将它们乘以浮点数来调整它们的强度。乘以白色乘以0.5将得到灰色(0.5、0.5、0.5)。
我们可以使用它在我们的圆圈周围创建淡入淡出效果。距离的倒数 \(\frac{{1}}{{d}}\) 给了我们一个很好的曲线。然而,数字太大了,无法调整我们的白色。我们可以通过缩小规模来解决这个问题。运行此命令,然后调整比例值以查看其变化情况。
 1void mainImage(out vec4 fragColor, in vec2 fragCoord) {
 2
 3    // Normalized pixel coordinates (from 0 to 1)
 4    vec2 uv = fragCoord/iResolution.xy;
 5
 6    // Position of fragment relative to center of screen
 7    vec2 rpos = uv - 0.5;
 8    // Adjust y by aspect ratio
 9    rpos.y /= iResolution.x/iResolution.y;
10
11    // How far is the current pixel from the origin (0, 0)
12    float distance = length(rpos);
13    // Use an inverse 1/distance to set the fade
14    float scale = 0.02;
15    float strength = 1.0 / distance * scale;
16
17    // Fade our white color
18    vec3 color = strength * vec3(1.0, 1.0, 1.0);
19
20    // Output to the screen
21    fragColor = vec4(color, 1.0);
22}
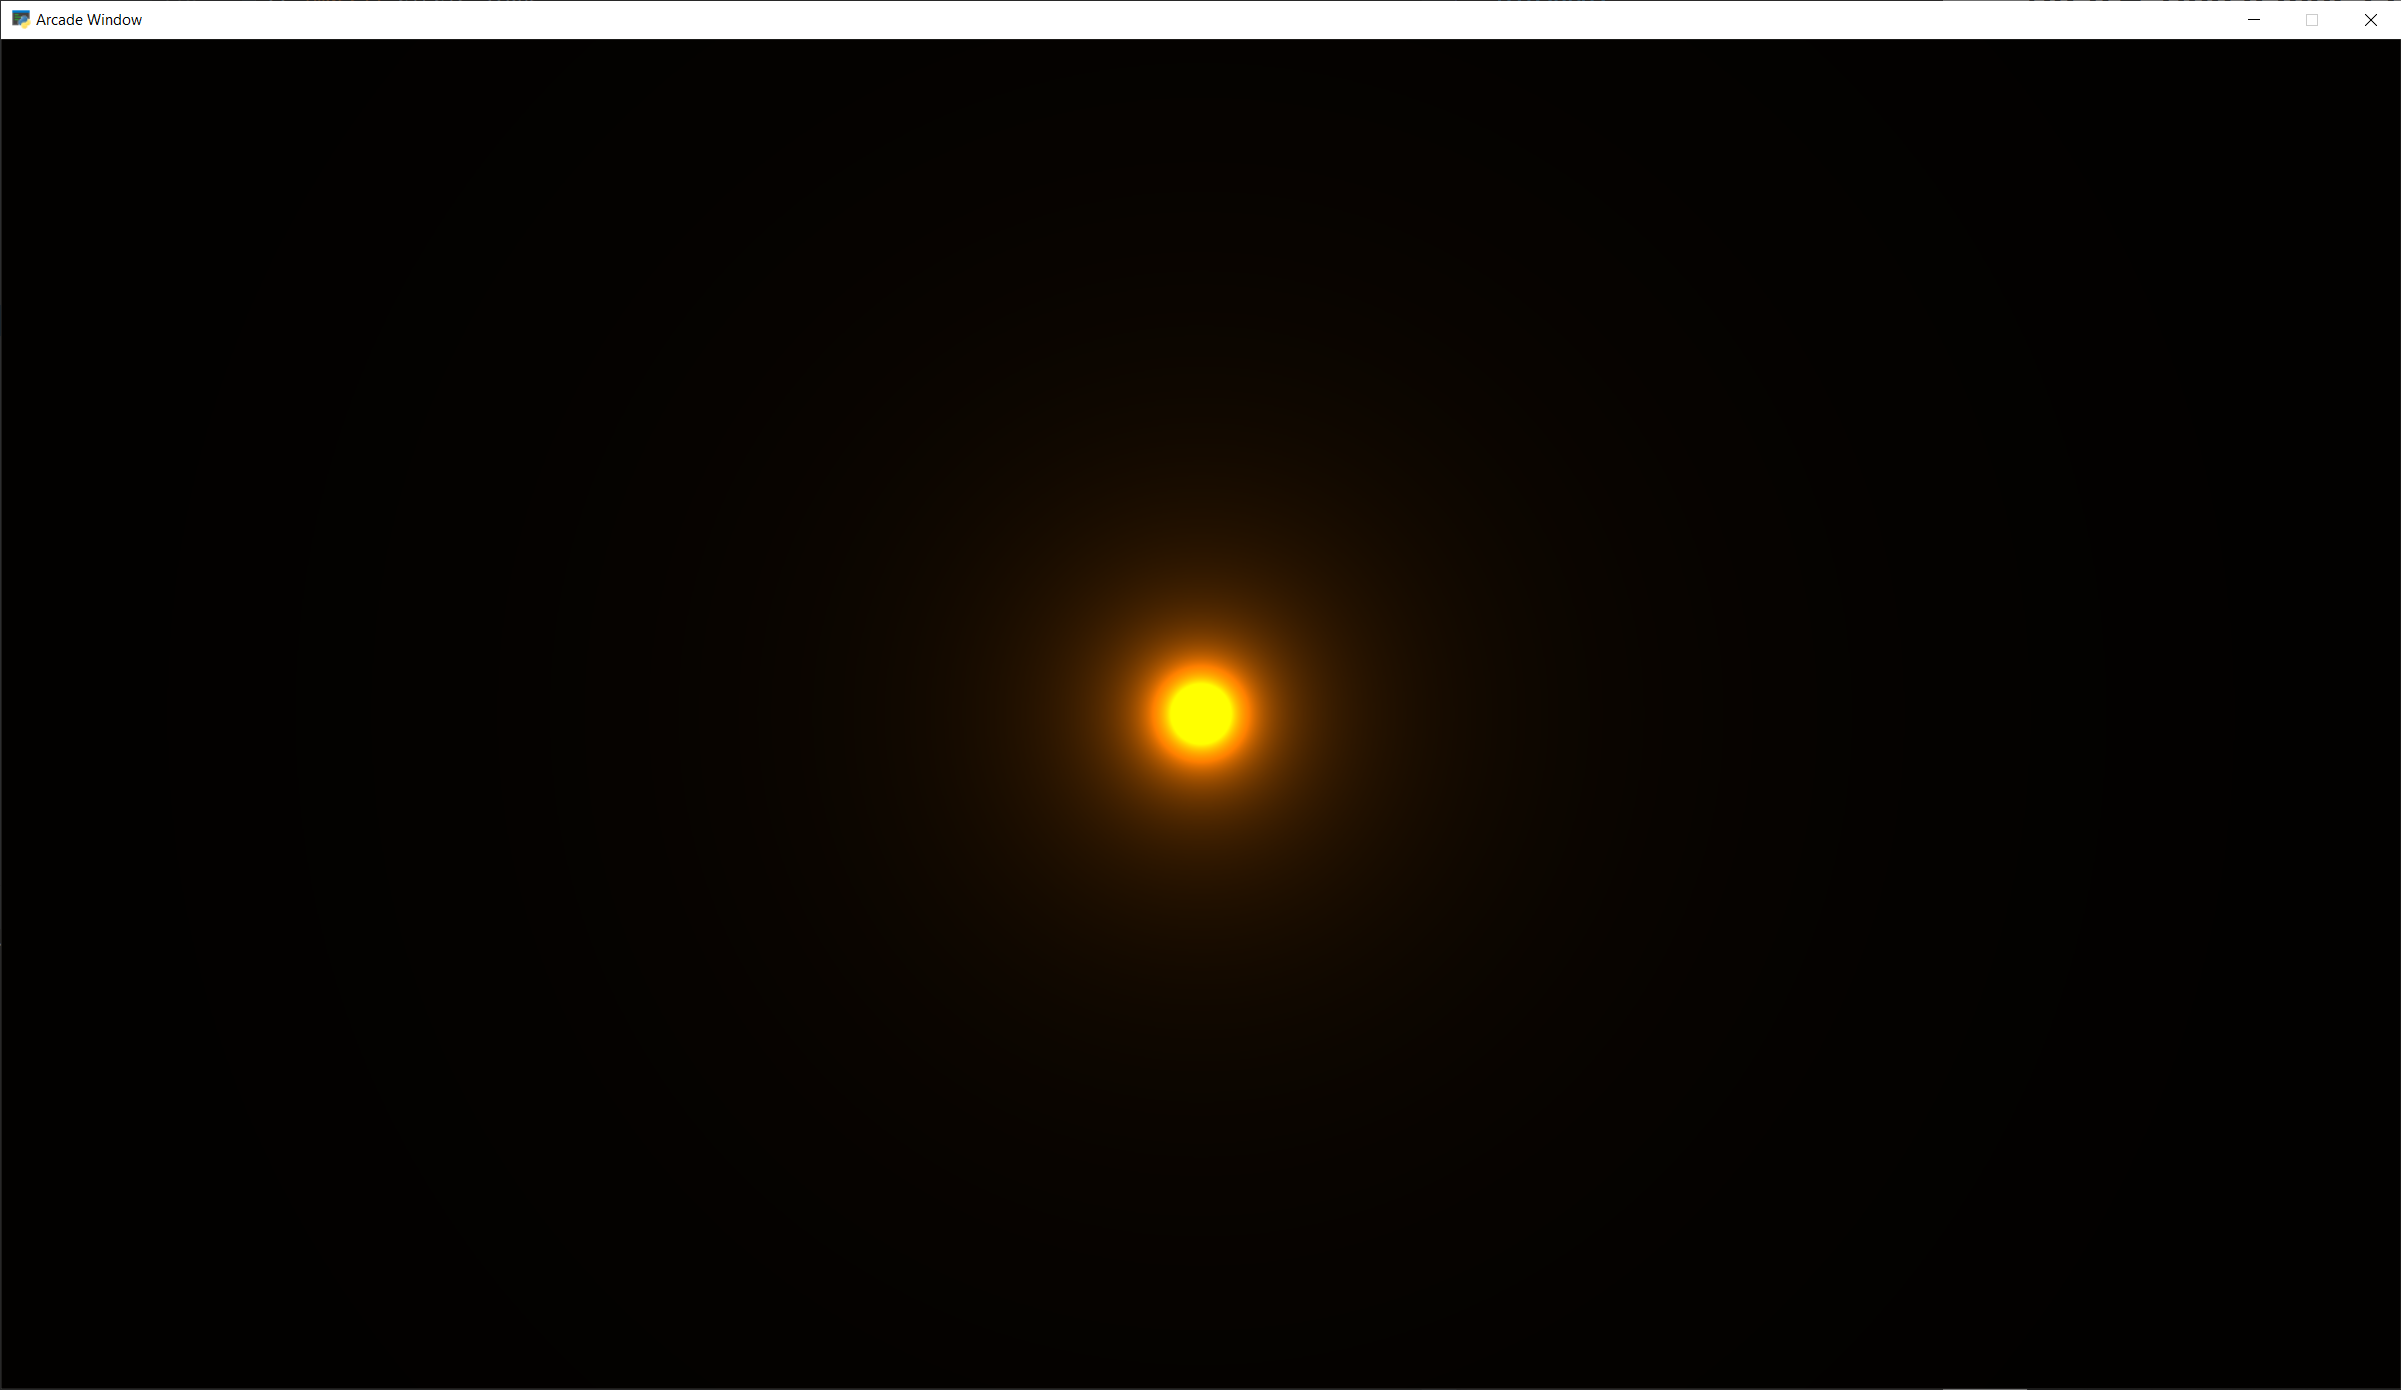
第六步:调整我们淡出的速度#
我们可以使用指数来调整这条曲线的陡度或浅度。如果我们使用1.0,它将是相同的,0.5会导致它淡出得更慢,1.5会淡出得更快。
我们也可以把颜色改成橙色。
 1void mainImage(out vec4 fragColor, in vec2 fragCoord) {
 2
 3    // Normalized pixel coordinates (from 0 to 1)
 4    vec2 uv = fragCoord/iResolution.xy;
 5
 6    // Position of fragment relative to center of screen
 7    vec2 rpos = uv - 0.5;
 8    // Adjust y by aspect ratio
 9    rpos.y /= iResolution.x/iResolution.y;
10
11    // How far is the current pixel from the origin (0, 0)
12    float distance = length(rpos);
13    // Use an inverse 1/distance to set the fade
14    float scale = 0.02;
15    float fade = 1.5;
16    float strength = pow(1.0 / distance * scale, fade);
17
18    // Fade our orange color
19    vec3 color = strength * vec3(1.0, 0.5, 0.0);
20
21    // Output to the screen
22    fragColor = vec4(color, 1.0);
23}
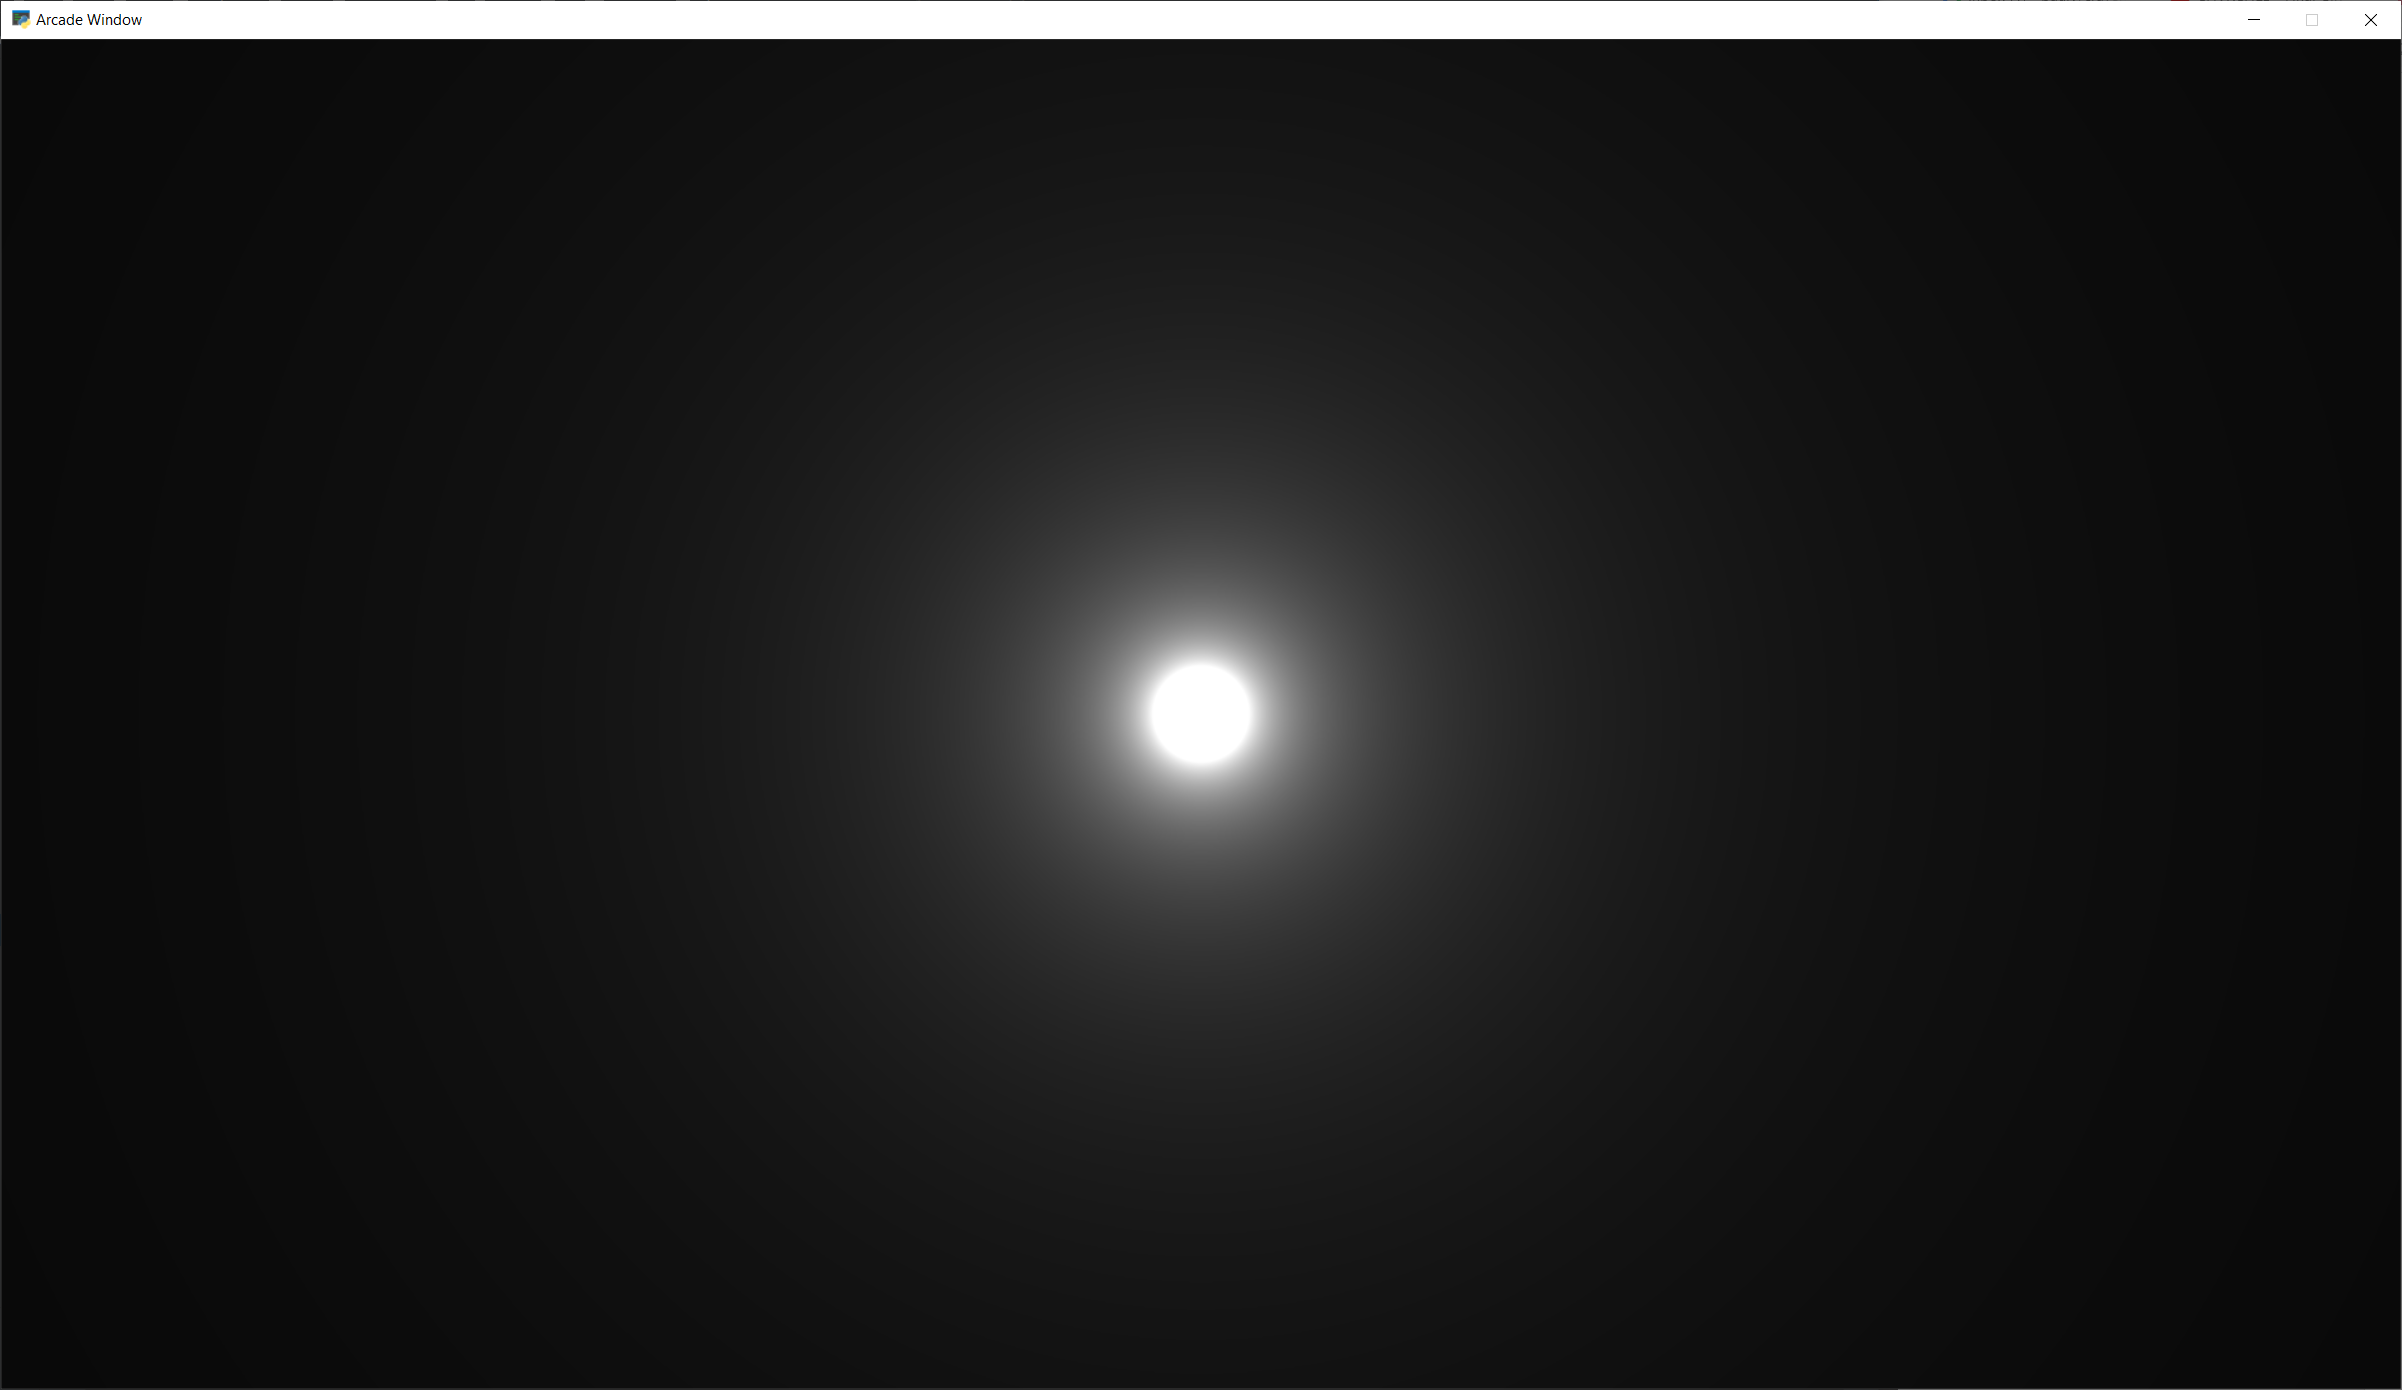
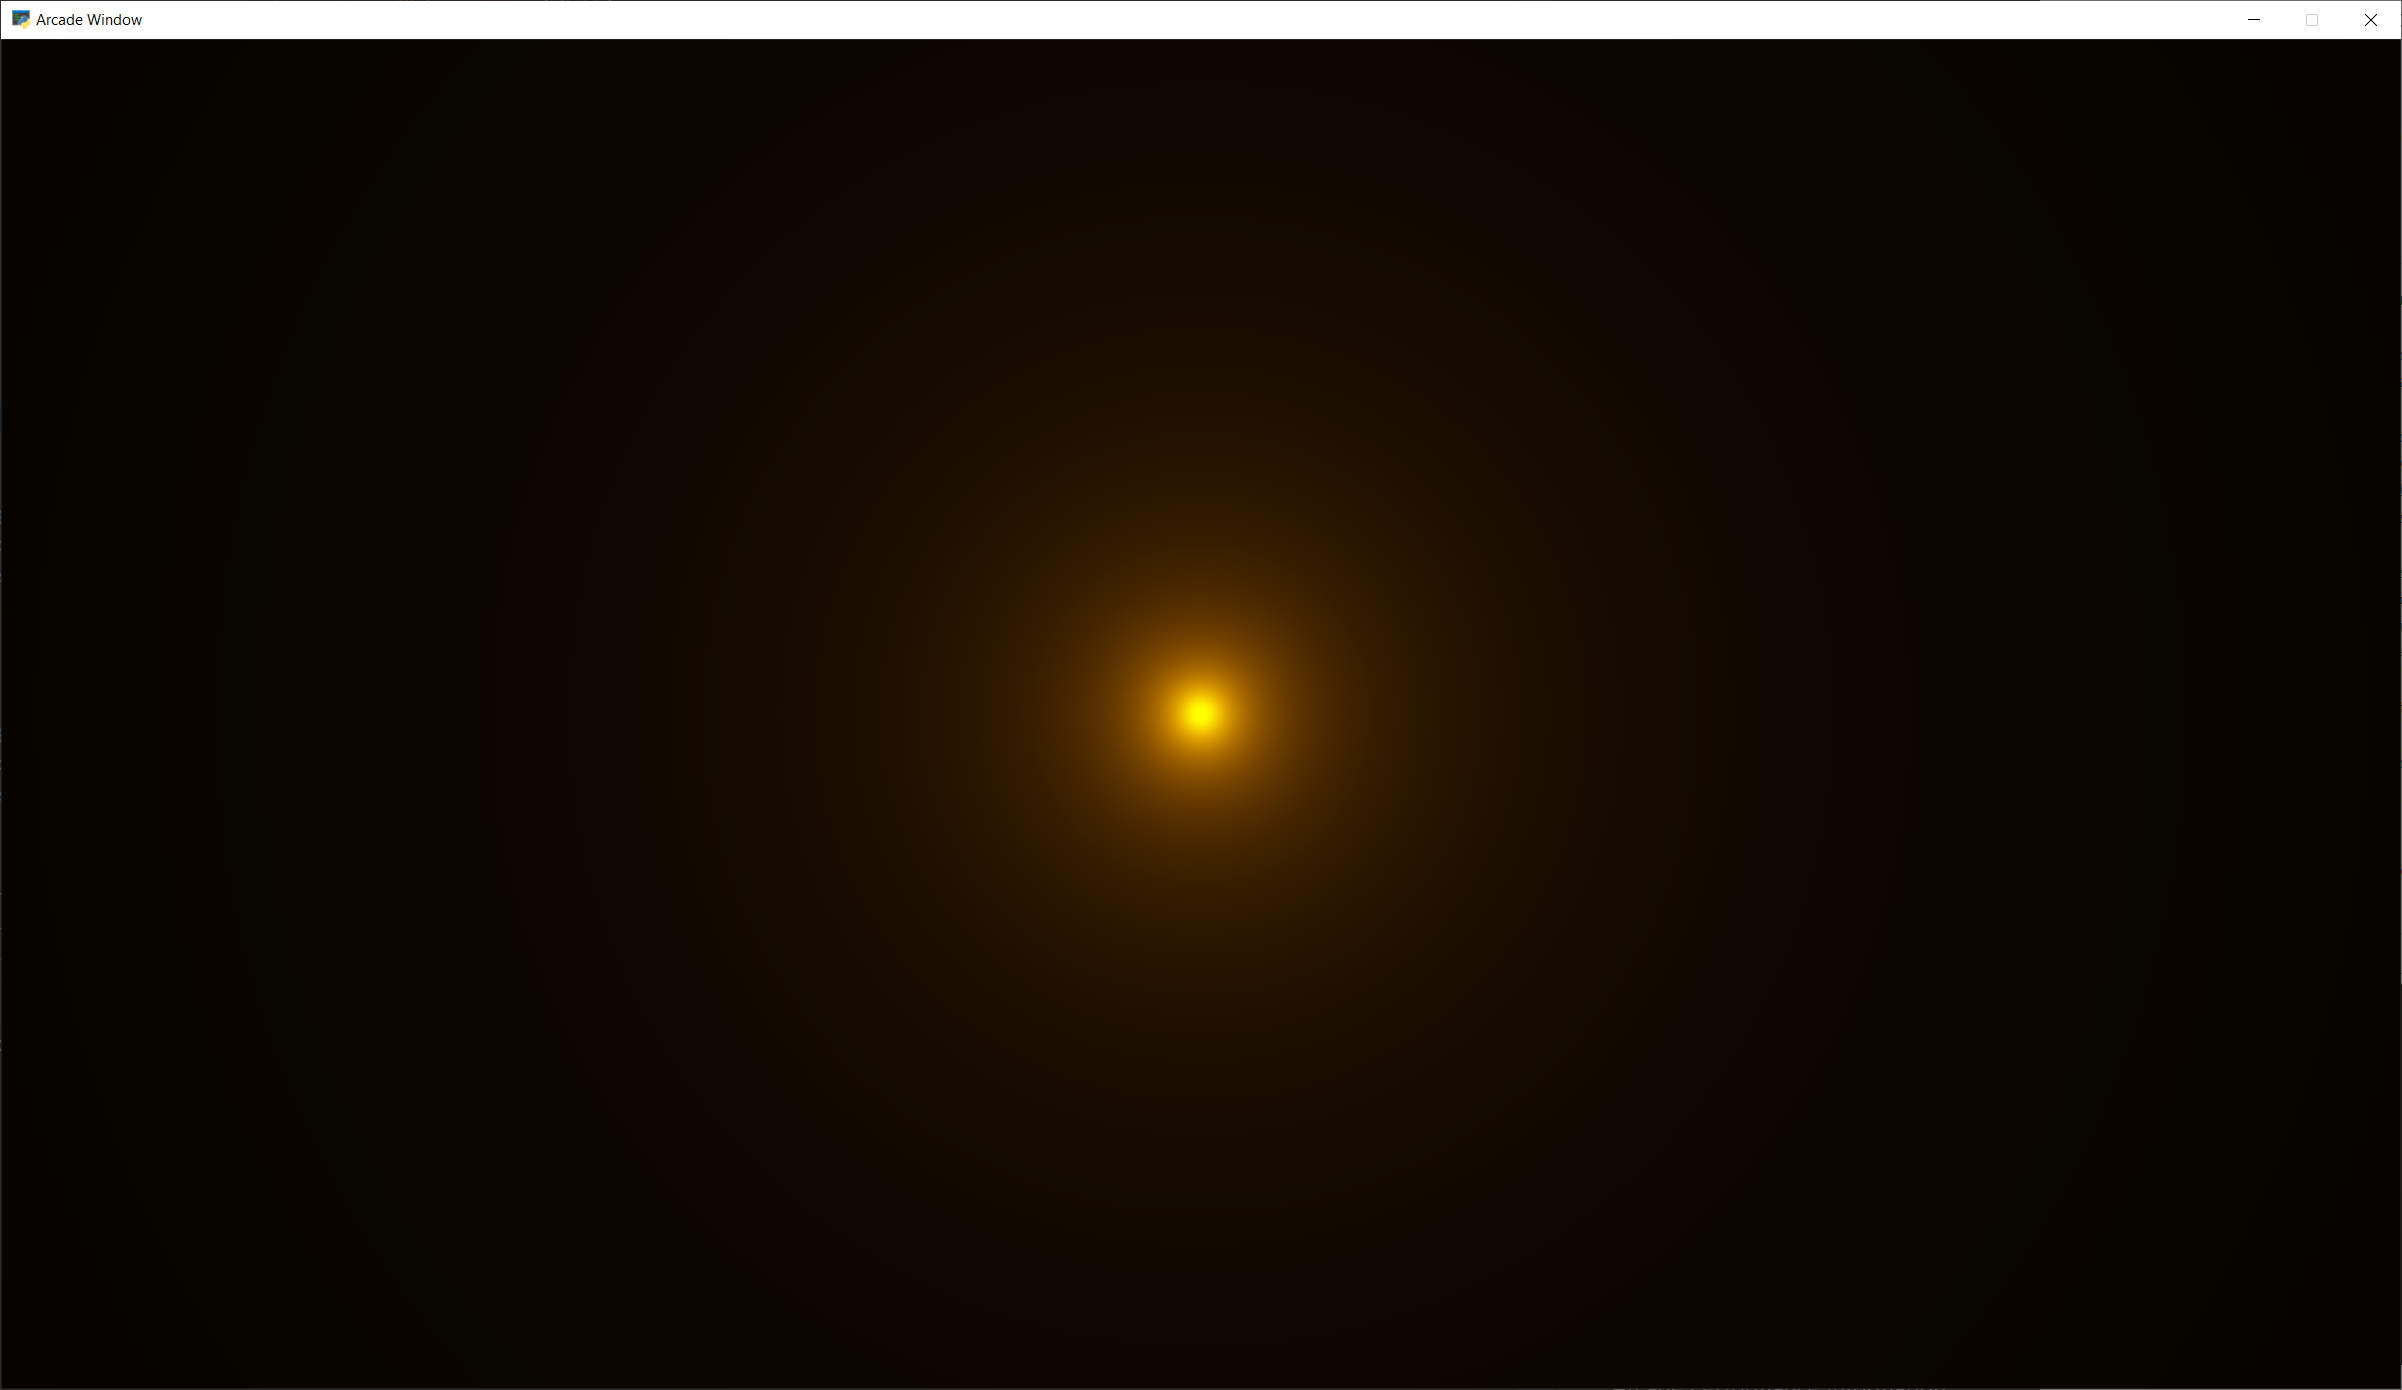
步骤7:色调映射#
一旦我们添加了颜色,光晕看起来就有点暗了。我们可以做一些数学“色调映射”,如果你喜欢看起来更好。
 1void mainImage(out vec4 fragColor, in vec2 fragCoord) {
 2
 3    // Normalized pixel coordinates (from 0 to 1)
 4    vec2 uv = fragCoord/iResolution.xy;
 5
 6    // Position of fragment relative to center of screen
 7    vec2 rpos = uv - 0.5;
 8    // Adjust y by aspect ratio
 9    rpos.y /= iResolution.x/iResolution.y;
10
11    // How far is the current pixel from the origin (0, 0)
12    float distance = length(rpos);
13    // Use an inverse 1/distance to set the fade
14    float scale = 0.02;
15    float fade = 1.1;
16    float strength = pow(1.0 / distance * scale, fade);
17
18    // Fade our orange color
19    vec3 color = strength * vec3(1.0, 0.5, 0);
20
21    // Tone mapping
22    color = 1.0 - exp( -color );
23
24    // Output to the screen
25    fragColor = vec4(color, 1.0);
26}
步骤8:定位光晕#
如果我们想要将光晕定位在某个点上,该怎么办?把x,y放在中心位置?如果我们也想控制发光的颜色呢?
我们可以使用以下命令将数据发送到着色器 制服 。对于着色器渲染的每个像素,我们发送的数据将是相同的(统一的)。可以很容易地在我们的Python程序中设置制服:
 1import arcade
 2from arcade.experimental import Shadertoy
 3
 4
 5# Derive an application window from Arcade's parent Window class
 6class MyGame(arcade.Window):
 7
 8    def __init__(self, width=1920, height=1080, glow_color=arcade.color.LIGHT_BLUE):
 9        # Call the parent constructor
10        super().__init__(width=width, height=height)
11
12        # Load a file and create a shader from it
13        shader_file_path = "circle_6.glsl"
14        window_size = self.get_size()
15        self.shadertoy = Shadertoy.create_from_file(window_size, shader_file_path)
16        # Set uniform light color data to send to the GLSL shader
17        # from the normalized RGB components of the color.
18        self.shadertoy.program['color'] = glow_color.normalized[:3]
19
20    def on_draw(self):
21        # Set uniform position data to send to the GLSL shader
22        self.shadertoy.program['pos'] = self.mouse["x"], self.mouse["y"]
23        # Run the GLSL code
24        self.shadertoy.render()
25
26if __name__ == "__main__":
27    MyGame()
28    arcade.run()
然后,我们可以在着色器中使用这些制服:
 1uniform vec2 pos;
 2uniform vec3 color;
 3
 4void mainImage(out vec4 fragColor, in vec2 fragCoord) {
 5
 6    // Normalized pixel coordinates (from 0 to 1)
 7    vec2 uv = fragCoord/iResolution.xy;
 8    vec2 npos = pos/iResolution.xy;
 9
10    // Position of fragment relative to specified position
11    vec2 rpos = npos - uv;
12    // Adjust y by aspect ratio
13    rpos.y /= iResolution.x/iResolution.y;
14
15    // How far is the current pixel from the origin (0, 0)
16    float distance = length(rpos);
17    // Use an inverse 1/distance to set the fade
18    float scale = 0.02;
19    float fade = 1.1;
20    float strength = pow(1.0 / distance * scale, fade);
21
22    // Fade our orange color
23    vec3 color = strength * color;
24
25    // Tone mapping
26    color = 1.0 - exp( -color );
27
28    // Output to the screen
29    fragColor = vec4(color, 1.0);
30}

备注
内置制服
ShaderToy采用了一些内置值。这些设置可以在 Shadertoy.render() 打电话。在本例中,我没有使用这些变量,因为我想展示如何发送任何值,而不仅仅是内置的值。内置值:
PYTON变量
GLSL变量
时间
ITime
time_delta
ITimeDelta
mouse_position
IMouse
大小
这是由Shadertoy.resize()设置的
框架
IFRAME
下面是它们如何设置的一个示例:
my_shader.render(time=self.time, mouse_position=mouse_position)调整窗口大小时,请确保始终调整着色器的大小。
其他例子#
下面是另一个加载GLSL文件并显示该文件的Python程序:
 1import arcade
 2from arcade.experimental import Shadertoy
 3
 4
 5class MyGame(arcade.Window):
 6
 7    def __init__(self):
 8        # Call the parent constructor
 9        super().__init__(width=1920, height=1080, title="Shader Demo", resizable=True)
10
11        # Keep track of total run-time
12        self.time = 0.0
13
14        # File name of GLSL code
15        # file_name = "fractal_pyramid.glsl"
16        # file_name = "cyber_fuji_2020.glsl"
17        file_name = "earth_planet_sky.glsl"
18        # file_name = "flame.glsl"
19        # file_name = "star_nest.glsl"
20
21        # Create a shader from it
22        self.shadertoy = Shadertoy(size=self.get_size(),
23                                   main_source=open(file_name).read())
24
25    def on_draw(self):
26        self.clear()
27        mouse_pos = self.mouse["x"], self.mouse["y"]
28        self.shadertoy.render(time=self.time, mouse_position=mouse_pos)
29
30    def on_update(self, dt):
31        # Keep track of elapsed time
32        self.time += dt
33
34
35if __name__ == "__main__":
36    MyGame()
37    arcade.run()
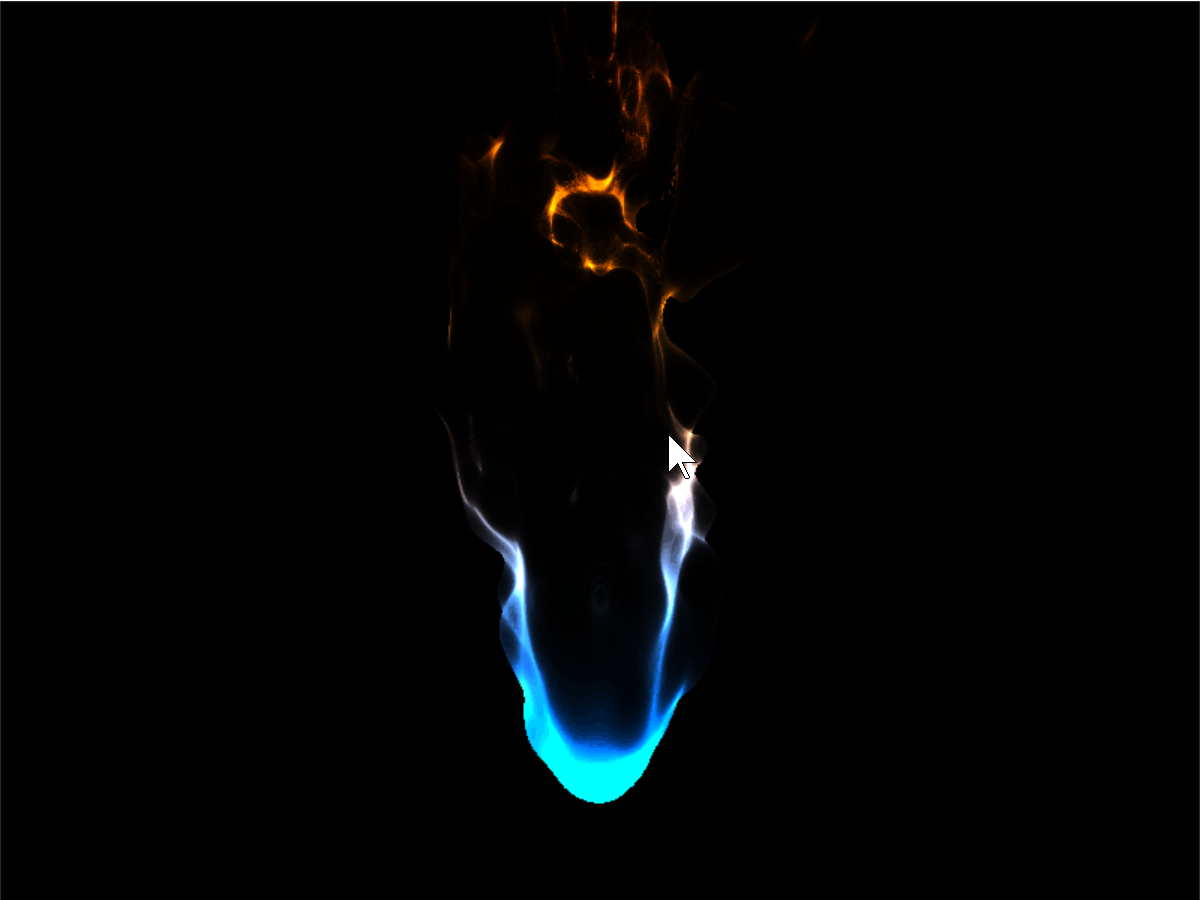
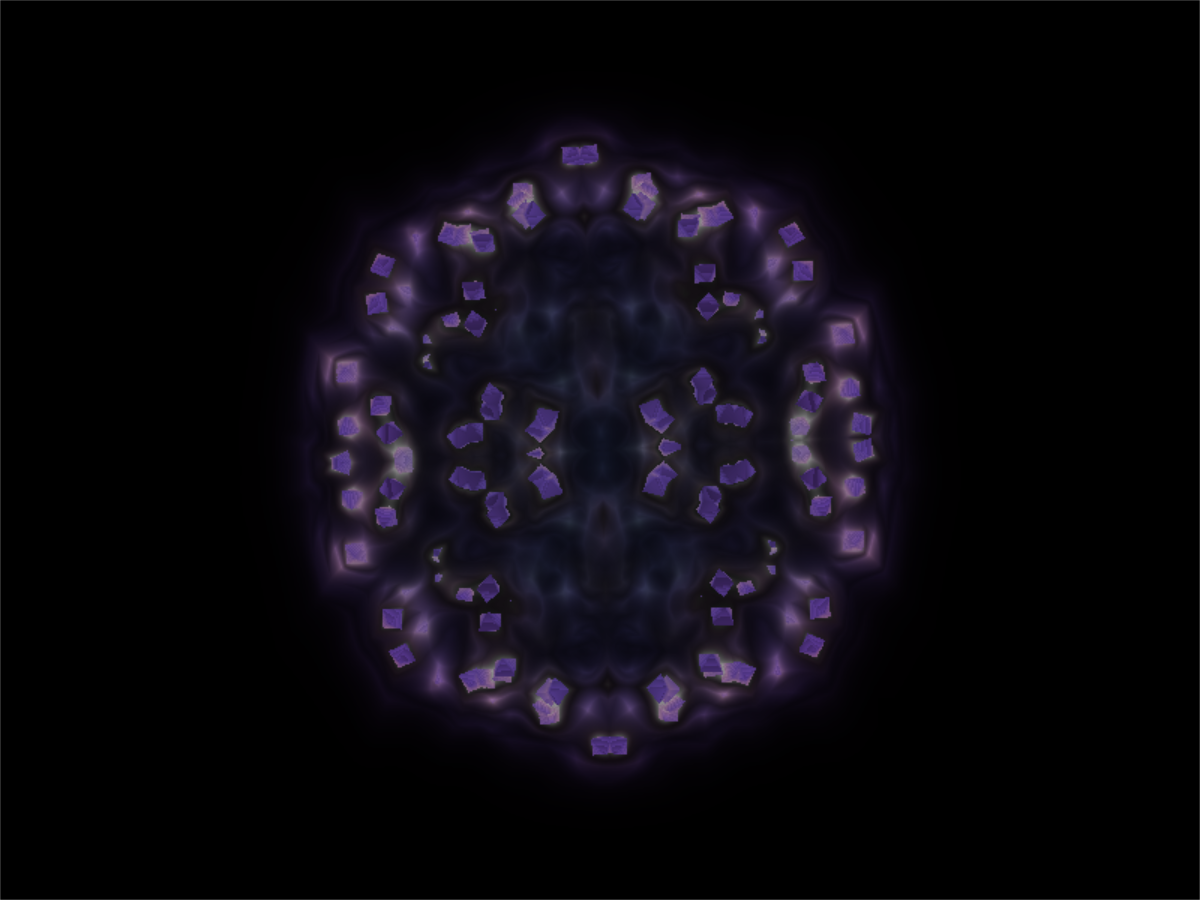
您可以将此演示与下面的任何示例代码一起使用。单击此处示例着色器下方的标题可查看着色器的源代码。
其他一些示例着色器:

其他学习#
在本网站上:
了解在中创建粒子的方法 着色器玩具粒子 。
了解如何在 光线投射阴影 。
让您的屏幕看起来像80年代的显示器 CRT滤光片 。
阅读有关在Arcade中使用OpenGL的详细信息 OpenGL 。
学习如何使用计算着色器 计算着色器 。
在其他网站上:
这里有一个制作着色器的很好的样例学习教程:https://www.shadertoy.com/view/Md23DV
以下是一个视频教程,逐步介绍了如何进行爆炸:https://www.youtube.com/watch?v=xDxAnguEOn8