GPU粒子爆发#

在此示例中,我们将演示如何使用粒子创建爆炸。粒子由GPU跟踪,显著提高了性能。
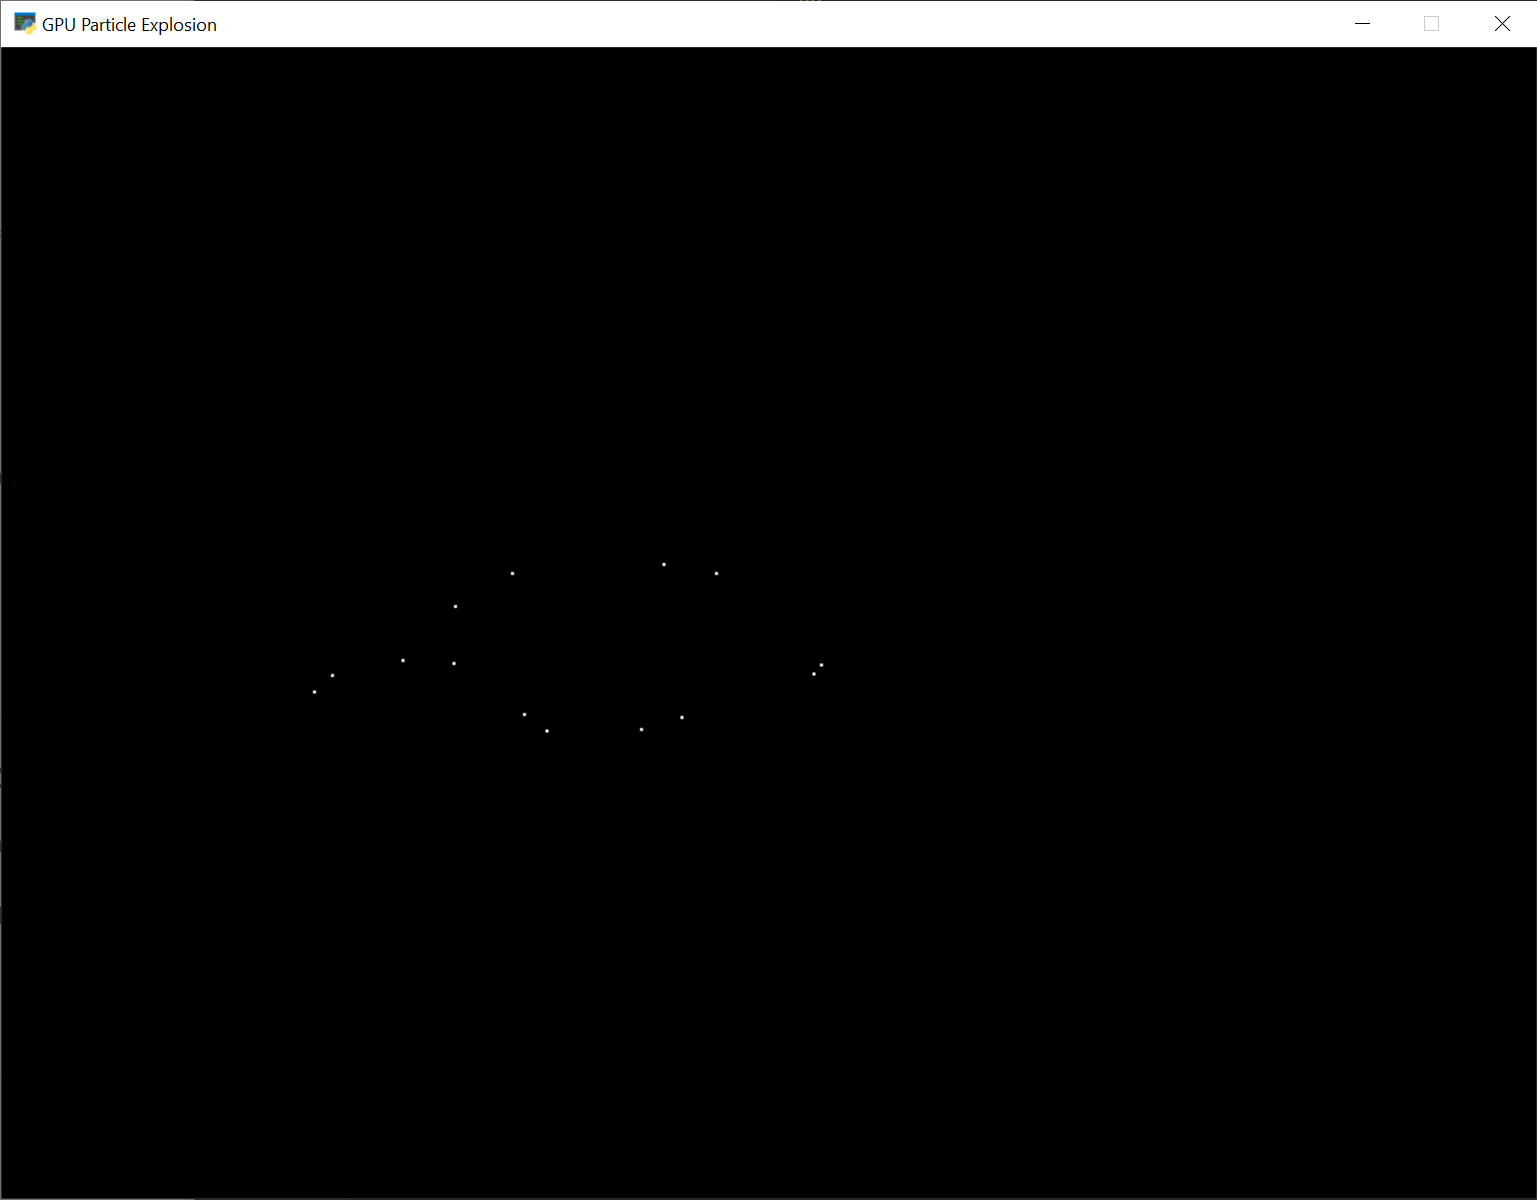
步骤1:打开空白窗口#
首先,让我们从一个空白窗口开始。
 1"""
 2Example showing how to create particle explosions via the GPU.
 3"""
 4import arcade
 5
 6SCREEN_WIDTH = 1024
 7SCREEN_HEIGHT = 768
 8SCREEN_TITLE = "GPU Particle Explosion"
 9
10
11class MyWindow(arcade.Window):
12    """ Main window"""
13    def __init__(self):
14        super().__init__(SCREEN_WIDTH, SCREEN_HEIGHT, SCREEN_TITLE)
15
16    def on_draw(self):
17        """ Draw everything """
18        self.clear()
19
20    def on_update(self, dt):
21        """ Update everything """
22        pass
23
24    def on_mouse_press(self, x: float, y: float, button: int, modifiers: int):
25        """ User clicks mouse """
26        pass
27
28
29if __name__ == "__main__":
30    window = MyWindow()
31    window.center_window()
32    arcade.run()
步骤2:为每次单击创建一个粒子#
在下一节中,我们将在用户每次在屏幕上单击鼠标时绘制一个点。
对于每一次单击,我们将创建一个 Burst 类,这些类最终将转变为完全爆炸。每个突发实例都将被添加到一个列表中。
进口商品#
首先,我们将为我们的程序导入更多项目:
from array import array
from dataclasses import dataclass

import arcade
import arcade.gl
突发数据类#
接下来,我们将创建一个数据类来跟踪每个猝发的数据。对于每个猝发,我们需要跟踪一个顶点数组对象(VAO),该对象存储有关猝发的信息。在这里面,我们将有一个顶点缓冲区对象(VBO),它将是一个高速内存缓冲区,我们将在其中存储位置、颜色、速度等。
@dataclass
class Burst:
    """ Track for each burst. """
    buffer: arcade.gl.Buffer
    vao: arcade.gl.Geometry
初始化方法#
接下来,我们将创建一个名为 burst_list 。我们还将创建我们的OpenGL着色器程序。该程序将是两个着色器程序的集合。这些文件将存储在单独的文件中,保存在同一目录中。
备注
除了通过 load_program() 一种方法 ArcadeContext 如图所示,还可以通过使用以下命令将GLSL程序保留在三引号字符串中 program() 的 Context 。
    def __init__(self):
        super().__init__(SCREEN_WIDTH, SCREEN_HEIGHT, SCREEN_TITLE)
        self.burst_list = []

        # Program to visualize the points
        self.program = self.ctx.load_program(
            vertex_shader="vertex_shader_v1.glsl",
            fragment_shader="fragment_shader.glsl",
        )

        self.ctx.enable_only()
OpenGL着色器#
OpenGL着色语言(GLSL)是在图形卡(GPU)上运行的C样式语言,而不是在CPU上运行。遗憾的是,对该语言的完整解释超出了本教程的范围。然而,我希望该教程能让您开始了解它是如何工作的。
我们将拥有两个着色器。一个 顶点着色器 ,和一个 片段着色器 。顶点着色器针对要渲染的几何体的每个顶点运行,碎片着色器针对每个像素运行。例如,顶点着色器可能为矩形上的每个点运行四次,片段着色器将为屏幕上的每个像素运行。
顶点着色器采用顶点的位置。我们会设置 in_pos 并将该数据传递给该着色器。
顶点着色器输出顶点的颜色。颜色是红-绿-蓝-阿尔法(RGBA)格式,浮点数的范围从0到1。在下面的程序中,我们将颜色设置为(1,1,1),即白色,第四个1表示完全不透明。
 1#version 330
 2
 3// (x, y) position passed in
 4in vec2 in_pos;
 5
 6// Output the color to the fragment shader
 7out vec4 color;
 8
 9void main() {
10
11    // Set the RGBA color
12    color = vec4(1, 1, 1, 1);
13
14    // Set the position. (x, y, z, w)
15    gl_Position = vec4(in_pos, 0.0, 1);
16}
碎片着色器没有太多功能,它只是接收 color 从顶点着色器中,并将其作为像素颜色传回。在本教程中,我们将为每个版本使用相同的片段着色器。
 1#version 330
 2
 3// Color passed in from the vertex shader
 4in vec4 color;
 5
 6// The pixel we are writing to in the framebuffer
 7out vec4 fragColor;
 8
 9void main() {
10
11    // Fill the point
12    fragColor = vec4(color);
13}
按下鼠标#
每次我们按下鼠标按键时,我们都会在该位置创建一个爆炸。
该猝发的数据将存储在 Burst 班级。
这个 Burst 类需要我们的数据缓冲区。数据缓冲区包含有关每个粒子的信息。在这种情况下,我们只有一个粒子,只需要将该粒子的x,y存储在缓冲区中。然而,最终我们将有数百个粒子,每个粒子都有位置、速度、颜色和衰减率。为了便于创建该数据,我们创建了一个生成器函数 _gen_initial_data 。在这一点上,它完全是夸大其词,但我们将在本教程中对其进行补充。
这个 buffer_description 表示每个顶点都有两个浮动数据点 (2f ),这些数据点将以引用名称进入着色器 in_pos 我们在上面的 OpenGL着色器
    def on_mouse_press(self, x: float, y: float, button: int, modifiers: int):
        """ User clicks mouse """

        def _gen_initial_data(initial_x, initial_y):
            """ Generate data for each particle """
            yield initial_x
            yield initial_y

        # Recalculate the coordinates from pixels to the OpenGL system with
        # 0, 0 at the center.
        x2 = x / self.width * 2. - 1.
        y2 = y / self.height * 2. - 1.

        # Get initial particle data
        initial_data = _gen_initial_data(x2, y2)

        # Create a buffer with that data
        buffer = self.ctx.buffer(data=array('f', initial_data))

        # Create a buffer description specifying the buffer's data format
        buffer_description = arcade.gl.BufferDescription(
            buffer,
            '2f',
            ['in_pos'])

        # Create our Vertex Attribute Object
        vao = self.ctx.geometry([buffer_description])

        # Create the Burst object and add it to the list of bursts
        burst = Burst(buffer=buffer, vao=vao)
        self.burst_list.append(burst)
绘图#
最后,画出来。
    def on_draw(self):
        """ Draw everything """
        self.clear()

        # Set the particle size
        self.ctx.point_size = 2 * self.get_pixel_ratio()

        # Loop through each burst
        for burst in self.burst_list:

            # Render the burst
            burst.vao.render(self.program, mode=self.ctx.POINTS)
节目单#
Fragment_shader.glsl完整清单 ← Where we are right now
Vertex_shader_v1.glsl完整列表 ← Where we are right now
GPU_PERGET_BURST_02.py完整列表 ← Where we are right now
GPU_粒子_突发_02.py差异 ← What we changed to get here
步骤3:多个移动的粒子#
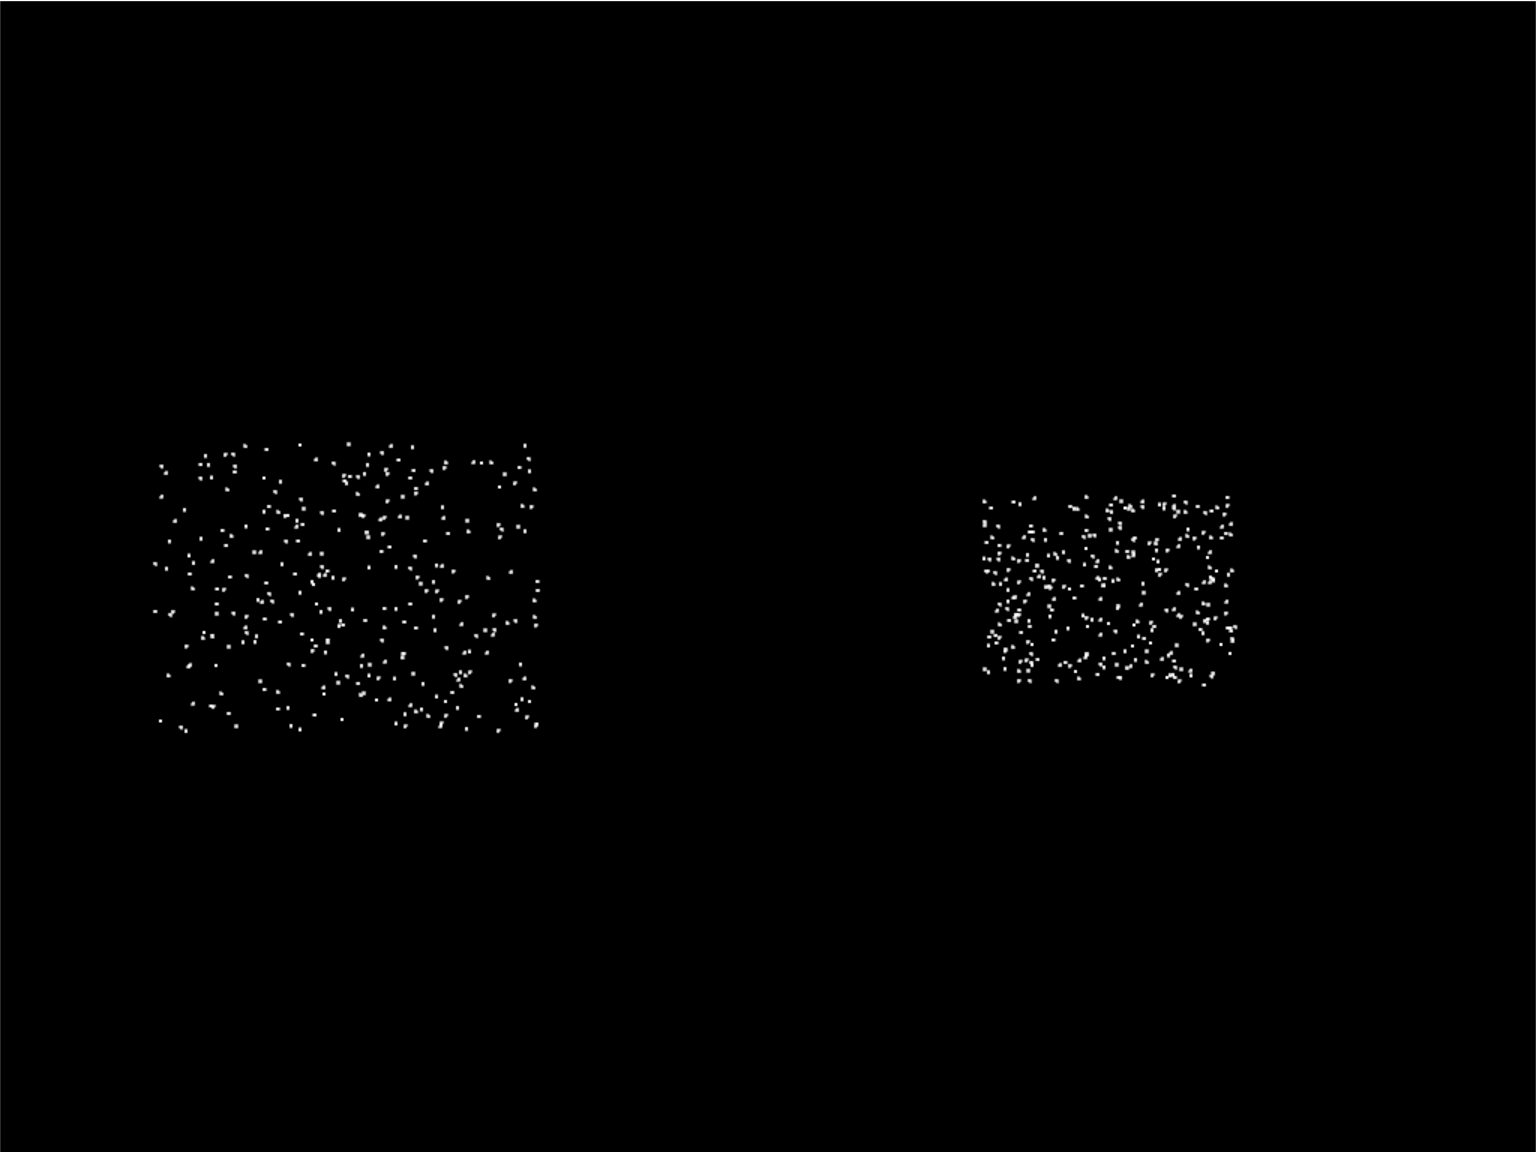
下一步是拥有多个粒子,并让这些粒子移动。我们将通过创建粒子,并根据自创建以来的时间计算它们应该位于的位置来完成此操作。这与我们移动精灵的方式略有不同,因为在每次更新调用期间会逐位手动重新定位精灵。
进口商品#
首先,我们将为两个 random 和 time 库:
import random
import time
常量#
然后,我们需要创建一个包含要创建的粒子数量的常量:
PARTICLE_COUNT = 300
突发数据类#
我们需要在突发数据中添加一个时间。这将是一个浮点数,表示创建猝发时的开始时间。
@dataclass
class Burst:
    """ Track for each burst. """
    buffer: arcade.gl.Buffer
    vao: arcade.gl.Geometry
    start_time: float
更新猝发创建#
现在,当我们创建一个爆发时,我们需要多个粒子,每个粒子也需要一个速度。在……里面 _gen_initial_data 我们为每个粒子添加一个循环,并输出增量x和y。
注意:由于我们设置增量x和增量y的方式,粒子将扩展为矩形而不是圆形。我们将在稍后的步骤中解决这一问题。
因为我们添加了一个速度,所以我们的缓冲区现在需要两对浮点数 2f 2f 已命名 in_pos 和 in_vel 。我们将稍微更新着色器以使用新值。
最后,我们的拆分对象需要跟踪我们创建拆分的时间。
 1    def on_mouse_press(self, x: float, y: float, button: int, modifiers: int):
 2        """ User clicks mouse """
 3
 4        def _gen_initial_data(initial_x, initial_y):
 5            """ Generate data for each particle """
 6            for i in range(PARTICLE_COUNT):
 7                dx = random.uniform(-.2, .2)
 8                dy = random.uniform(-.2, .2)
 9                yield initial_x
10                yield initial_y
11                yield dx
12                yield dy
13
14        # Recalculate the coordinates from pixels to the OpenGL system with
15        # 0, 0 at the center.
16        x2 = x / self.width * 2. - 1.
17        y2 = y / self.height * 2. - 1.
18
19        # Get initial particle data
20        initial_data = _gen_initial_data(x2, y2)
21
22        # Create a buffer with that data
23        buffer = self.ctx.buffer(data=array('f', initial_data))
24
25        # Create a buffer description specifying the buffer's data format
26        buffer_description = arcade.gl.BufferDescription(
27            buffer,
28            '2f 2f',
29            ['in_pos', 'in_vel'])
30
31        # Create our Vertex Attribute Object
32        vao = self.ctx.geometry([buffer_description])
33
34        # Create the Burst object and add it to the list of bursts
35        burst = Burst(buffer=buffer, vao=vao, start_time=time.time())
36        self.burst_list.append(burst)
在ON_DRAW中设置时间#
当我们绘制时,我们需要设置“统一数据”(对所有点都相同的数据),它表示自猝发开始以来已经过了多少秒。着色器将使用它来计算粒子位置。
    def on_draw(self):
        """ Draw everything """
        self.clear()

        # Set the particle size
        self.ctx.point_size = 2 * self.get_pixel_ratio()

        # Loop through each burst
        for burst in self.burst_list:

            # Set the uniform data
            self.program['time'] = time.time() - burst.start_time

            # Render the burst
            burst.vao.render(self.program, mode=self.ctx.POINTS)
更新顶点着色器#
我们的顶点着色器需要更新。我们现在收看一部 uniform float 时间到了。统一数据设置一次,程序中的每个顶点都可以使用它。在我们的例子中,我们不需要为爆发中的每个粒子单独复制爆发的开始时间,因此它是统一的数据。
我们还需要添加另一个包含两个浮点的向量,这将包含我们的速度。我们定好了 in_vel 在……里面 更新猝发创建 。
最后我们根据时间和粒子的速度计算出一个新的位置。我们在设置环境时使用新的位置 gl_Position 。
 1#version 330
 2
 3// Time since burst start
 4uniform float time;
 5
 6// (x, y) position passed in
 7in vec2 in_pos;
 8
 9// Velocity of particle
10in vec2 in_vel;
11
12// Output the color to the fragment shader
13out vec4 color;
14
15void main() {
16
17    // Set the RGBA color
18    color = vec4(1, 1, 1, 1);
19
20    // Calculate a new position
21    vec2 new_pos = in_pos + (time * in_vel);
22
23    // Set the position. (x, y, z, w)
24    gl_Position = vec4(new_pos, 0.0, 1);
25}
节目单#
Vertex_shader_v2.glsl完整列表 ← Where we are right now
Vertex_shader_v2.glsl差异 ← What we changed to get here
GPU_PERGET_BURST_03.py完整列表 ← Where we are right now
GPU_粒子_突发_03.py差异 ← What we changed to get here
步骤4:随机角度和速度#
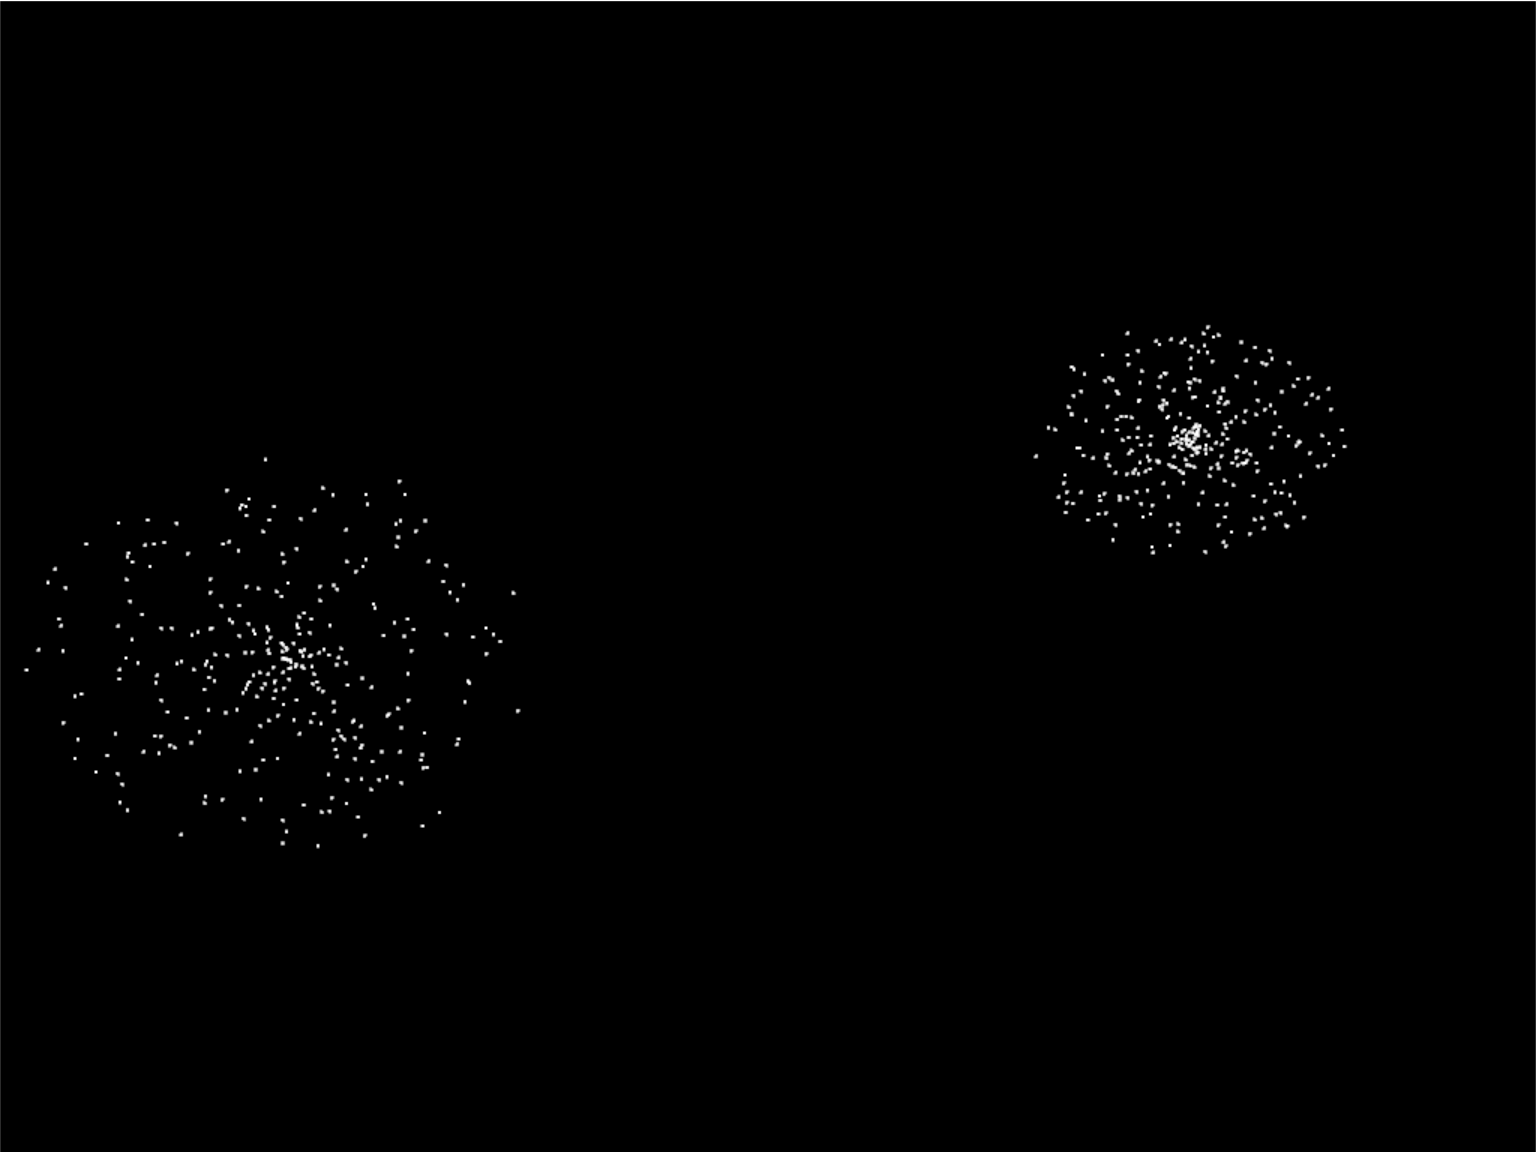
第三步没有很好地选择速度,因为我们的粒子膨胀成了矩形,而不是圆形。我们需要选择一个随机的方向和速度,而不是选择一个随机的增量x和y。然后用它来计算增量x和y。
更新导入#
导入数学库,以便我们可以执行一些触发器:
import math
更新猝发创建#
现在,选择一个从0到2圆周率弧度的随机方向。另外,选择一个随机的速度。然后用正弦和余弦来计算增量x和y。
 1    def on_mouse_press(self, x: float, y: float, button: int, modifiers: int):
 2        """ User clicks mouse """
 3
 4        def _gen_initial_data(initial_x, initial_y):
 5            """ Generate data for each particle """
 6            for i in range(PARTICLE_COUNT):
 7                angle = random.uniform(0, 2 * math.pi)
 8                speed = random.uniform(0.0, 0.3)
 9                dx = math.sin(angle) * speed
10                dy = math.cos(angle) * speed
11                yield initial_x
12                yield initial_y
13                yield dx
14                yield dy
15
节目单#
GPU_PERGAL_BURST_04.py完整列表 ← Where we are right now
GPU_粒子_突发_04.py差异 ← What we changed to get here
第5步:高斯分布#
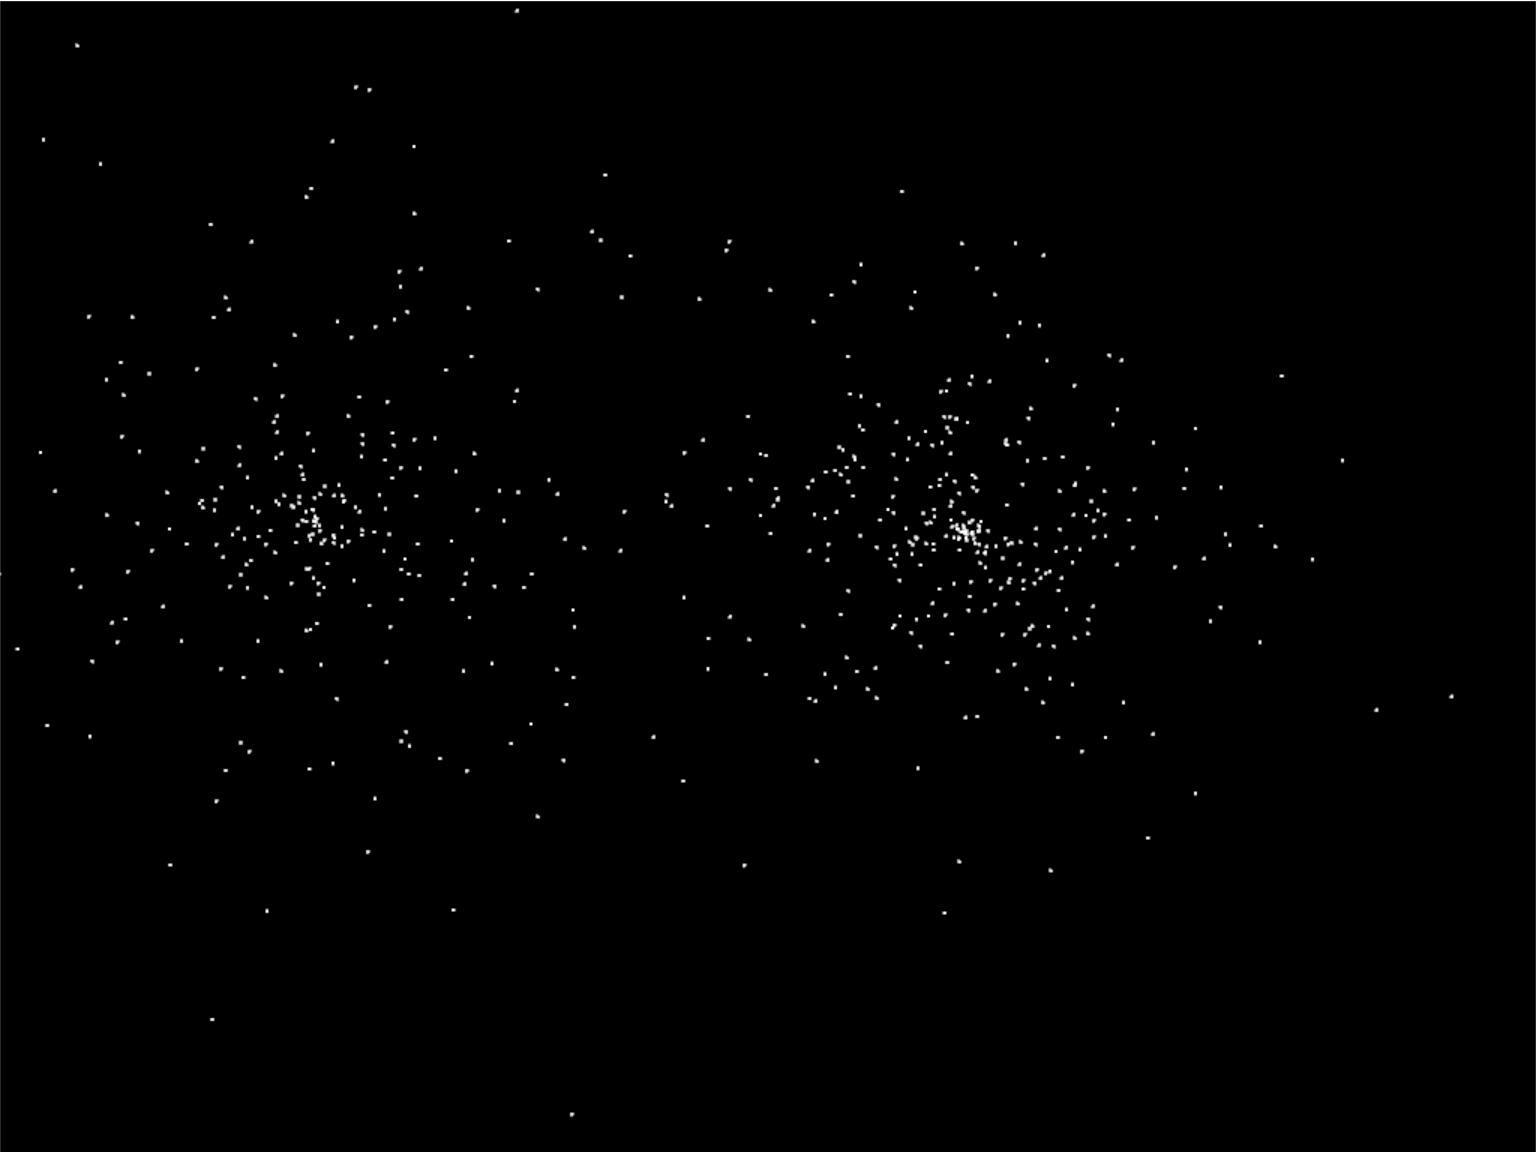
将速度设置为随机量有助于扩大圆。另一种选择是使用高斯函数来产生更多的“Splat”外观:
speed = abs(random.gauss(0, 1)) * .5
节目单#
GPU_PERGET_BURST_05.py完整列表 ← Where we are right now
GPU_粒子_突发_05.py差异 ← What we changed to get here
步骤6:添加颜色#
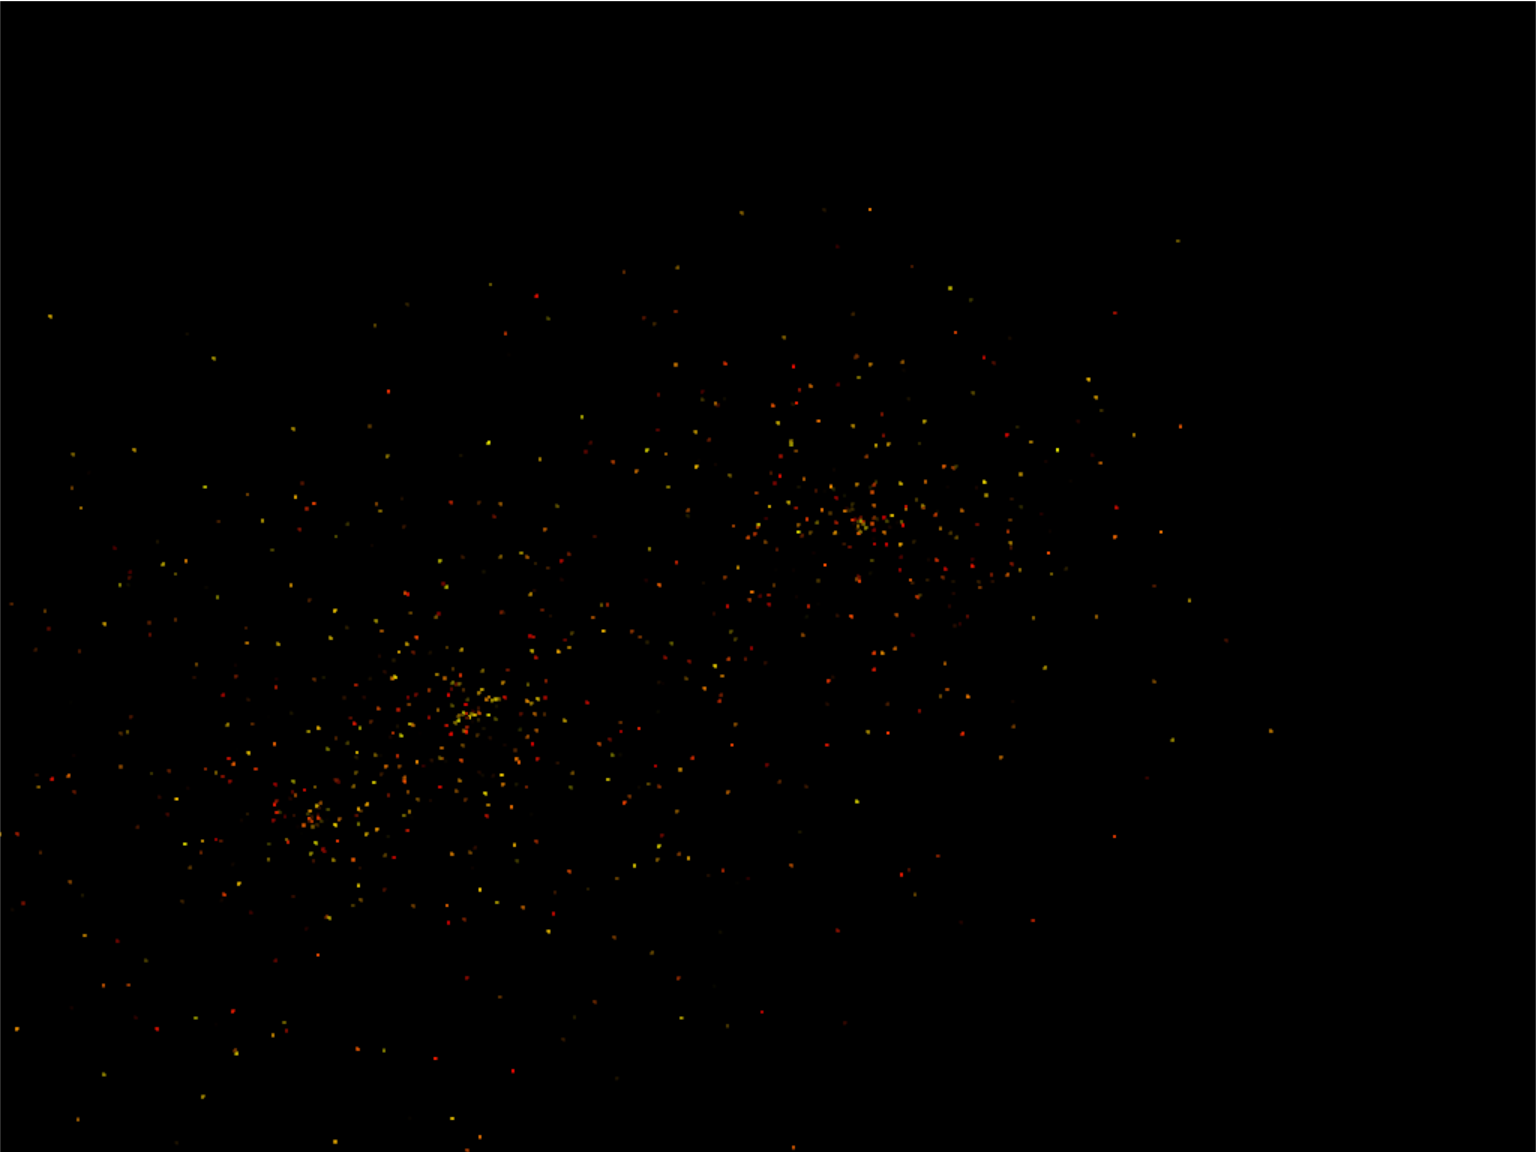
到目前为止,我们的粒子都是白色的。我们如何添加颜色?我们需要为每个粒子生成它。着色器采用RGB浮点形式的颜色,因此我们将为红色生成一个随机数,并添加一些绿色以获得黄色。不要加太多的绿色,否则你会得到绿色的色彩。
最后,确保更新着色器缓冲区描述(VBO)以接受三个颜色通道浮点 (3f )在名称下 in_color 。
 1    def on_mouse_press(self, x: float, y: float, button: int, modifiers: int):
 2        """ User clicks mouse """
 3
 4        def _gen_initial_data(initial_x, initial_y):
 5            """ Generate data for each particle """
 6            for i in range(PARTICLE_COUNT):
 7                angle = random.uniform(0, 2 * math.pi)
 8                speed = abs(random.gauss(0, 1)) * .5
 9                dx = math.sin(angle) * speed
10                dy = math.cos(angle) * speed
11                red = random.uniform(0.5, 1.0)
12                green = random.uniform(0, red)
13                blue = 0
14                yield initial_x
15                yield initial_y
16                yield dx
17                yield dy
18                yield red
19                yield green
20                yield blue
21
22        # Recalculate the coordinates from pixels to the OpenGL system with
23        # 0, 0 at the center.
24        x2 = x / self.width * 2. - 1.
25        y2 = y / self.height * 2. - 1.
26
27        # Get initial particle data
28        initial_data = _gen_initial_data(x2, y2)
29
30        # Create a buffer with that data
31        buffer = self.ctx.buffer(data=array('f', initial_data))
32
33        # Create a buffer description specifying the buffer's data format
34        buffer_description = arcade.gl.BufferDescription(
35            buffer,
36            '2f 2f 3f',
37            ['in_pos', 'in_vel', 'in_color'])
38
39        # Create our Vertex Attribute Object
40        vao = self.ctx.geometry([buffer_description])
41
42        # Create the Burst object and add it to the list of bursts
43        burst = Burst(buffer=buffer, vao=vao, start_time=time.time())
44        self.burst_list.append(burst)
然后,更新着色器以使用该颜色,而不是始终使用白色:
 1#version 330
 2
 3// Time since burst start
 4uniform float time;
 5
 6// (x, y) position passed in
 7in vec2 in_pos;
 8
 9// Velocity of particle
10in vec2 in_vel;
11
12// Color of particle
13in vec3 in_color;
14
15// Output the color to the fragment shader
16out vec4 color;
17
18void main() {
19
20    // Set the RGBA color
21    color = vec4(in_color[0], in_color[1], in_color[2], 1);
22
23    // Calculate a new position
24    vec2 new_pos = in_pos + (time * in_vel);
25
26    // Set the position. (x, y, z, w)
27    gl_Position = vec4(new_pos, 0.0, 1);
28}
节目单#
Vertex_shader_v3.glsl完整列表 ← Where we are right now
Vertex_shader_v3.glsl差异 ← What we changed to get here
GPU_PERGET_BURST_06.py完整列表 ← Where we are right now
GPU_粒子_突发_06.py差异 ← What we changed to get here
第七步:淡出#
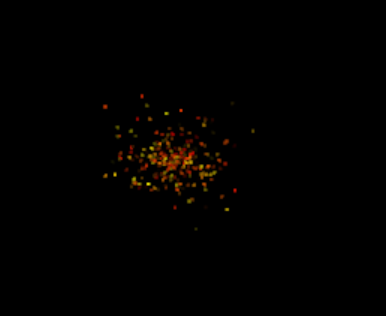
现在,爆炸粒子会永远持续下去。让他们淡出吧。一旦爆发消失,让我们将其从 burst_list 。
常量#
首先,让我们添加几个常量来控制粒子褪色的最小和最大次数:
MIN_FADE_TIME = 0.25
MAX_FADE_TIME = 1.5
更新初始化#
接下来,我们需要更新OpenGL上下文以支持Alpha混合。返回到 __init__ 方法,并更新 enable_only 请致电:
self.ctx.enable_only(self.ctx.BLEND)
将衰落速率添加到缓冲区#
接下来,将淡入率浮点添加到VBO:
 1    def on_mouse_press(self, x: float, y: float, button: int, modifiers: int):
 2        """ User clicks mouse """
 3
 4        def _gen_initial_data(initial_x, initial_y):
 5            """ Generate data for each particle """
 6            for i in range(PARTICLE_COUNT):
 7                angle = random.uniform(0, 2 * math.pi)
 8                speed = abs(random.gauss(0, 1)) * .5
 9                dx = math.sin(angle) * speed
10                dy = math.cos(angle) * speed
11                red = random.uniform(0.5, 1.0)
12                green = random.uniform(0, red)
13                blue = 0
14                fade_rate = random.uniform(
15                    1 / MAX_FADE_TIME, 1 / MIN_FADE_TIME)
16
17                yield initial_x
18                yield initial_y
19                yield dx
20                yield dy
21                yield red
22                yield green
23                yield blue
24                yield fade_rate
25
26        # Recalculate the coordinates from pixels to the OpenGL system with
27        # 0, 0 at the center.
28        x2 = x / self.width * 2. - 1.
29        y2 = y / self.height * 2. - 1.
30
31        # Get initial particle data
32        initial_data = _gen_initial_data(x2, y2)
33
34        # Create a buffer with that data
35        buffer = self.ctx.buffer(data=array('f', initial_data))
36
37        # Create a buffer description specifying the buffer's data format
38        buffer_description = arcade.gl.BufferDescription(
39            buffer,
40            '2f 2f 3f f',
41            ['in_pos', 'in_vel', 'in_color', 'in_fade_rate'])
42
43        # Create our Vertex Attribute Object
44        vao = self.ctx.geometry([buffer_description])
45
46        # Create the Burst object and add it to the list of bursts
47        burst = Burst(buffer=buffer, vao=vao, start_time=time.time())
48        self.burst_list.append(burst)
更新着色器#
更新着色器。计算阿尔法。如果小于0,则使用0。
 1#version 330
 2
 3// Time since burst start
 4uniform float time;
 5
 6// (x, y) position passed in
 7in vec2 in_pos;
 8
 9// Velocity of particle
10in vec2 in_vel;
11
12// Color of particle
13in vec3 in_color;
14
15// Fade rate
16in float in_fade_rate;
17
18// Output the color to the fragment shader
19out vec4 color;
20
21void main() {
22
23    // Calculate alpha based on time and fade rate
24    float alpha = 1.0 - (in_fade_rate * time);
25    if(alpha < 0.0) alpha = 0;
26
27    // Set the RGBA color
28    color = vec4(in_color[0], in_color[1], in_color[2], alpha);
29
30    // Calculate a new position
31    vec2 new_pos = in_pos + (time * in_vel);
32
33    // Set the position. (x, y, z, w)
34    gl_Position = vec4(new_pos, 0.0, 1);
35}
消除褪色脉冲串#
一旦我们的爆裂完全消退,就没有必要保留它了。所以在我们的 on_update 淡入淡出后,从Burst_List中删除猝发。
 1    def on_update(self, dt):
 2        """ Update game """
 3
 4        # Create a copy of our list, as we can't modify a list while iterating
 5        # it. Then see if any of the items have completely faded out and need
 6        # to be removed.
 7        temp_list = self.burst_list.copy()
 8        for burst in temp_list:
 9            if time.time() - burst.start_time > MAX_FADE_TIME:
10                self.burst_list.remove(burst)
节目单#
Vertex_shader_v4.glsl完整列表 ← Where we are right now
Vertex_shader_v4.glsl差异 ← What we changed to get here
GPU_PERGAL_BURST_07.py完整列表 ← Where we are right now
GPU_粒子_突发_07.py差异 ← What we changed to get here
第8步:添加重力#
您还可以通过基于重力常数调整速度来将重力添加到粒子。(在本例中为1.1。)
// Adjust velocity based on gravity
vec2 new_vel = in_vel;
new_vel[1] -= time * 1.1;

// Calculate a new position
vec2 new_pos = in_pos + (time * new_vel);
节目单#
Vertex_shader_v5.glsl完整列表 ← Where we are right now
Vertex_shader_v5.glsl差异 ← What we changed to get here