第2步-纹理和雪碧#
本教程的下一步是在屏幕上绘制一些内容。为了做到这一点,我们需要涵盖两个主题,纹理和精灵。
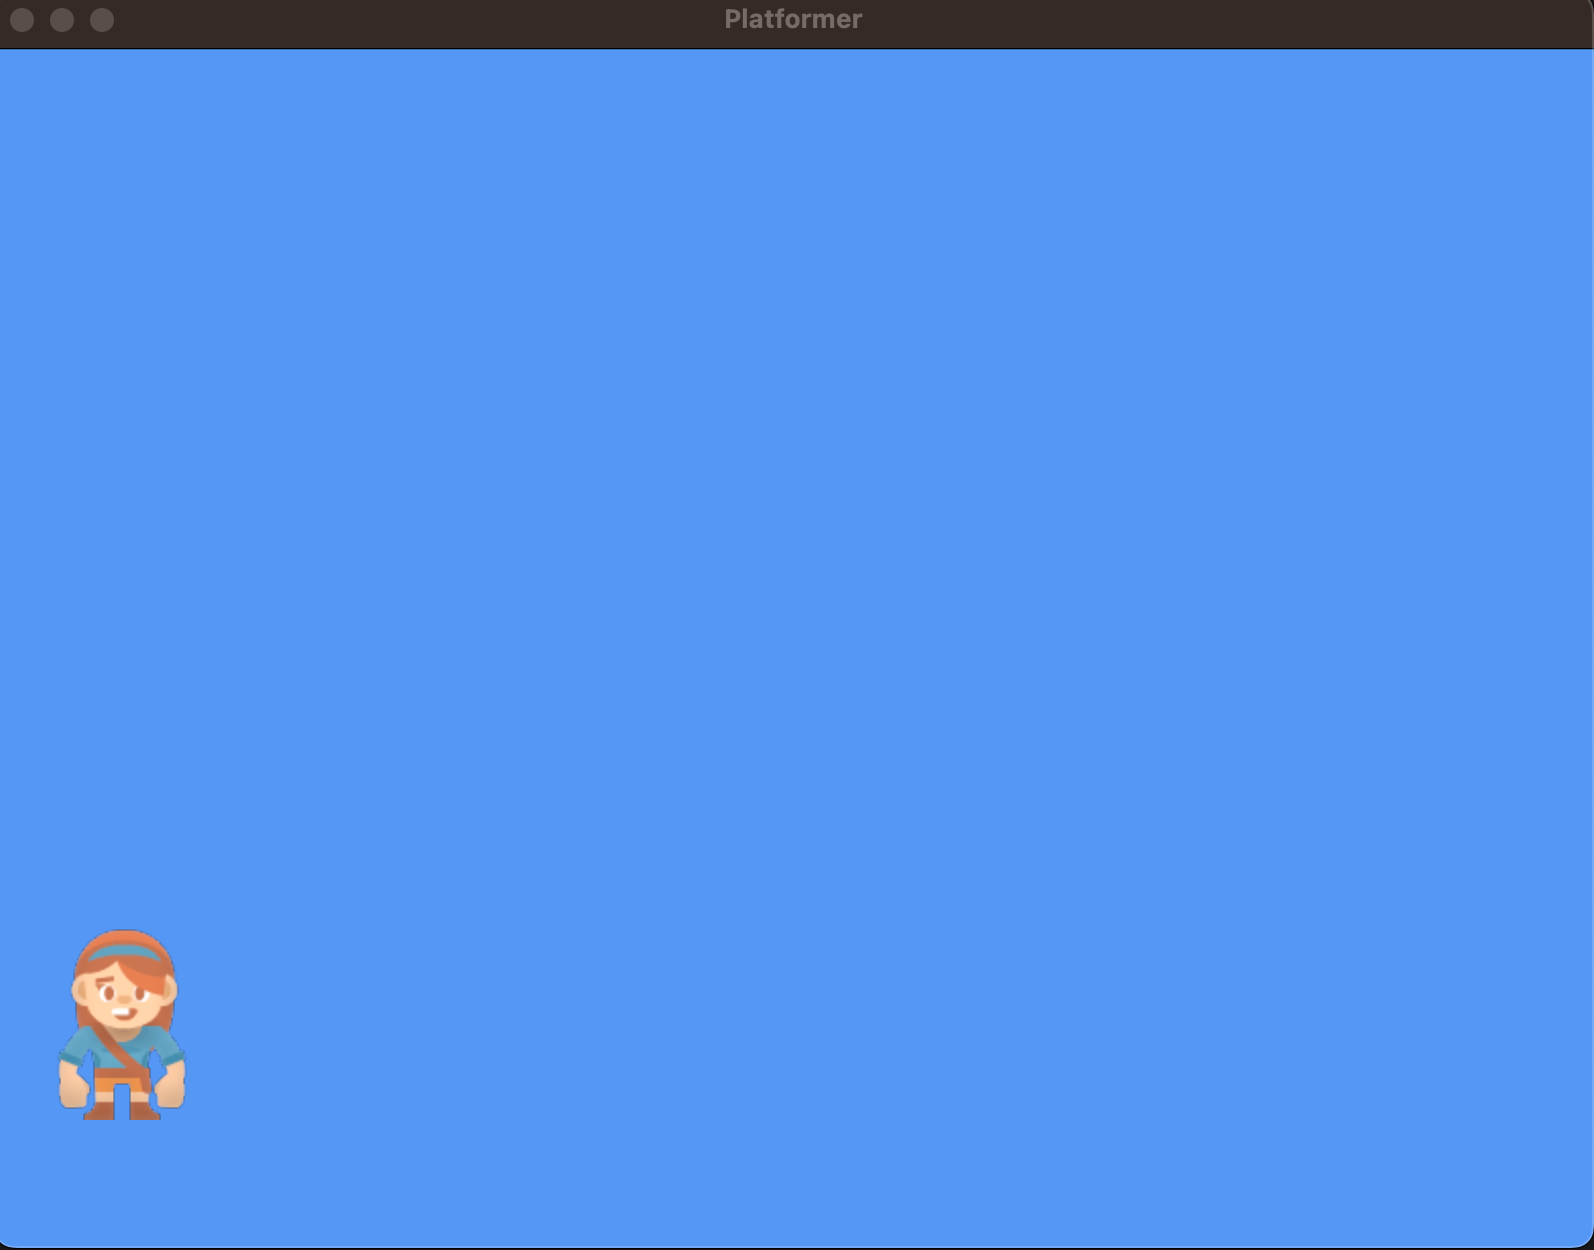
在本章的末尾,我们将看到类似这样的内容。它与上一章大体相同,但现在我们在屏幕上画了一个角色:
纹理#
纹理在很大程度上只是一个包含图像数据的对象。每当您在Arade中加载图像文件时,例如 .png 或 .jpeg 文件。它会变成一种质感。
为此,Arade在内部使用Pyglet加载图像数据,纹理负责跟踪该图像数据。
我们可以用一个简单的命令创建一个纹理,这可以在我们的 __init__ 功能。继续并创建一个纹理,我们将使用它来绘制一个玩家。
self.player_texture = arcade.load_texture(":resources:images/animated_characters/female_adventurer/femaleAdventurer_idle.png")
小精灵#
如果纹理是特定图像的实例,则 arcade.Sprite 是屏幕上该图像的一个实例。假设我们有地面或墙壁纹理。我们只有一个纹理实例,但我们可以创建多个Sprite实例,因为我们希望有多个墙。它们将使用相同的纹理,但在不同的位置绘制,甚至使用不同的缩放、旋转或颜色/后处理效果。
创建雪碧很简单,我们可以在我们的 __init__ 函数,然后设置它的位置。
self.player_sprite = arcade.Sprite(self.player_texture)
self.player_sprite.center_x = 64
self.player_sprite.center_y = 128
备注
您也可以跳过 arcade.load_texture 并将图像文件传递给 arcade.Sprite 代替纹理对象。系统将自动为您创建纹理。但是,在较大的项目中,可能需要直接管理纹理。
现在我们可以通过将这个添加到我们的 on_draw 功能:
self.player_sprite.draw()
我们现在正在将雪碧绘制到屏幕上!在下一章中,我们将介绍一次绘制多个(甚至数十万)精灵的技术。
源代码#
 1"""
 2Platformer Game
 3
 4python -m arcade.examples.platform_tutorial.02_draw_sprites
 5"""
 6import arcade
 7
 8# Constants
 9SCREEN_WIDTH = 800
10SCREEN_HEIGHT = 600
11SCREEN_TITLE = "Platformer"
12
13
14class MyGame(arcade.Window):
15    """
16    Main application class.
17    """
18
19    def __init__(self):
20
21        # Call the parent class and set up the window
22        super().__init__(SCREEN_WIDTH, SCREEN_HEIGHT, SCREEN_TITLE)
23
24        # Variable to hold our texture for our player
25        self.player_texture = arcade.load_texture(":resources:images/animated_characters/female_adventurer/femaleAdventurer_idle.png")
26
27        # Separate variable that holds the player sprite
28        self.player_sprite = arcade.Sprite(self.player_texture)
29        self.player_sprite.center_x = 64
30        self.player_sprite.center_y = 128
31
32        self.background_color = arcade.csscolor.CORNFLOWER_BLUE
33
34    def setup(self):
35        """Set up the game here. Call this function to restart the game."""
36        pass
37
38    def on_draw(self):
39        """Render the screen."""
40
41        # Clear the screen to the background color
42        self.clear()
43
44        # Draw our sprites
45        self.player_sprite.draw()
46
47
48def main():
49    """Main function"""
50    window = MyGame()
51    window.setup()
52    arcade.run()
53
54
55if __name__ == "__main__":
56    main()
运行此代码应该会在屏幕上绘制一个字符,如本章开头的图像所示。
的文档
arcade.Texture班级的文档
arcade.Sprite班级
备注
一旦您启动并运行了代码,请尝试针对以下内容调整代码:
调整代码并尝试将精灵放置在新位置(尝试使用精灵的其他属性设置位置)
为纹理使用不同的图像(请参见 内置资源 以获取内置图像,或尝试使用您自己的图像。)
练习用不同的方式放置更多的精灵(比如用循环放置许多精灵)
运行本章#
python -m arcade.examples.platform_tutorial.02_draw_sprites