第2步-添加Sprite#
我们的下一步是添加一些 sprites, 这些是我们可以在屏幕上看到并与之交互的图形。

设置与初始化#
在下一个代码示例中, 02_draw_sprites ,我们将同时拥有一个 __init__ 方法和一个 setup 。
这个 __init__ 创建变量。变量被设置为诸如0或 None 。这个 setup 实际创建对象实例,如图形化精灵。
我经常得到一个非常合理的问题,“为什么有两种方法?为什么不把所有的东西都放在 __init__ ?看起来我们正在做两倍的工作。“这就是为什么。 setup 方法分开,稍后我们可以很容易地在游戏中添加“重新启动/再次玩”功能。一个简单的调用 setup 将重置一切。以后,我们可以扩展我们的游戏不同的级别,并具有以下功能 setup_level_1 和 setup_level_2 。
Sprite列表#
精灵在列表中进行管理。这个 SpriteList 类优化了绘制、移动和冲突检测。
我们在游戏中使用了三个逻辑组。一个 player_list 对球员来说。一个 wall_list 对于我们无法穿行的墙。
self.player_list = arcade.SpriteList()
self.wall_list = arcade.SpriteList(use_spatial_hash=True)
精灵列表可以选择使用一种称为“空间散列”的方法。空间散列加快了查找碰撞所需的时间,但增加了移动精灵所需的时间。因为我预计我的大部分墙不会移动,所以我将打开这些列表的空间散列。我的球员经常走动,所以我不会为她做这件事。
在游戏中加入Sprite#
为了创建精灵,我们将使用 arcade.Sprite 班级。我们可以使用如下代码创建Sprite类的实例:
self.player_sprite = arcade.Sprite("images/player_1/player_stand.png", CHARACTER_SCALING)
第一个参数是您希望其加载的图像的字符串或路径。可选的第二个参数将放大或缩小精灵。如果第二个参数(在本例中为常量 CHARACTER_SCALING )设置为0.5,并且精灵为128x128,则64x64精灵的宽度和高度都将缩小50%。
接下来,我们需要告诉你 哪里 精灵走了。您可以使用属性 center_x 和 center_y 以定位精灵。您也可以使用 top , bottom , left ,以及 right 通过边缘而不是中心来获取或设置精灵的位置。您也可以使用 position 属性以同时设置x和y。
self.player_sprite.center_x = 64
self.player_sprite.center_y = 120
最后,所有 Sprite 类需要在一个 SpriteList 班级。
self.player_list.append(self.player_sprite)
我们根据精灵所在的列表来管理精灵组。在下面的示例中,有一个 wall_list 它将容纳玩家角色无法通过的所有东西。还有一个 player_list 它只能容纳玩家。
的文档
arcade.Sprite班级的文档
arcade.SpriteList班级
请注意,代码创建了 Sprites 三种方式:
创建一个
Sprite类,定位它,并将其添加到列表中在循环中创建一系列精灵
源代码#
1 2 3 4 5 6 7 8 9 10 11 12 13 14 15 16 17 18 19 20 21 22 23 24 25 26 27 28 29 30 31 32 33 34 35 36 37 38 39 40 41 42 43 44 45 46 47 48 49 50 51 52 53 54 55 56 57 58 59 60 61 62 63 64 65 66 67 68 69 70 71 72 73 74 75 76 77 78 79 80 81 82 83 84 85 86 87 88 | """ Platformer Game """ import arcade # Constants SCREEN_WIDTH = 1000 SCREEN_HEIGHT = 650 SCREEN_TITLE = "Platformer" # Constants used to scale our sprites from their original size CHARACTER_SCALING = 1 TILE_SCALING = 0.5 class MyGame(arcade.Window): """ Main application class. """ def __init__(self): # Call the parent class and set up the window super().__init__(SCREEN_WIDTH, SCREEN_HEIGHT, SCREEN_TITLE) # These are 'lists' that keep track of our sprites. Each sprite should # go into a list. self.wall_list = None self.player_list = None # Separate variable that holds the player sprite self.player_sprite = None arcade.set_background_color(arcade.csscolor.CORNFLOWER_BLUE) def setup(self): """Set up the game here. Call this function to restart the game.""" # Create the Sprite lists self.player_list = arcade.SpriteList() self.wall_list = arcade.SpriteList(use_spatial_hash=True) # Set up the player, specifically placing it at these coordinates. image_source = ":resources:images/animated_characters/female_adventurer/femaleAdventurer_idle.png" self.player_sprite = arcade.Sprite(image_source, CHARACTER_SCALING) self.player_sprite.center_x = 64 self.player_sprite.center_y = 128 self.player_list.append(self.player_sprite) # Create the ground # This shows using a loop to place multiple sprites horizontally for x in range(0, 1250, 64): wall = arcade.Sprite(":resources:images/tiles/grassMid.png", TILE_SCALING) wall.center_x = x wall.center_y = 32 self.wall_list.append(wall) # Put some crates on the ground # This shows using a coordinate list to place sprites coordinate_list = [[512, 96], [256, 96], [768, 96]] for coordinate in coordinate_list: # Add a crate on the ground wall = arcade.Sprite( ":resources:images/tiles/boxCrate_double.png", TILE_SCALING ) wall.position = coordinate self.wall_list.append(wall) def on_draw(self): """Render the screen.""" # Clear the screen to the background color self.clear() # Draw our sprites self.wall_list.draw() self.player_list.draw() def main(): """Main function""" window = MyGame() window.setup() arcade.run() if __name__ == "__main__": main() |
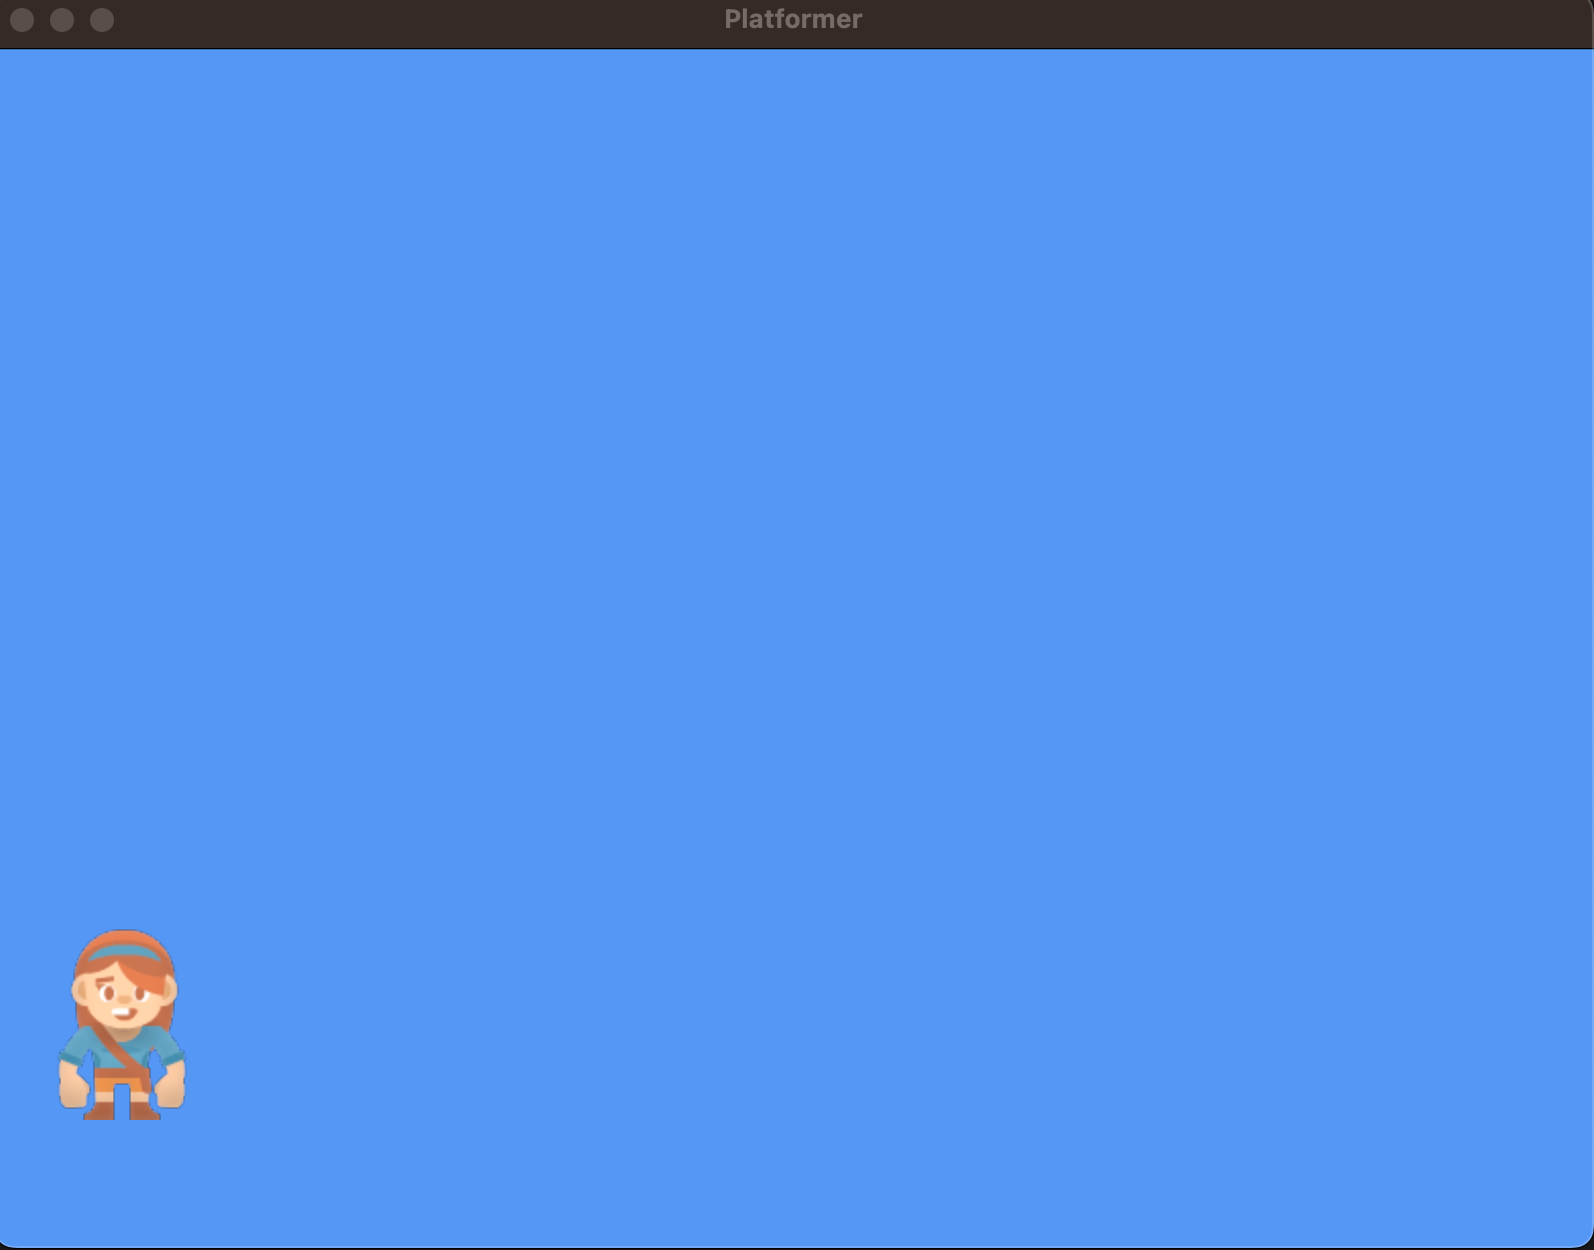
运行此代码应该会在屏幕上绘制一些精灵,如本页顶部的图像所示。
注解
一旦代码示例启动并正常工作,请尝试针对以下内容调整代码:
调整代码并尝试将精灵放置在新位置。
对精灵使用不同的图像(请参见 内置资源 用于内置映像,或使用您自己的映像。)
练习通过循环和列表中的坐标单独放置。