再投射
栅格可以将目标栅格的像素映射到关联的坐标参考系统,并转换为具有不同坐标参考系统和转换的源图像的像素。这一过程称为再投射。
罗塞里奥的 rasterio.warp.reproject() 是一个特定于地理空间的类似于scipy的 scipy.ndimage.interpolation.geometric_transform() 1.
下面的代码在两个数组之间进行重新投影,不使用预先存在的GIS数据集。 rasterio.warp.reproject() 有两个位置参数:源和目标。其余的关键字参数参数参数化重投影转换。
import numpy as np
import rasterio
from rasterio import Affine as A
from rasterio.warp import reproject, Resampling

with rasterio.Env():

    # As source: a 512 x 512 raster centered on 0 degrees E and 0
    # degrees N, each pixel covering 15".
    rows, cols = src_shape = (512, 512)
    d = 1.0/240 # decimal degrees per pixel
    # The following is equivalent to
    # A(d, 0, -cols*d/2, 0, -d, rows*d/2).
    src_transform = A.translation(-cols*d/2, rows*d/2) * A.scale(d, -d)
    src_crs = {'init': 'EPSG:4326'}
    source = np.ones(src_shape, np.uint8)*255

    # Destination: a 1024 x 1024 dataset in Web Mercator (EPSG:3857)
    # with origin at 0.0, 0.0.
    dst_shape = (1024, 1024)
    dst_transform = [-237481.5, 425.0, 0.0, 237536.4, 0.0, -425.0]
    dst_crs = {'init': 'EPSG:3857'}
    destination = np.zeros(dst_shape, np.uint8)

    reproject(
        source,
        destination,
        src_transform=src_transform,
        src_crs=src_crs,
        dst_transform=dst_transform,
        dst_crs=dst_crs,
        resampling=Resampling.nearest)

    # Assert that the destination is only partly filled.
    assert destination.any()
    assert not destination.all()
见 examples/reproject.py 用于将目标数组写入geotiff文件的代码。我已经将结果文件上传到地图箱地图,以表明重投影是正确的:https://a.tiles.mapbox.com/v3/sgilles.hfek2oko/page.html?安全=1 6/0.000/0.033。
估计最佳输出形状
栅格提供 rasterio.warp.calculate_default_transform() 函数确定目标栅格的最佳分辨率和转换。给定已知坐标参考系中的源数据集,此函数将返回 transform, width, height 由libgdal计算的元组。
重新投影geotiff数据集
从一个坐标参考系统重新投影geotiff数据集是一个常见的用例。Rasterio提供了一些实用程序,使这变得更加容易:
transform_bounds() 将源栅格的边界坐标转换为目标坐标参考系统,沿边缘加密点,以考虑边缘的非线性转换。
calculate_default_transform() 将边界转换为目标坐标系,如果未提供分辨率,则计算分辨率,并返回目标转换和维度。
import numpy as np
import rasterio
from rasterio.warp import calculate_default_transform, reproject, Resampling
dst_crs = 'EPSG:4326'
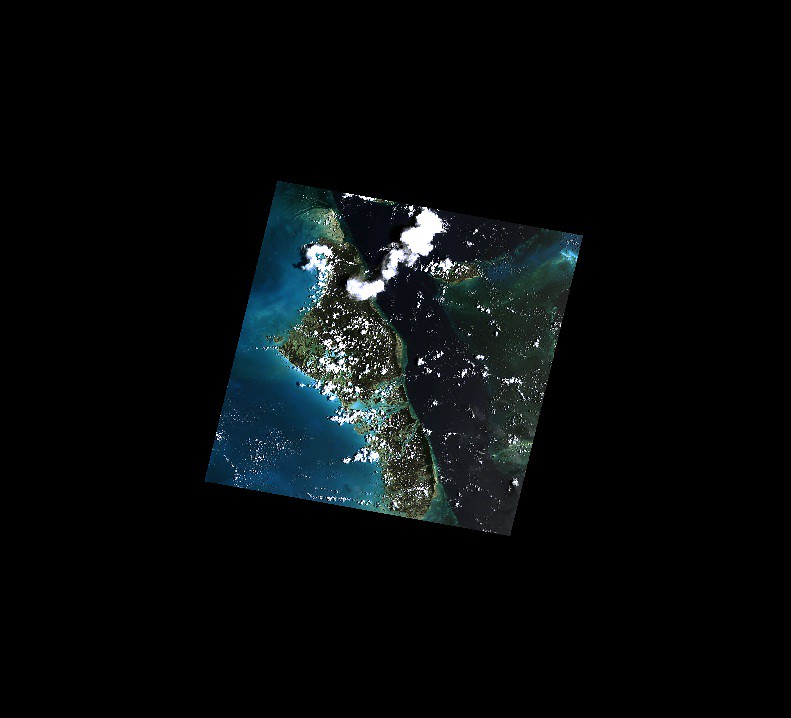
with rasterio.open('rasterio/tests/data/RGB.byte.tif') as src:
transform, width, height = calculate_default_transform(
src.crs, dst_crs, src.width, src.height, *src.bounds)
kwargs = src.meta.copy()
kwargs.update({
'crs': dst_crs,
'transform': transform,
'width': width,
'height': height
})
with rasterio.open('/tmp/RGB.byte.wgs84.tif', 'w', **kwargs) as dst:
for i in range(1, src.count + 1):
reproject(
source=rasterio.band(src, i),
destination=rasterio.band(dst, i),
src_transform=src.transform,
src_crs=src.crs,
dst_transform=transform,
dst_crs=dst_crs,
resampling=Resampling.nearest)
见 rasterio/rio/warp.py for more complex examples of reprojection based on new bounds, dimensions, and resolution (as well as a command-line interface described here )
也可以使用 reproject() 创建一个缩小了2倍的输出数据集。方法 rasterio.Affine 类帮助我们生成输出数据集的转换矩阵,从而生成其空间范围。
import numpy as np
import rasterio
from rasterio import Affine as A
from rasterio.warp import reproject, Resampling

with rasterio.open('rasterio/tests/data/RGB.byte.tif') as src:
    src_transform = src.transform

    # Zoom out by a factor of 2 from the center of the source
    # dataset. The destination transform is the product of the
    # source transform, a translation down and to the right, and
    # a scaling.
    dst_transform = src_transform*A.translation(
        -src.width/2.0, -src.height/2.0)*A.scale(2.0)

    data = src.read()

    kwargs = src.meta
    kwargs['transform'] = dst_transform

    with rasterio.open('/tmp/zoomed-out.tif', 'w', **kwargs) as dst:

        for i, band in enumerate(data, 1):
            dest = np.zeros_like(band)

            reproject(
                band,
                dest,
                src_transform=src_transform,
                src_crs=src.crs,
                dst_transform=dst_transform,
                dst_crs=src.crs,
                resampling=Resampling.nearest)

            dst.write(dest, indexes=i)
)