如何安装GeoNode-Core进行开发
安装摘要
本节简要介绍了安装GeoNode-Core以使用Ubuntu18.04进行开发所需遵循的步骤。以下步骤将进行自定义,以适应开发目的的GeoNode-Project和GeoNode-Core。
要遵循的步骤包括:
1-安装生成工具和库
2-安装依赖项和支持工具
3-设置Python虚拟环境
4-从Github克隆并安装GeoNode
5-安装并启动Geoserver
6-起始地理节点
注解
将在您的终端上执行以下命令/步骤
警告
如果您有正在运行的GeoNode服务,则需要在开始以下步骤之前停止该服务。要停止GeoNode,您需要运行:
service apache2 stop   # or your installed server
service tomcat7 stop  # or your version of tomcat
安装GeoNode-Core进行开发
GeoNode-Core安装被认为是GeoNode的最基本形式。它不需要安装任何外部服务器,并且可以在基于文件系统的Spatialite数据库上本地运行。
安装步骤
1-安装生成工具和库
警告
这些说明可能已经过时了。请参阅 1.安装依赖项
$ sudo apt-get install -y build-essential libxml2-dev libxslt1-dev libpq-dev zlib1g-dev
2-安装依赖项和支持工具
安装python本机库和工具
警告
这些说明可能已经过时了。请参阅 1.安装依赖项
$ sudo apt-get install -y python3-dev python3-pil python3-lxml python3-pyproj python3-shapely python3-nose python3-httplib2 python3-pip software-properties-common
安装Python虚拟环境
警告
这些说明可能已经过时了。请参阅 2.GeoNode安装
$ sudo pip install virtualenvwrapper
安装PostgreSQL和PostGIS
警告
这些说明可能已经过时了。请参阅 3.Postgis数据库设置
$ sudo apt-get install postgresql-10 postgresql-10-postgis-2.4
更改Postgres密码过期并设置密码
$ sudo passwd -u postgres # change password expiry infromation
$ sudo passwd postgres # change unix password for postgres
创建地理节点角色和数据库
$ su postgres
$ createdb geonode_dev
$ createdb geonode_dev-imports
$ psql
$ postgres=#
$ postgres=# CREATE USER geonode_dev WITH PASSWORD 'geonode_dev'; # should be same as password in setting.py
$ postgres=# GRANT ALL PRIVILEGES ON DATABASE "geonode_dev" to geonode_dev;
$ postgres=# GRANT ALL PRIVILEGES ON DATABASE "geonode_dev-imports" to geonode_dev;
$ postgres=# \q
$ psql -d geonode_dev-imports -c 'CREATE EXTENSION postgis;'
$ psql -d geonode_dev-imports -c 'GRANT ALL ON geometry_columns TO PUBLIC;'
$ psql -d geonode_dev-imports -c 'GRANT ALL ON spatial_ref_sys TO PUBLIC;'
$ exit
编辑PostgreSQL配置文件
sudo gedit /etc/postgresql/10/main/pg_hba.conf
滚动到文件底部并编辑此行
# "local" is for Unix domain socket connections only
local   all             all                            peer
具体如下
# "local" is for Unix domain socket connections only
local   all             all                                trust
然后重新启动PostgreSQL以使更改生效
sudo service postgresql restart
Java依赖项
$ sudo apt-get install -y openjdk-11-jdk --no-install-recommends
安装支持工具
$ sudo apt-get install -y ant maven git gettext
3-设置Python虚拟环境(这里是运行Geonode的位置)
将viralenvwrapper添加到您的新环境中。
由于我们使用的是Ubuntu,您可以将以下设置添加到您的.bashrc文件中。请注意,这里的Ubuntu帐户称为“geonode”。所以您需要根据您选择的名称进行更改。
$ echo export VIRTUALENVWRAPPER_PYTHON=/usr/bin/python >> ~/.bashrc
$ echo export WORKON_HOME=/home/geonode/dev/.venvs >> ~/.bashrc
$ echo source /usr/local/bin/virtualenvwrapper.sh >> ~/.bashrc
$ echo export PIP_DOWNLOAD_CACHE=$HOME/.pip-downloads >> ~/.bashrc

And reload the settings by running
$ source ~/.bashrc
为Geonode设置本地虚拟环境
$ vim ~/.bashrc
# add the following line to the bottom
$ source /usr/share/virtualenvwrapper/virtualenvwrapper.sh
$ source /usr/share/virtualenvwrapper/virtualenvwrapper.sh
$ mkvirtualenv --python=/usr/bin/python3 geonode
$ workon geonode # or $ source /home/geonode/dev/.venvs/geonode/bin/activate
This creates a new directory where you want your project to be and creates a new virtualenvironment

Alterantively you can also create the virtual env like below
$ python3.8 -m venv /home/geonode/dev/.venvs/geonode
$ source /home/geonode/dev/.venvs/geonode/bin/activate
4-从Github下载/克隆GeoNode
要从GitHub下载最新的geonode版本,可以使用命令“git clone”
注解
如果您正在接受GeoNode培训,请跳过以下命令。您可以在/home/geonode/dev中找到克隆的存储库
$ git clone https://github.com/GeoNode/geonode.git -b 3.2.x
安装静电开发所需的NodeJS PPA等工具
这是静电发展所必需的。
注解
如果您遵循GeoNode的培训,NodeJS已经安装在虚拟机中,跳过前三个命令,跳到CD geonode/geonode/静电
$ sudo apt-get install nodejs npm
$ cd geonode/geonode/static
$ npm install --save-dev
注解
每次你想在修改源代码后更新静电文件,去geonode/静电并运行‘咕噜制作’。
警告
从下一步开始,您必须确保根据文档页面“为开发安装GDAL”正确安装了GDAL。
在新的活动本地虚拟环境中安装GeoNode
$ cd /home/geonode/dev  # or to the directory containing your cloned GeoNode
$ pip install -e geonode
$ cd geonode/geonode
创建local_settings.py
复制示例文件/home/geonode/dev/geonode/geonode/local_settings.py.geoserver.sample并将其重命名为LOCAL_settings.py
$ cd /home/geonode/dev/geonode
$ cp geonode/local_settings.py.geoserver.sample geonode/local_settings.py
$ gedit geonode/local_settings.py
在local_settings.py文件中,在import语句之后添加以下行:
SITEURL = "http://localhost:8000/"
在“默认”键下的数据库字典中,仅将键名称、用户和密码的值更改为以下值:
DATABASES = {
'default': {
    'ENGINE': 'django.db.backends.postgresql_psycopg2',
    'NAME': 'geonode_dev',
    'USER': 'geonode_dev',
    'PASSWORD': 'geonode_dev',
    .......
    ......
    .....
    ....
    ...
 }...}
在数据库字典中的“datastore”密钥下,仅将密钥名称、用户和密码的值更改为如下所示:
# vector datastore for uploads
'datastore' : {
    'ENGINE': 'django.contrib.gis.db.backends.postgis',
    #'ENGINE': '', # Empty ENGINE name disables
    'NAME': 'geonode_dev-imports',
    'USER' : 'geonode_dev',
    'PASSWORD' : 'geonode_dev',
    .......
    ......
    .....
    ....
    ...
}
在‘default’密钥下的目录字典中,取消对用户和密码密钥的注释,以激活GeoNetwork的凭据,如下所示:
CATALOGUE = {
'default': {
    # The underlying CSW implementation
    # default is pycsw in local mode (tied directly to GeoNode Django DB)
    'ENGINE': 'geonode.catalogue.backends.pycsw_local',
    # pycsw in non-local mode
    # 'ENGINE': 'geonode.catalogue.backends.pycsw_http',
    # GeoNetwork opensource
    # 'ENGINE': 'geonode.catalogue.backends.geonetwork',
    # deegree and others
    # 'ENGINE': 'geonode.catalogue.backends.generic',
    # The FULLY QUALIFIED base url to the CSW instance for this GeoNode
    'URL': urljoin(SITEURL, '/catalogue/csw'),
    # 'URL': 'http://localhost:8080/geonetwork/srv/en/csw',
    # 'URL': 'http://localhost:8080/deegree-csw-demo-3.0.4/services',
    # login credentials (for GeoNetwork)
    'USER': 'admin',
    'PASSWORD': 'admin',
    # 'ALTERNATES_ONLY': True,
    }}
5-安装并启动Geoserver
在虚拟环境中,首先需要使用以下命令对齐数据库结构:
$ cd /home/geonode/dev/geonode
$ python manage.py migrate
警告
如果由于与osgeo或libgeos相关的导入错误而导致启动失败,请参阅 Install GDAL for Development
然后使用以下命令设置Geoserver:
$ paver setup

$ paver sync
6-现在我们可以启动我们的geonode实例了
警告
如果启用,不要忘记停止GeoNode生产服务
service apache2 stop
service tomcat7 stop
$ paver start
启动过程大约需要20秒(取决于您的计算机),最后会显示以下消息:
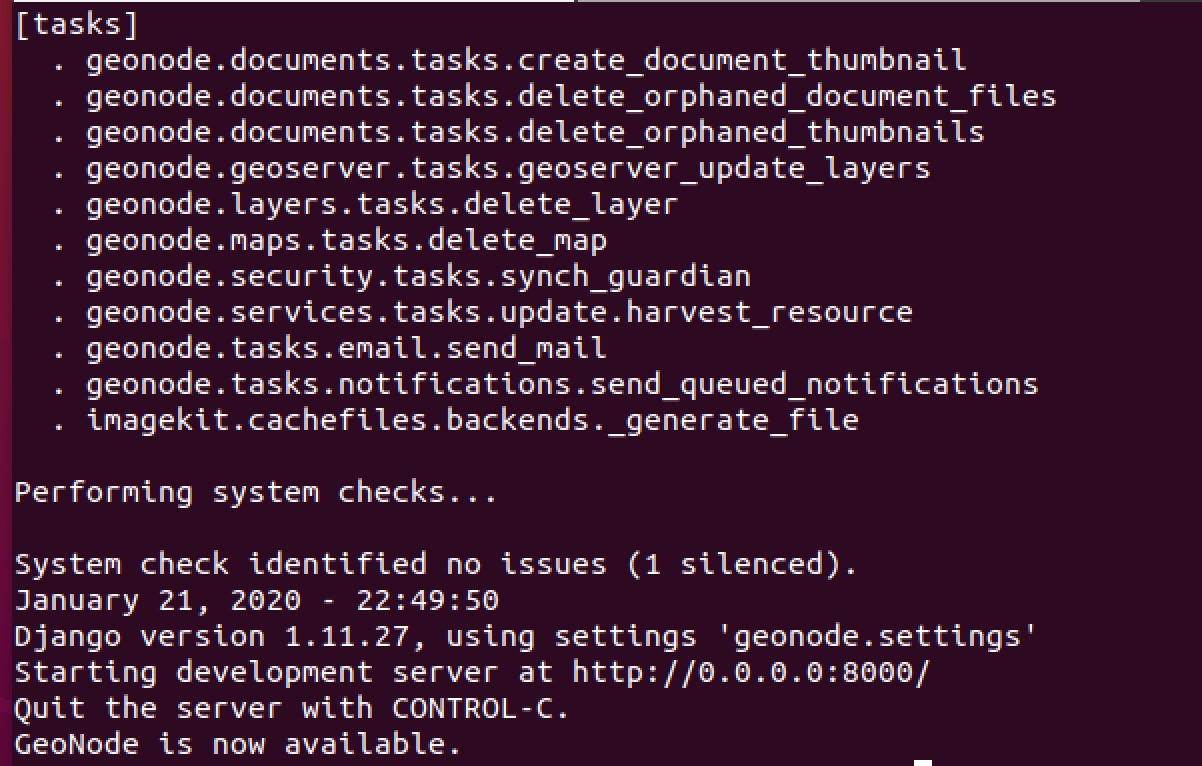
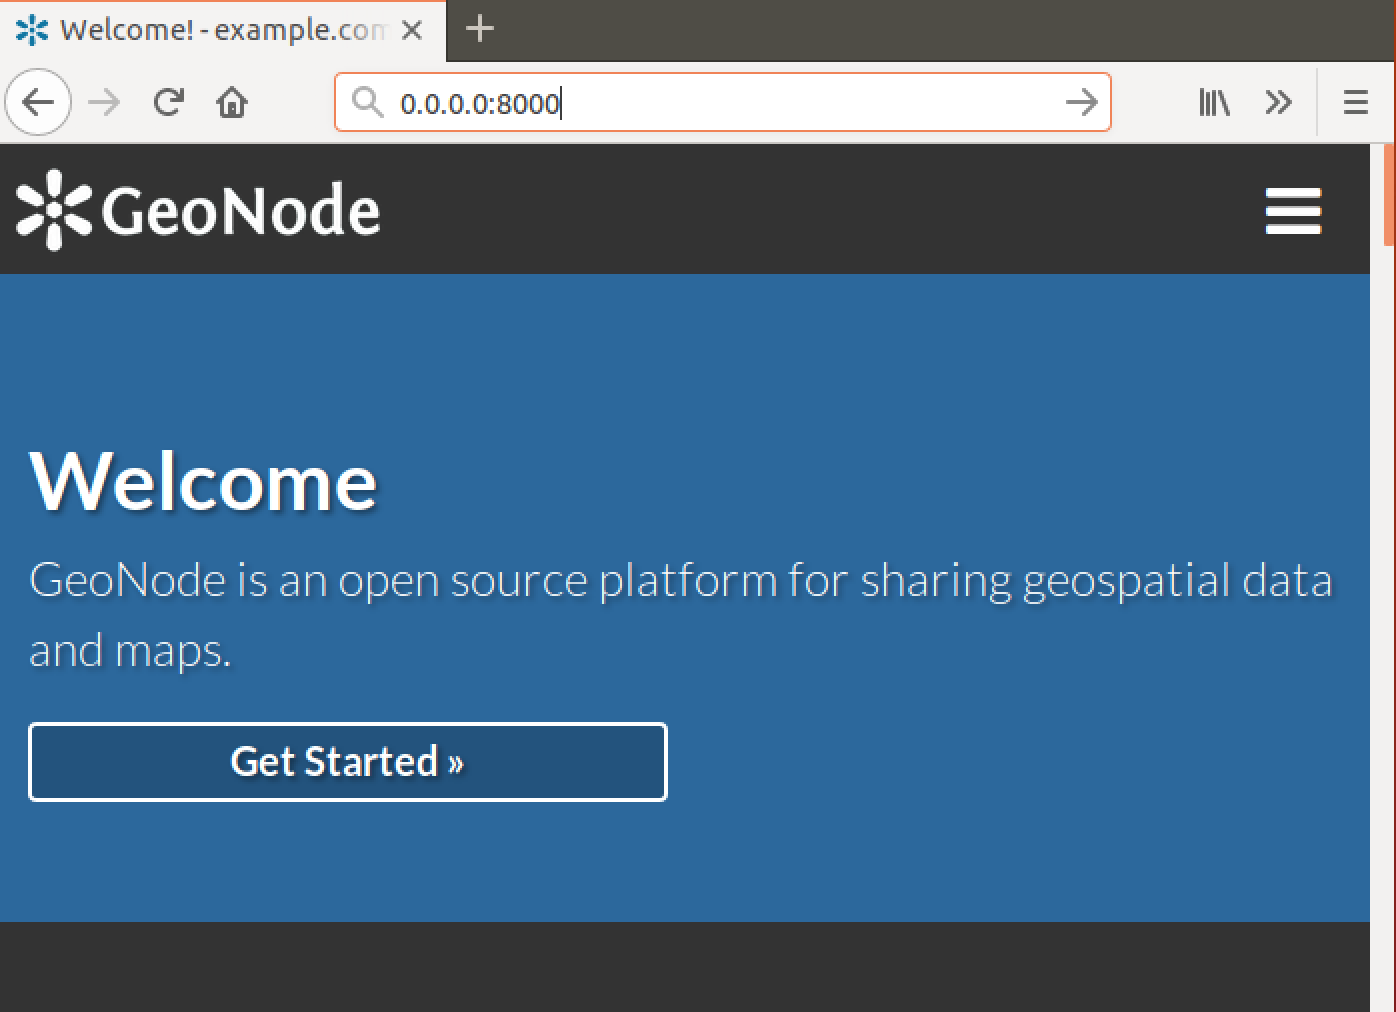
现在,您可以通过在浏览器窗口中键入http://0.0.0.0:8000来访问地理节点站点
安装GeoNode-安装GeoNode-Core后用于开发的项目
Geonode-项目为用户提供了自定义GeoNode安装的灵活性。Geonode本身将作为您项目的要求进行安装。在项目结构内,可以扩展、替换或修改所有地理节点组件(例如,css和其他静电文件、模板、模型。)甚至在不接触原始Geonode代码的情况下注册新的Django应用程序。为了安装GeoNode-Project,除了前面的GeoNode-Core安装步骤之外,还需要执行以下步骤。
1-使用django-admin.py从GeoNode-Project模板创建项目my_geonode,如下所示:
注解
在运行以下命令之前,请确保您当前正在虚拟环境中工作,并且仅在geonode目录之外。该命令将创建一个名为“my_geonode”的新项目,该项目应该位于geonode-core安装目录“inside/home/geonode/dev”级别。
$ django-admin.py startproject my_geonode --template=https://github.com/GeoNode/geonode-project/archive/master.zip -e py,rst,json,yml,ini,env,sample -n Dockerfile

$ ls /home/geonode/dev  # should output:  geonode  my_geonode
注解
尽管下面的命令可能显示大多数要求已经得到满足,“因为GeoNode-Core已经安装”,但建议您仍然执行它,因为它可能会更新或安装任何缺少的软件包。
2-安装GeoNode-Project所需的所有包/工具,如下所示:
$ pip install -e my_geonode
注解
如前所述,GeoNode将根据GeoNode-Project的要求进行安装,以便能够对其进行扩展
直接从头开始安装GeoNode-项目
如果您之前没有安装GeoNode-Core而想要直接安装GeoNode-Project,请按照以下步骤操作
1-创建虚拟环境,如下所示:
$ vim ~/.bashrc
# add the following line to the bottom
$ source /usr/share/virtualenvwrapper/virtualenvwrapper.sh
$ source /usr/share/virtualenvwrapper/virtualenvwrapper.sh
$ mkvirtualenv --python=/usr/bin/python3 my_geonode

Alterantively you can also create the virtual env like below
$ python3.8 -m venv /home/geonode/dev/.venvs/my_geonode
$ source /home/geonode/dev/.venvs/my_geonode/bin/activate
2-从Github克隆geonode-project repo
$ git clone https://github.com/GeoNode/geonode-project.git -b 3.2.x
3-按如下方式安装Django框架
$ pip install Django==3.2
4-使用django-admin.py从GeoNode-Project模板创建项目“my_geonode”,如下所示:
$ django-admin startproject --template=./geonode-project -e py,sh,md,rst,json,yml,ini,env,sample,properties -n monitoring-cron -n Dockerfile my_geonode
5-安装GeoNode-Project的所有要求,并使用pip安装GeoNode-Project
$ cd my_geonode
$ pip install -r requirements.txt --upgrade
$ pip install -e . --upgrade
6-安装适用于Python的GDAL实用程序
$ pip install pygdal=="`gdal-config --version`.*" # or refer to the link <Install GDAL for Development <https://training.geonode.geo-solutions.it/005_dev_workshop/004_devel_env/gdal_install.html>
7-使用铺路工具安装Geoserver和Tomcat
$ paver setup

$ paver sync

$ paver start
8-访问http://localhost:8000/