

12.1. QGIS-Server 介绍及安装
QGIS Server是一个开源的WMS 1.3,WFS 1.0.0和WCS 1 1.1.1实现,此外, 还实现了专题制图的高级制图功能。QGIS Server是一个用C ++编写的FastCGI / CGI (通用网关接口)应用程序,它与Web服务器(例如Apache,Lighttpd)一起工作。 它具有Python插件支持,可以快速有效地开发和部署新功能。 QGIS Server的最初开发由欧盟项目管弦乐团,三一和瑞士乌斯特市资助。
QGIS Server使用QGIS作为GIS逻辑和地图渲染的后端。此外,
Qt库用于图形和独立于平台的C ++编程。与其他WMS软件相比, QGIS Server使用制图规则作为配置语言,包括服务器配置和用户定义的制图规则。
由于QGIS桌面和QGIS Server使用相同的可视化库, 因此在Web上发布的地图与桌面GIS中的地图相同。
我们可以直接将QGIS编辑和配置的地图成果, 发布为标准的OGC地图服务。 而不需要再转换为GEOSERVER工程发布。这样可以避免样式的重新配置和数据的重新组织。 并且通过QGIS的扩展开发可以灵活的定制自己想要的应用。
新功能
像桌面一样的多线程渲染
信任图层元数据的新选项 ,从而加快项目加载速度
WFS 1.1支持 https://github.com/qgis/QGIS/pull/5297
服务器API的完整Python绑定
服务器服务作为提供者之类的插件
在以下手册之一中,将提供设置QGIS Server的示例配置。 您可以阅读以下网址之一获取更多信息:
http://hub.qgis.org/projects/quantum-gis/wiki/QGIS_Server_Tutorial
http://linfiniti.com/2010/08/qgis-mapserver-a-wms-server-for-the-masses/
这一节主要说明 Debian 与 Ubuntu 中的一些安装、配置经验。在其他平台的一些说明仅供参考。
12.1.1. QGIS Server安装与配置
在Debian 11 / Ubuntu 22.04 中安装 Apache2 与 QGIS Server。
sudo apt install -y apache2 qgis-server libapache2-mod-fcgid python3-qgis
激活Apache2的 fcgid 模块:
sudo a2enmod fcgid
修改Apache2缺省的配置文件,以在Apache2中可以使用QGIS Server的功能:
sudo vi /etc/apache2/sites-enabled/000-default.conf
修改后的核心内容如下,使用虚拟路径来访问 QGIS Server 的 CGI 程序:
<VirtualHost *:80>
    ServerAdmin webmaster@localhost
    DocumentRoot /var/www/html
    ErrorLog ${APACHE_LOG_DIR}/error.log
    CustomLog ${APACHE_LOG_DIR}/access.log combined
    <Location /qgisserver>
        SetHandler fcgid-script
        FcgidWrapper /usr/lib/cgi-bin/qgis_mapserv.fcgi virtual
        Options +ExecCGI -MultiViews +FollowSymLinks
        Require all granted
    </Location>
</VirtualHost>
然后访问服务器进行测试,本地的测试地址如下:
http://127.0.0.1/qgisserver?SERVICE=WMS&VERSION=1.3.0&REQUEST=GetCapabilities
如果能正常显示XML 文档,则表示安装成功,内容与下面类似(中间省略了一些输出结果):
<?xml version="1.0" encoding="utf-8"?>
<WMS_Capabilities xmlns:sld="http://www.opengis.net/sld" xsi:schemaLocation="http://www.opengis.net/wms http://schemas.opengis.net/wms/1.3.0/capabilities_1_3_0.xsd http://www.opengis.net/sld http://schemas.opengis.net/sld/1.1.0/sld_capabilities.xsd http://www.qgis.org/wms http://10.6.0.44/qgisserver?SERVICE=WMS&REQUEST=GetSchemaExtension" version="1.3.0" xmlns:qgs="http://www.qgis.org/wms" xmlns="http://www.opengis.net/wms" xmlns:xsi="http://www.w3.org/2001/XMLSchema-instance">
<Service>
<Name>WMS</Name>
<Title>Untitled</Title>
<KeywordList>
<Keyword vocabulary="ISO">infoMapAccessService</Keyword>
</KeywordList>
<OnlineResource xmlns:xlink="http://www.w3.org/1999/xlink" xlink:type="simple" xlink:href="http://10.6.0.44/qgisserver"/>
.....................
</Capability>
</WMS_Capabilities>
12.1.2. 更多的配置
注意: 在上面的安装、配置完成后,已经可以正常使用QGIS Server的功能。下面涉及的一些配置过程基于较旧版本的系统,因精力有限未能进一进核查,内容放到这里只供参考。
安装用于测试服务器的HelloWorld示例插件。您创建一个目录来保存服务器插件。 这将在虚拟主机配置中指定,并通过环境变量传递给服务器: 下载官方例程
sudo mkdir -p/opt/qgis-server/plugins
cd /opt/qgis-server/plugins
sudo wget https://github.com/elpaso/qgis-helloserver/archive/master.zip
sudo apt-get install unzip
sudo unzip master.zip
sudo mv qgis-helloserver-master HelloServer
在侦听端口80的单独虚拟主机中安装Apache服务器。启用重写模块以传递HTTP BASIC auth :
sudo a2enmod rewrite
cat /etc/apache2/conf-available/qgis-server-port.conf
sudo a2enconf qgis-server-port
12.1.3. 测试
浏览器输入
localhost:80
查看apache2是否有响应(图 12.1 )
图 12.1 apache2
也可以控制台输入
a2enconf serve-cgi-bin
sudo service apache2 restart
每次修改完成配置信息都需要重启web server
查看(图 12.2 )
http://localhost/cgi-bin/qgis_mapserv.fcgi?SERVICE=WMS&VERSION=1.3.0&REQUEST=GetCapabilities
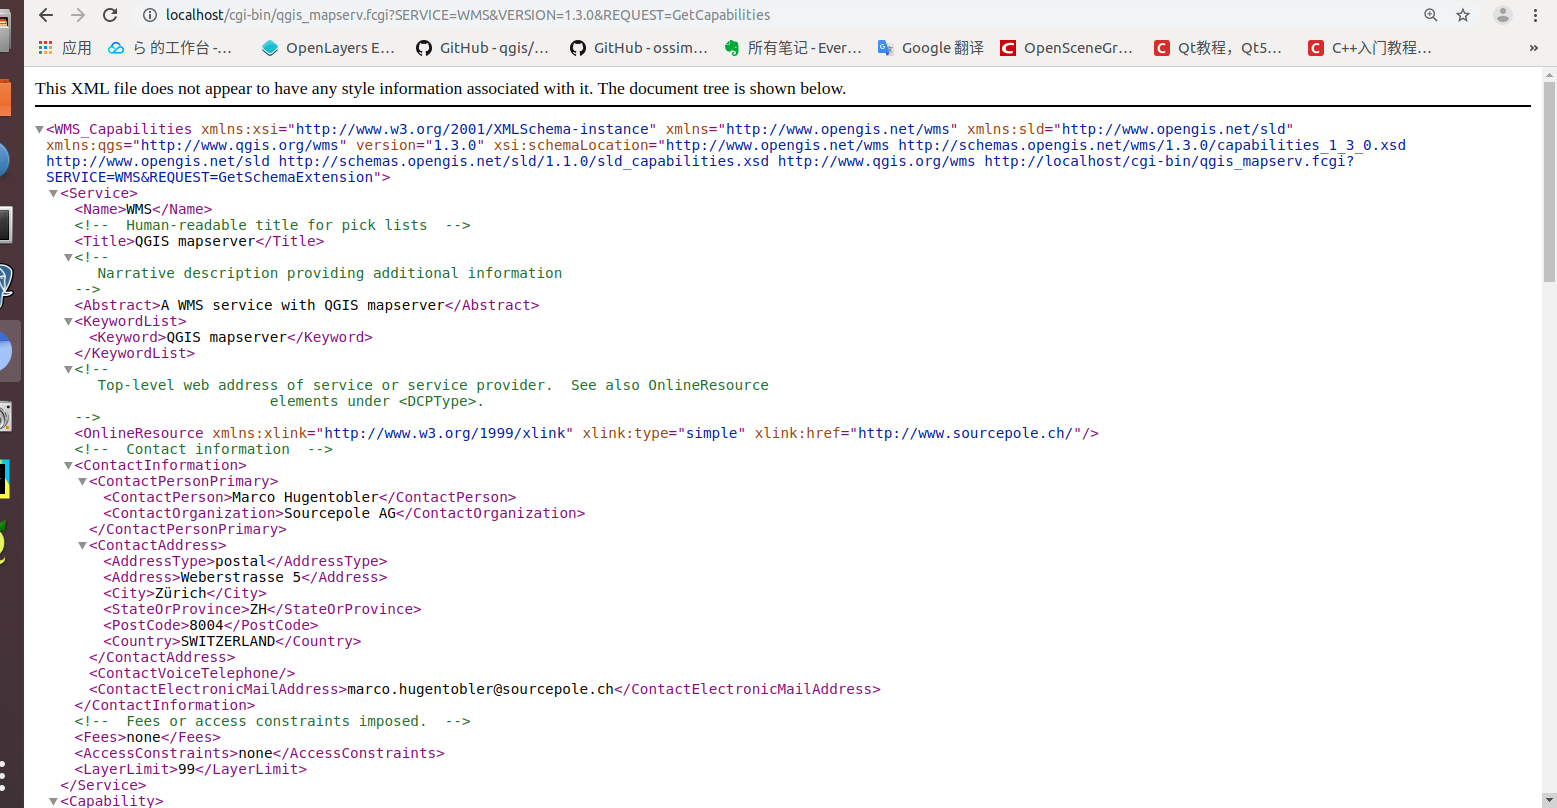
图 12.2 qgis_server_xml
如若没有显示 控制台输入
sudo apache2ctl configtest
查看输出内容
Ubuntu 18.04中常见以下错误
AH00558: apache2: Could not reliably determine the server's fully qualified domain name, using 127.0.1.1. Set the 'ServerName' directive globally to suppress this message
Syntax OK
控制台输入以下命令以解决上述错误:
echo "ServerName xxxxx " | sudo tee /etc/apache2/conf-available/servername.conf
再次重启apache
如遇到端口错误 控制台输入以下命令以解决上述错误
ss -tlnp|grep -w pid
kill -9 pid
Apache 2网页中文乱码的解决方法
修改charset.conf的AddDefaultCharset UTF-8,把AddDefaultCharset UTF-8前面的#去掉即可。
如下图(图 12.3 ):
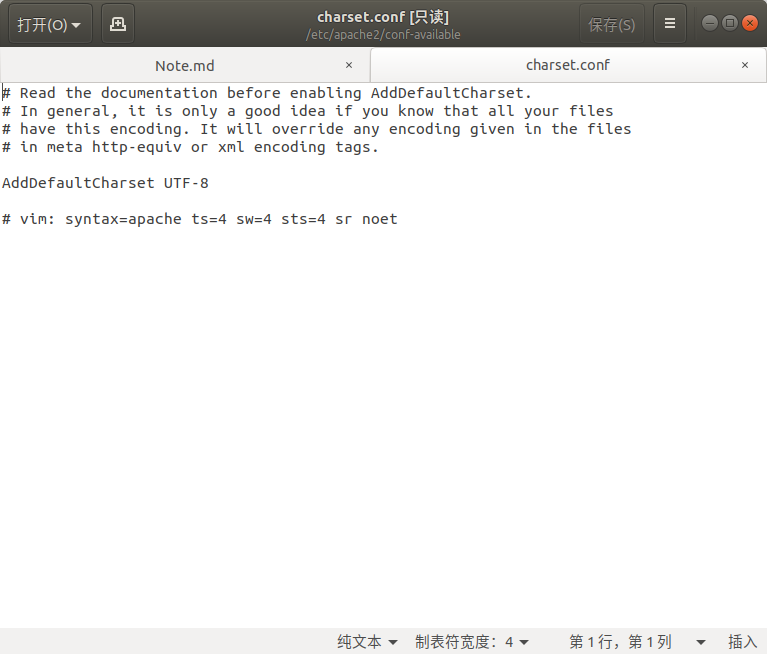
图 12.3 qgis_conf_charset
12.1.4. 在Centos
In the following commands, the packages are given for a x86_64 architecture, and :
$ before the command means you can run it as a standard user
# before the command means you must have root rights
Add the EPEL repository
$wget http://dl.fedoraproject.org/pub/epel/6/x86_64/epel-release-6-7.noarch.rpm
#rpm -Uvh epel-release-6-7.noarch.rpm
Add the ELGIS repositories
$wget http://elgis.argeo.org/repos/6/elgis-release-6-6_0.noarch.rpm
#rpm -Uvh elgis-release-6-6_0.noarch.rpm
Install QGIS Server
#yum install qgis*
# this will install all the Qgis libraries, QGIS Desktop included.
# I you only need QGIS Server, use the following instead:
#yum install qgis-mapserver.x86_64
12.1.5. Windows
1. 在下面的链接下下载
2. 安装使用和设置
advanced installation (3. possibility)
install from web (1. possibility)
root-directory c:\OSGeo4W, all users
leave the local-package directory as is or change it
choose web-access due to your lan
choose the following packages (don't care about dependencies, the installer does this automatically):
Desktop: Qgis
- Web: Apache Webserver
QGIS-Server
Apache 没有任何默认的IP /端口设置,无法启动。 编辑文件
c:/osgeo4w/apache/conf/httpd.conf
- 修改
Listen @apache_port_number@
根据您的需要,例如,监听端口80,使用
Listen 80
启动apache(>services>apache>start)。 现在您应该能够在Web浏览器中打开默认的Apache网页(在本地计算机上使用 http://127.0.0.1/ 或 http://localhost/ )
想修改apache中的配置文件的地址
c:/osgeo4w/httpd.d/httpd_qgis.conf:
修改以下配置文件
<Directory "C:\OSGeo4W/apps/qgis/bin/">
  SetHandler fcgid-script
  Options ExecCGI
  Order allow,deny
  Allow from all
</Directory>
重启 apache。
重新启动Apache后尝试转到URL:
http://localhost/qgis/qgis_mapserv.fcgi.exe?SERVICE=WMS&VERSION=1.3.0&REQUEST=GetCapabilities
时出错,则可能需要将一些库移动到qgis区域。 从中复制所有DLL库
C:/OSGeo4w/bin
到
C:/OSGeo4W/apps/qgis/bin
不确定是否需要所有库但复制所有库以修复错误。如果您不想使用osgeo-apache并且已经拥有自己的 运行apache,只需在apache-dir中创建一个目录,例如:
"apache/httpd.d/"
并将httpd_qgis.conf文件复制到此目录中,然后将以下部分添加到apache的httpd.conf中。 把它放在最后 配置文件,这个<[sectionsname]>结尾
include "C:\[YOURPATHTOYOURAPACHEINSTALLATION]\httpd.d\httpd_*.conf"
Restart apache