# as root
$>yuminstall-ypostgresqlpostgresql-serverpostgresql-develpostgresql-libs
# After PostgreSQL packages are installed, enable PostgreSQL to start after each reboot.
$>systemctlenablepostgresql.service
# Initialize directory structure and postgres system database.
$>postgresql-setupinitdb
# And start the service.
$>systemctlstartpostgresql.service
supostgres
# as postgres
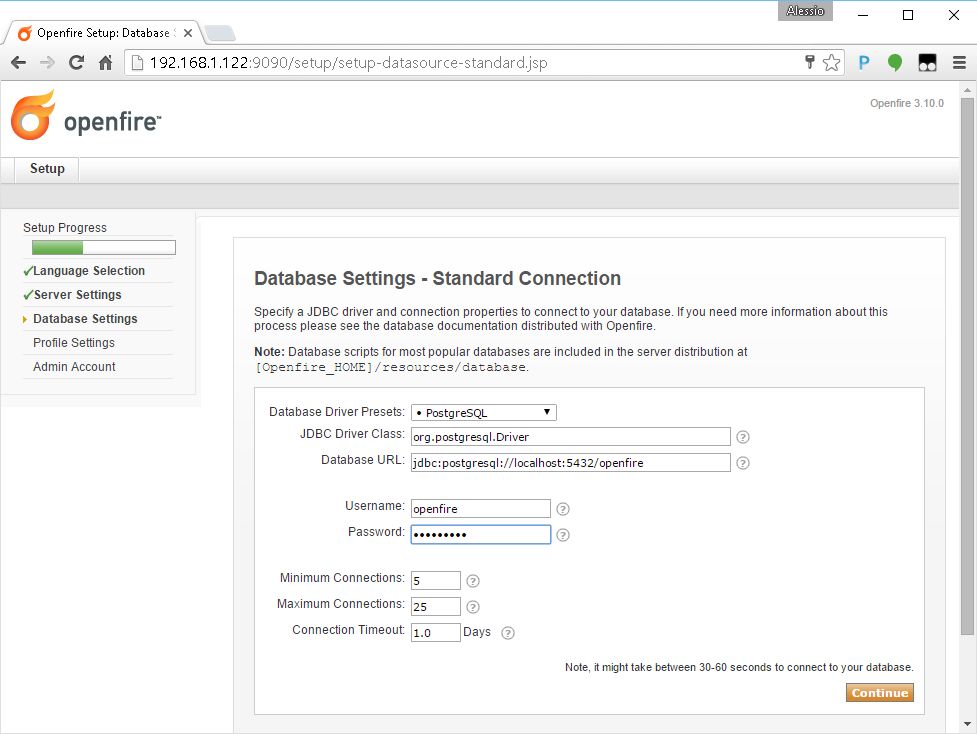
$>createdbopenfire
$>createuser-Popenfire
# The '-P' parameter ensures that the shell will explicitly ask for user's password and you will need to type it in. Enter the password twiceR3m0T3wP5
$>psql-Upostgres-dpostgres-c"ALTER USER postgres WITH PASSWORD 'R3m0T3wP5';"
# as postgres
$>vim/var/lib/pgsql/data/pg_hba.conf
# Scroll down to the bottom of the file and replace all peer and ident strings with md5 string.# The configuration should look like this:# TYPE DATABASE USER CIDR-ADDRESS METHOD# "local" is for Unix domain socket connections onlylocalallallmd5
# IPv4 local connections:hostallall127.0.0.1/32md5
# IPv6 local connections:hostallall::1/128md5
# as root
$>wgethttp://www.igniterealtime.org/downloadServlet?filename=openfire/openfire-3.10.0-1.i386.rpm-Oopenfire-3.10.0-1.i386.rpm
# This package come in 32bit version only, so in case we run this installation on x86_64 system, we need to make sure to install corresponding 32bit libraries as well.
$>yuminstall-y/root/openfire-3.9.3-1.i386.rpm
$>yuminstall-yglibc.i686
启用OpenFire服务并启动它
# as root
$>chkconfigopenfireon
$>systemctlstartopenfire.service
# We need to open the firewall ports in order to expose the gui to the outside
$>firewall-cmd--permanent--zone=public--add-port=9090/tcp
$>firewall-cmd--permanent--zone=public--add-port=9091/tcp
$>firewall-cmd--reload
# as root# We need to open the firewall ports in order to expose the gui to the outside
$>firewall-cmd--permanent--zone=public--add-port=5222/tcp
$>firewall-cmd--permanent--zone=public--add-port=5223/tcp
$>firewall-cmd--reload
# as root
$>yum-yinstallnfs-utils
$>vi/etc/idmapd.conf
# The following should be set to the local NFSv4 domain name# The default is the host's DNS domain name.Domain=geoserver.org