下载和安装
概述
Install Python 3.7+.
Follow the platform-specific instructions (dependencies) <#platform-specific-instructions> _.
使用管理员权限运行 Scapy。
根据您的平台和您想要使用的scapy版本,这些步骤中的每一个都可以以不同的方式完成。请按照平台特定的说明了解更多详细信息。
尖刻的版本
备注
Scapy 2.5.0 was the last version to support Python 2.7 !
Scapy version |
2.3.3 |
2.5.0 |
>2.5.0 |
|---|---|---|---|
Python 2.2-2.6 |
✅ |
❌ |
❌ |
Python 2.7 |
✅ |
✅ |
❌ |
Python 3.4-3.6 |
❌ |
✅ |
❌ |
Python 3.7-3.11 |
❌ |
✅ |
✅ |
安装scapy v2.x
以下步骤描述如何安装(或更新)scapy本身。根据平台的不同,可能需要安装一些附加的库才能使其实际工作。因此,还请看一看有关如何安装这些需求的平台特定章节。
备注
以下步骤适用于类似Unix的操作系统(Linux、BSD、Mac OS X)。对于Windows,请参见 special chapter 下面。
确保在继续之前安装了python。
最新版本
备注
要获得最新版本,包括错误修复和新功能,但可能不太稳定,请参见 development version .
使用 pip:
$ pip install scapy
当前开发版本
If you always want the latest version of Scapy with all new the features and bugfixes (but slightly less stable), you can install Scapy from its Git repository.
备注
If you don't want to clone Scapy, you can install the development version in one line using:
$ pip install https://github.com/secdev/scapy/archive/refs/heads/master.zip
Check out a clone of Scapy's repository with git:
$ git clone https://github.com/secdev/scapy.git
$ cd scapy
Install Scapy using pip:
$ pip install .
如果您使用了git,以后您可以一直更新到最新版本:
$ git pull
$ pip install .
备注
You can run scapy without installing it using the run_scapy (unix) or run_scapy.bat (Windows) script.
可选依赖项
对于某些特殊功能,scapy需要安装一些依赖项。这些软件大多可以通过 pip . 以下是涉及的主题和一些示例,如果安装成功,您可以使用这些示例进行尝试。
作图。
plot()需要 Matplotlib .Matplotlib可通过以下方式安装:
pip install matplotlib>>> p=sniff(count=50) >>> p.plot(lambda x:len(x))
2D图形。
psdump()和pdfdump()需要 PyX 依次需要 Latex 发行版: texlive (Unix) 或 MikTex (Windows) .You can install pyx using
pip install pyx>>> p=IP()/ICMP() >>> p.pdfdump("test.pdf")
图。
conversations()需要 Graphviz 和 ImageMagick .>>> p=rdpcap("myfile.pcap") >>> p.conversations(type="jpg", target="> test.jpg")
备注
Graphviz和ImageMagick需要使用特定于平台的包管理器单独安装。3D graphics.
trace3D()needs VPython-Jupyter.vpyton jupyter可通过安装
pip install vpython>>> a,u=traceroute(["www.python.org", "google.com","slashdot.org"]) >>> a.trace3D()
WEP解密。
unwep()需要 cryptography . 使用A的示例 Weplap test file :密码术可通过安装
pip install cryptography>>> enc=rdpcap("weplab-64bit-AA-managed.pcap") >>> enc.show() >>> enc[0] >>> conf.wepkey="AA\x00\x00\x00" >>> dec=Dot11PacketList(enc).toEthernet() >>> dec.show() >>> dec[0]
PKI操作和TLS解密。 cryptography 也是需要的。
指纹图谱。
nmap_fp()需要 Nmap . 你需要一个 old version (在v4.23之前)仍然支持第一代指纹。>>> load_module("nmap") >>> nmap_fp("192.168.0.1") Begin emission: Finished to send 8 packets. Received 19 packets, got 4 answers, remaining 4 packets (0.88749999999999996, ['Draytek Vigor 2000 ISDN router'])
VoIP。
voip_play()需要 SoX .
平台特定说明
作为一般规则,您可以切换 数据包捕获函数库 整合 on 或 off 随时使用:
from scapy.config import conf
conf.use_pcap = True
Linux本地
scapy可以在Linux上本地运行,而不需要libpcap。
Install Python 3.7+.
Install libpcap. (By default it will only be used to compile BPF filters)
确保您的内核选择了数据包套接字 (
CONFIG_PACKET)如果内核小于2.6,请确保选择了套接字筛选
CONFIG_FILTER)
德班/乌班图/费多拉
Make sure libpcap is installed:
Debian/Ubuntu:
$ sudo apt-get install libpcap-dev
Fedora:
$ yum install libpcap-devel
Then install Scapy via pip or apt (bundled under python3-scapy)
All dependencies may be installed either via the platform-specific installer, or via PyPI. See Optional Dependencies for more information.
Mac OS X
在Mac OS X上,scapy 在本地工作 因为最近的版本。但是,您可能希望使用libpcap进行欺诈。您可以选择使用自制或MacPorts进行安装。它们都可以很好地工作,但是自制用于运行单元测试 Travis CI .
备注
libpcap可能已经安装在您的平台上(例如,如果您有tcpdump)。这就是 OSX
使用自制安装
更新自制:
$ brew update
安装libpcap::
$ brew install libpcap
在scapy中启用:
conf.use_pcap = True
使用MacPorts安装
更新MacPorts::
$ sudo port -d selfupdate
安装libpcap::
$ sudo port install libpcap
在scapy中启用:
conf.use_pcap = True
OpenBSD
以类似的方式,要在OpenBSD 5.9+上安装scapy,您需要 may 要安装libpcap,如果不想使用本机扩展名:
$ doas pkg_add libpcap
然后安装scapy via pip 或 pkg_add (捆绑在 python-scapy )所有依赖项都可以通过平台特定的安装程序安装,或者通过PYPI安装。见 Optional Dependencies 更多信息。
SunOS/Solaris
Solaris/SunOS需要 libpcap (默认安装)工作。
备注
实际上,Solaris不支持 AF_PACKET, which Scapy uses on Linux, but rather uses its own system DLPI. See this page . 我们更喜欢使用非常通用的 libpcap 花时间支持 DLPI .
Windows
You need to install Npcap in order to install Scapy on Windows (should also work with Winpcap, but unsupported nowadays):
Download link: Npcap: the latest version
- During installation:
we advise to turn off the
Winpcap compatibility modeif you want to use your wifi card in monitor mode (if supported), make sure you enable the
802.11option
Once that is done, you can continue with Scapy's installation.
You should then be able to open a cmd.exe and just call scapy. If not, you probably haven't enabled the "Add Python to PATH" option when installing Python. You can follow the instructions over here to change that (or add it manually).
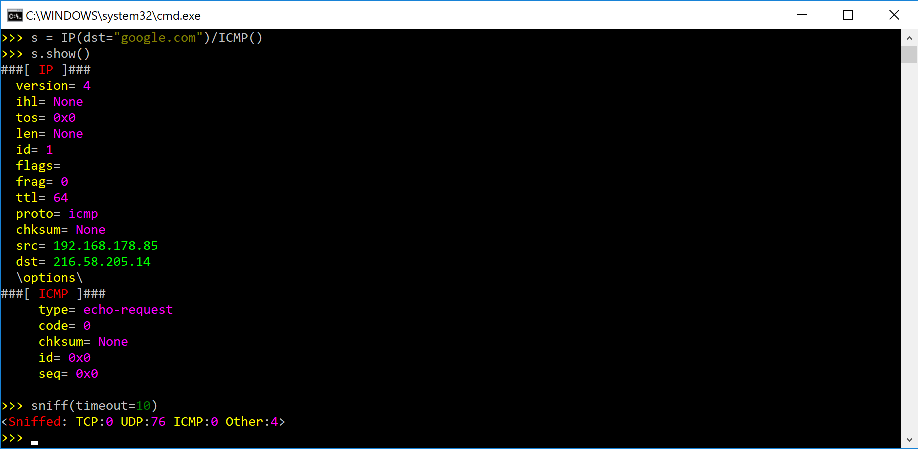
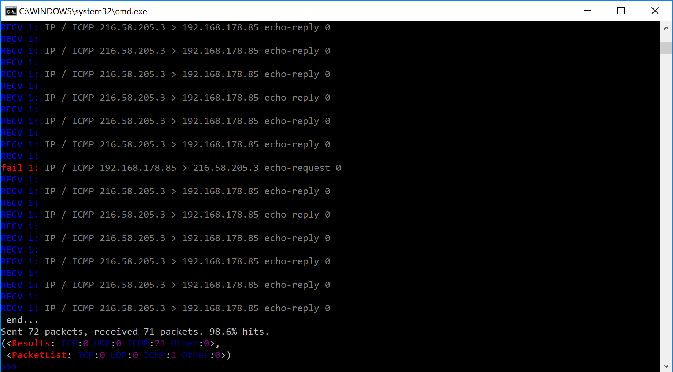
Screenshots
脱机生成文档
scapy项目的文档是使用restructuredtext(文件)编写的 * .rst)并且可以使用 Sphinx python库。官方在线版本可在 readthedocs .
HTML版本
构建HTML版本的说明如下:
(activate a virtualenv)
pip install sphinx
cd doc/scapy
make html
现在可以打开生成的HTML文件 _build/html/index.html 在您最喜欢的网络浏览器中。
要使用readthedocs的模板,您必须安装相应的主题:::
pip install sphinx_rtd_theme
UML图
使用 pyreverse 您可以构建scapy源代码对象层次结构的UML表示。下面是一个如何为Fields对象构建继承图的示例:::
(activate a virtualenv)
pip install pylint
cd scapy/
pyreverse -o png -p fields scapy/fields.py
这将生成一个 classes_fields.png 包含继承层次结构的图片。请注意,您可以根据需要提供尽可能多的模块或包,但是结果很快就会变得不可读。
要查看DHCP层和ansmachine模块之间的依赖关系,可以运行:::
pyreverse -o png -p dhcp_ans scapy/ansmachine.py scapy/layers/dhcp.py scapy/packet.py
在这种情况下,除虫酶还将生成一个 packages_dhcp_ans.png 显示所提供的不同python模块之间的链接。