
t-rex Quickstart
T-REX是一个向量图块服务器,专门用于从您自己的数据发布MVT图块。
此快速入门介绍了如何:
- 生成没有配置的矢量图块,并使用内置查看器检查它们
- 生成平铺缓存
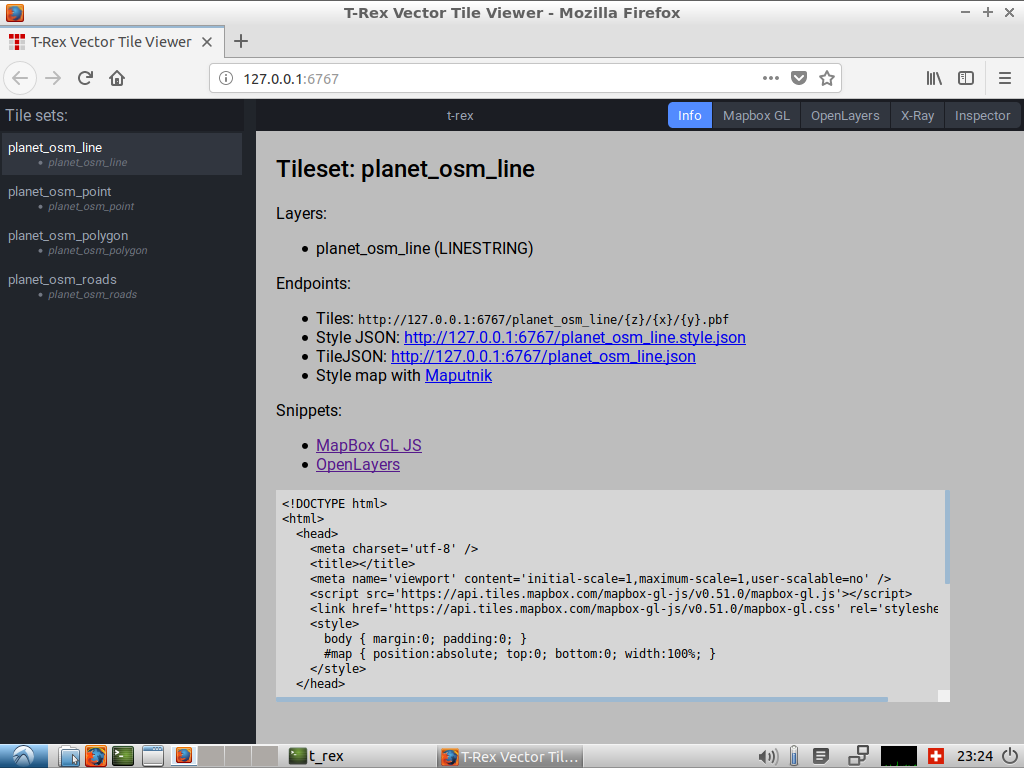
内置查看器
T-REX附带了用于检查生成的向量图块的内置查看器。
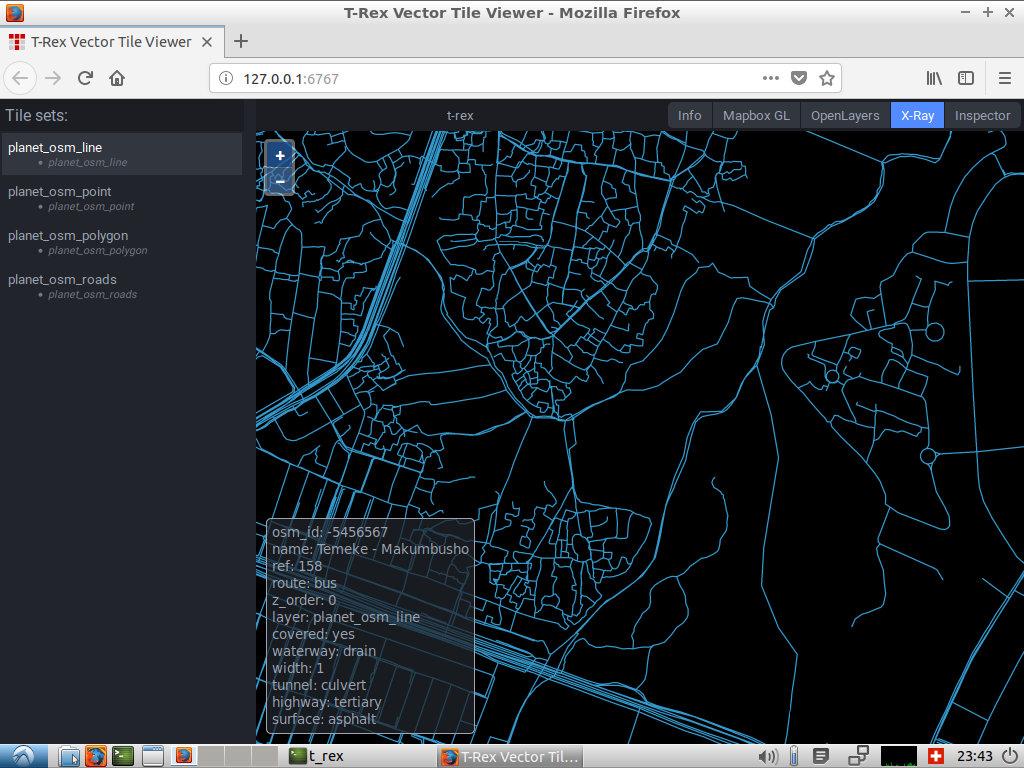
- 点击 X-Ray 右上角菜单中的项以打开x射线查看器。
- 将鼠标悬停在一行上以检查功能的内容。
也试试其他观众。
注解
mapboxgl viewer和Maputnik需要WebGL支持,这在VM中运行OSGeoLive时可能不可用。
缓存种子设定
- 关闭浏览器和运行t-rex的终端窗口。
- 打开任何文本编辑器(例如 )
- 在主目录中创建文件“ne.toml”:
/home/user/ne.toml
将以下内容放入其中:
[service.mvt]
viewer = true

[[datasource]]
dbconn = "postgresql://user:user@localhost/natural_earth2"
name = "dbconn"
default = true

[grid]
predefined = "web_mercator"

[[tileset]]
name = "ne_countries"
extent = [-180.00000, -90.00000, 180.00000, 83.63410]
minzoom = 0
maxzoom = 6

[[tileset.layer]]
name = "country"
geometry_field = "the_geom"
geometry_type = "MULTIPOLYGON"
srid = 4326
buffer_size = 3
#make_valid = true
simplify = false
[[tileset.layer.query]]
sql = """SELECT the_geom, adm0_a3, mapcolor7 FROM ne_10m_admin_0_countries WHERE the_geom && !bbox!"""

[cache.file]
base = "/home/user/mvtcache"
baseurl = "http://example.com/tiles"

[webserver]
# Bind address. Use 0.0.0.0 to listen on all adresses.
bind = "127.0.0.1"
port = 6767

[[webserver.static]]
path = "/static"
dir = "./static/"
打开终端 ( )和类型:
t_rex generate --config ne.toml --maxzoom 4 2>/dev/null
要检查生成的瓷砖类型:
find mvtcache