注解
Click here 下载完整的示例代码
路径效果指南
定义对象在画布上遵循的路径。
Matplotlib patheffects 模块提供了将多个绘制阶段应用于任何可通过 path.Path .
可以应用路径效果的艺术家包括 patches.Patch , lines.Line2D , collections.Collection 甚至 text.Text . 每个艺术家的路径效果可以通过 Artist.set_path_effects 方法,该方法需要 AbstractPathEffect 实例。
最简单的路径效应是 Normal 效果,简单地画出没有任何效果的艺术家:
import matplotlib.pyplot as plt
import matplotlib.patheffects as path_effects

fig = plt.figure(figsize=(5, 1.5))
text = fig.text(0.5, 0.5, 'Hello path effects world!\nThis is the normal '
                          'path effect.\nPretty dull, huh?',
                ha='center', va='center', size=20)
text.set_path_effects([path_effects.Normal()])
plt.show()
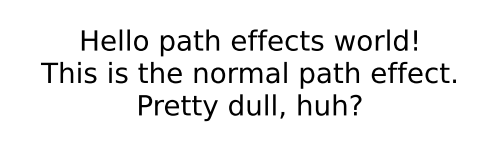
虽然情节看起来没有任何不同,你会期待没有任何路径效果,现在绘图的文本已被更改为使用路径效果框架,开辟了更有趣的例子的可能性。
添加阴影
更有趣的路径效果 Normal 是投影,我们可以应用于任何基于路径的艺术家。班级 SimplePatchShadow 和 SimpleLineShadow 通过在原始艺术家下面绘制填充的面片或线面片来精确地执行此操作:
import matplotlib.patheffects as path_effects

text = plt.text(0.5, 0.5, 'Hello path effects world!',
                path_effects=[path_effects.withSimplePatchShadow()])

plt.plot([0, 3, 2, 5], linewidth=5, color='blue',
         path_effects=[path_effects.SimpleLineShadow(),
                       path_effects.Normal()])
plt.show()
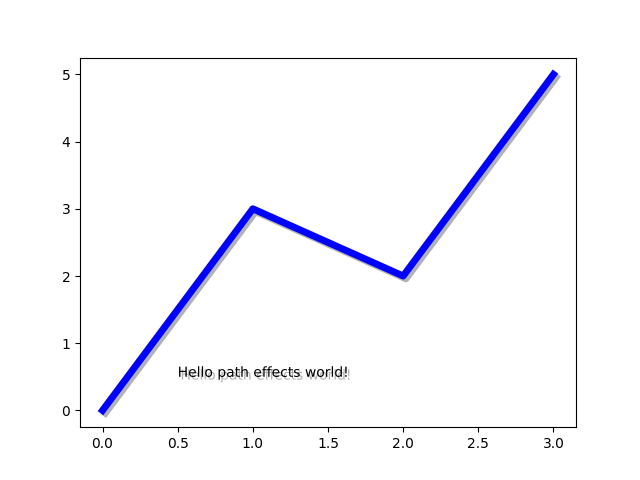
注意在这个例子中设置路径效果的两种方法。第一个使用 with* 类包含所需的功能,并自动跟随“正常”效果,而“正常”效果显式定义要绘制的两个路径效果。
使艺术家脱颖而出
让艺术家在视觉上脱颖而出的一个好方法是在实际艺术家的下方用粗体颜色画出一个轮廓。这个 Stroke 路径效应使得这项任务相对简单:
fig = plt.figure(figsize=(7, 1))
text = fig.text(0.5, 0.5, 'This text stands out because of\n'
                          'its black border.', color='white',
                          ha='center', va='center', size=30)
text.set_path_effects([path_effects.Stroke(linewidth=3, foreground='black'),
                       path_effects.Normal()])
plt.show()

需要注意的是,这种效果只起作用,因为我们已经绘制了两次文本路径;一次绘制了粗黑线,然后一次绘制了原始文本路径。
You may have noticed that the keywords to Stroke and SimplePatchShadow
and SimpleLineShadow are not the usual Artist keywords (facecolor
edgecolor, etc.). This is because with these path effects we are operating
at lower level of Matplotlib. In fact, the keywords which are accepted are
those for a matplotlib.backend_bases.GraphicsContextBase instance, which
have been designed for making it easy to create new backends - and not for
its user interface.
更好地控制路径效果艺术家
如前所述,某些路径效果的操作级别低于大多数用户所使用的级别,这意味着设置诸如 脸色 和 变色染料 提出一个属性错误。幸运的是有一个通用的 PathPatchEffect 创建一个 patches.PathPatch 使用原始路径初始化。与此相关的关键字与 patches.PathPatch :
fig = plt.figure(figsize=(8, 1))
t = fig.text(0.02, 0.5, 'Hatch shadow', fontsize=75, weight=1000, va='center')
t.set_path_effects([
    path_effects.PathPatchEffect(
        offset=(4, -4), hatch='xxxx', facecolor='gray'),
    path_effects.PathPatchEffect(
        edgecolor='white', linewidth=1.1, facecolor='black')])
plt.show()

关键词:matplotlib代码示例,codex,python plot,pyplot Gallery generated by Sphinx-Gallery